Ironing: A love hate relationship
Oh, the hassles of taking out the iron and the ironing board. The sound of your watch ticking as you wait for the iron to heat up. Meanwhile you find yourself staring at the small pieces of quilted fabric that need to be steamed flat. You ask yourself, “Do I really have to do this? Can’t I skip this step?” There is huge reward in ironing your quilt pieces! I promise to tell you why every effort is worth it.
Joys of Ironing? Pray tell!
Why is it so important to iron it? Because eventually, as you connect more and more pieces of the quilt, each one needs to be flat. Think of a big puzzle. If some pieces are wavy and some are super straight, it is difficult to align them with each other. If everything is flat, and neatly pressed, the puzzle fits together so much easier. Plus, you can better nestle the pieces with each other. Nestle? What is this and how do you do it?
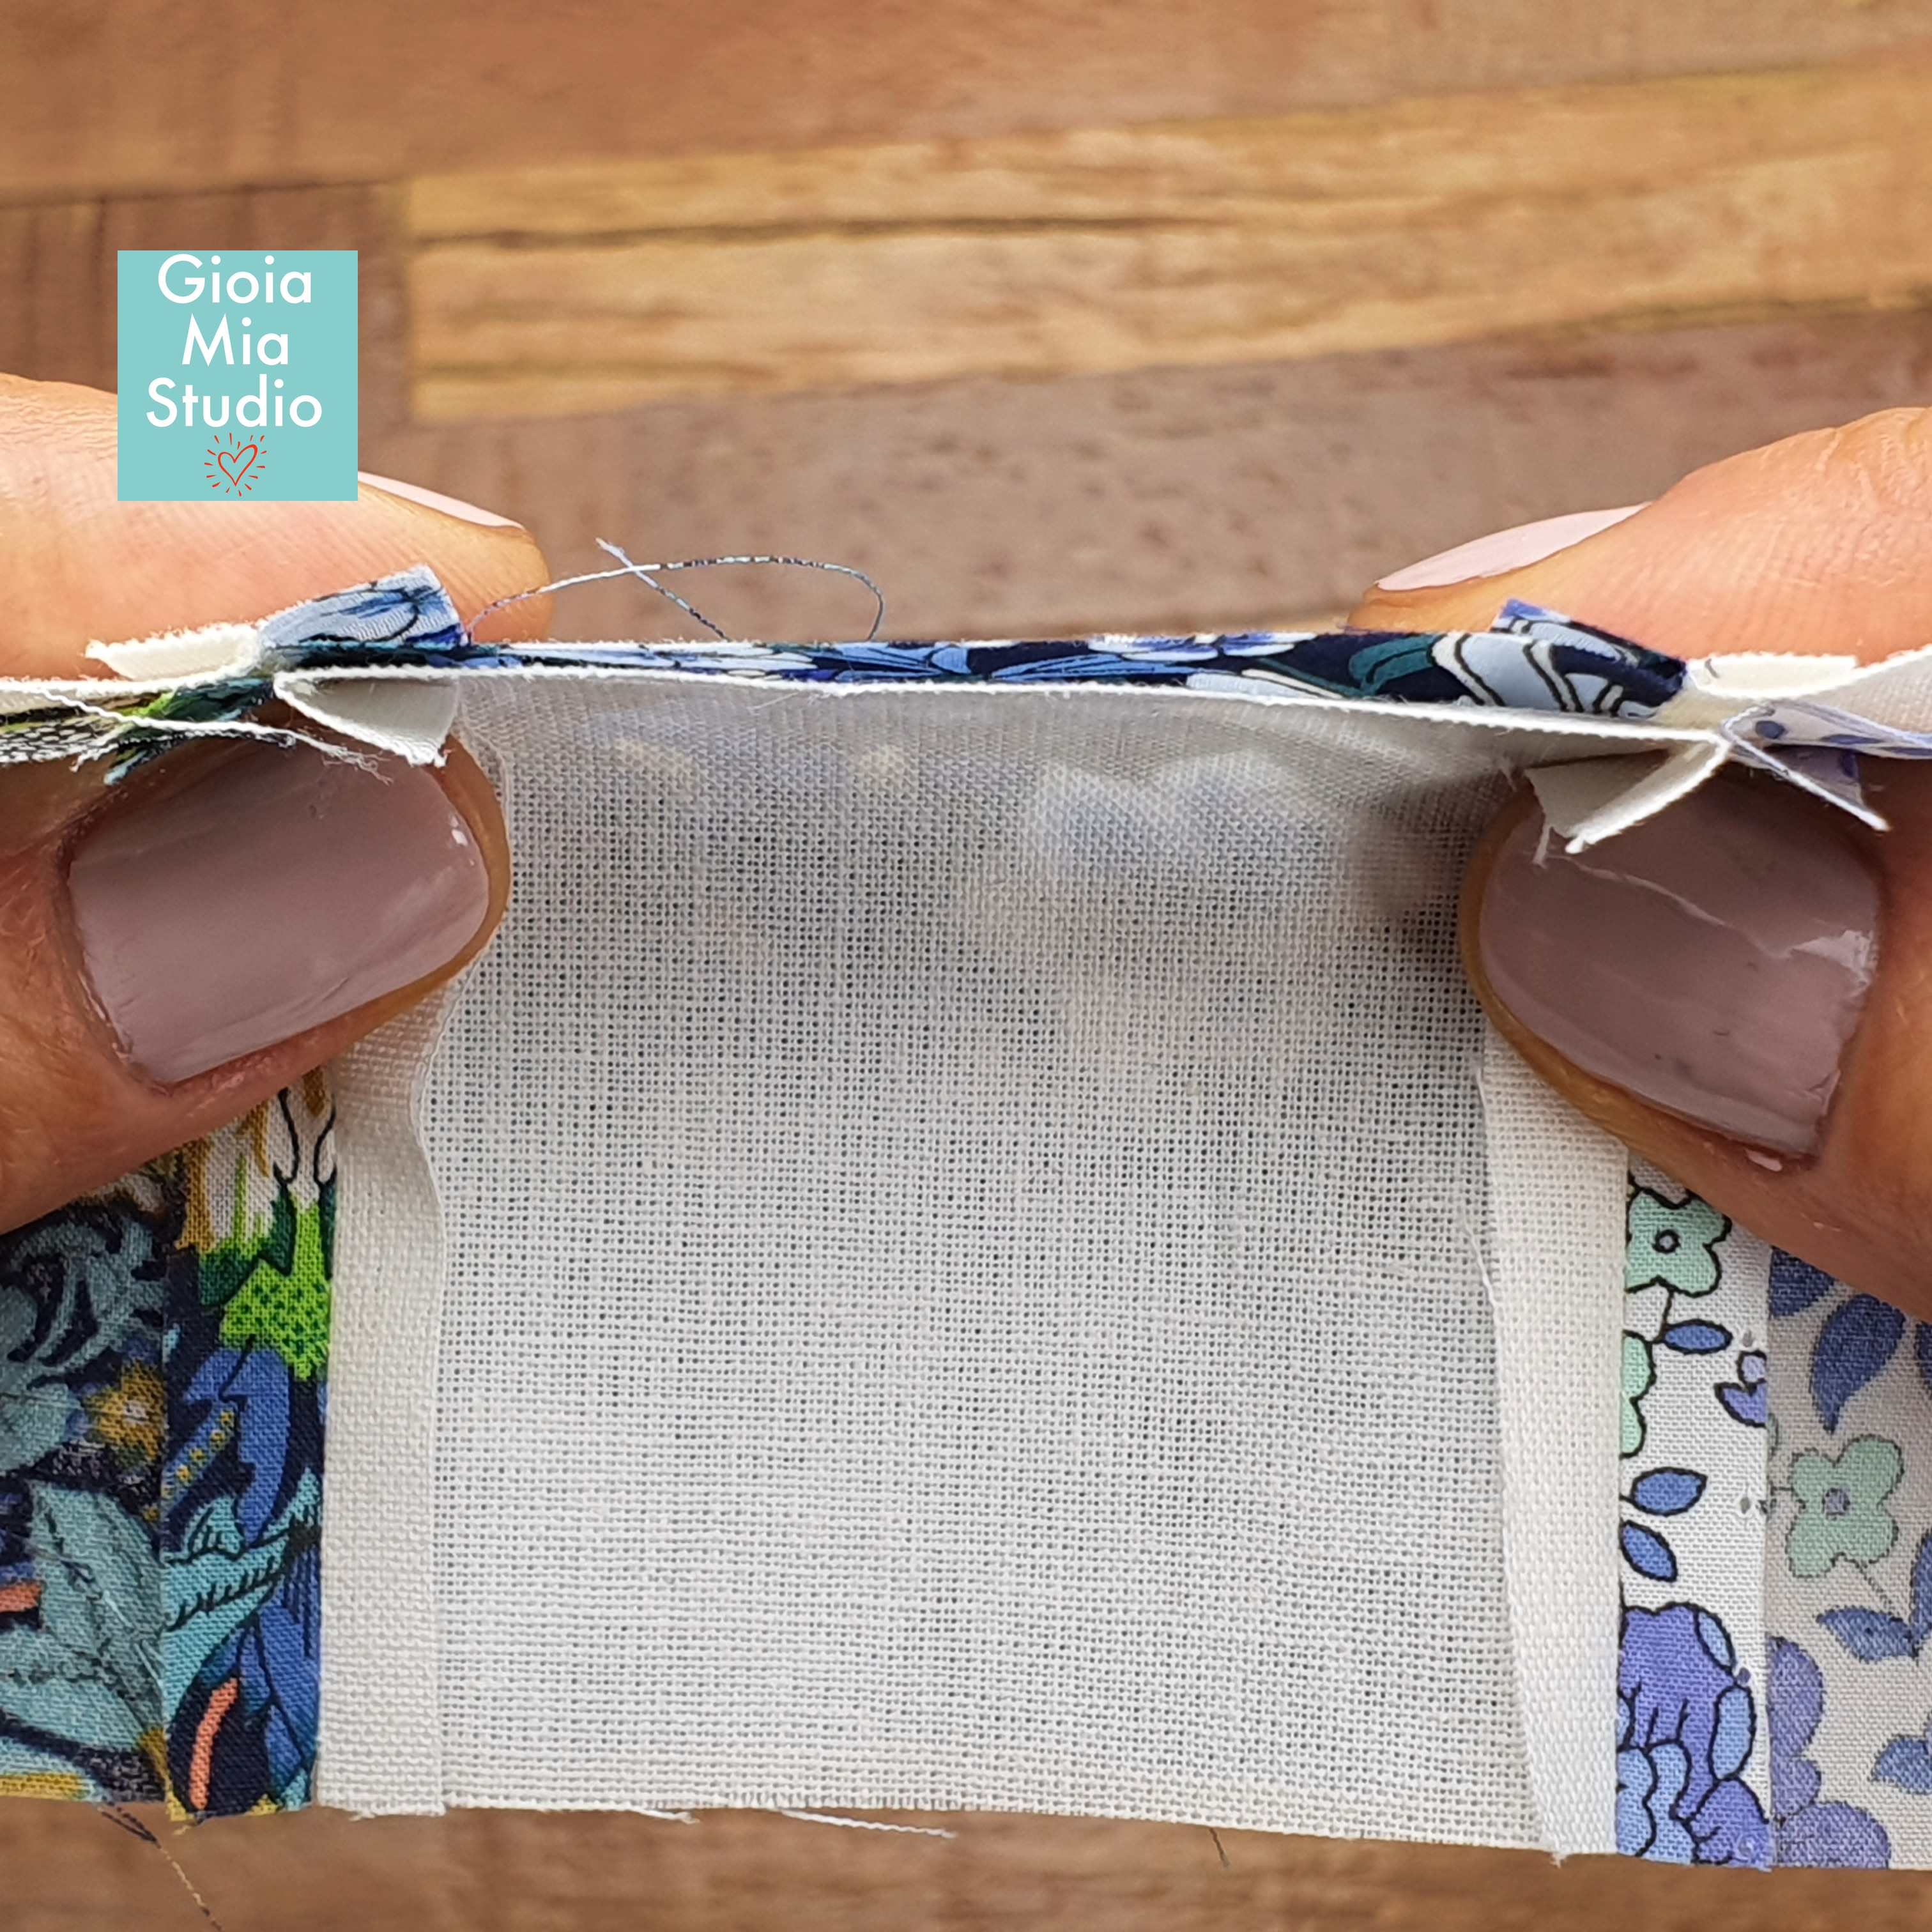
Let’s nestle
What is Nestling? It is a method of aligning your quilt pieces together. A romantic analogy of nestling? It is like the two pieces are perfectly made for each other’s embrace. It’s a perfect hug born from starch and the hot steam of an iron.
Look below at the photos and at the explanation to see how the perfect seam hug is achieved.
For even more details, watch the video at the end of this post.
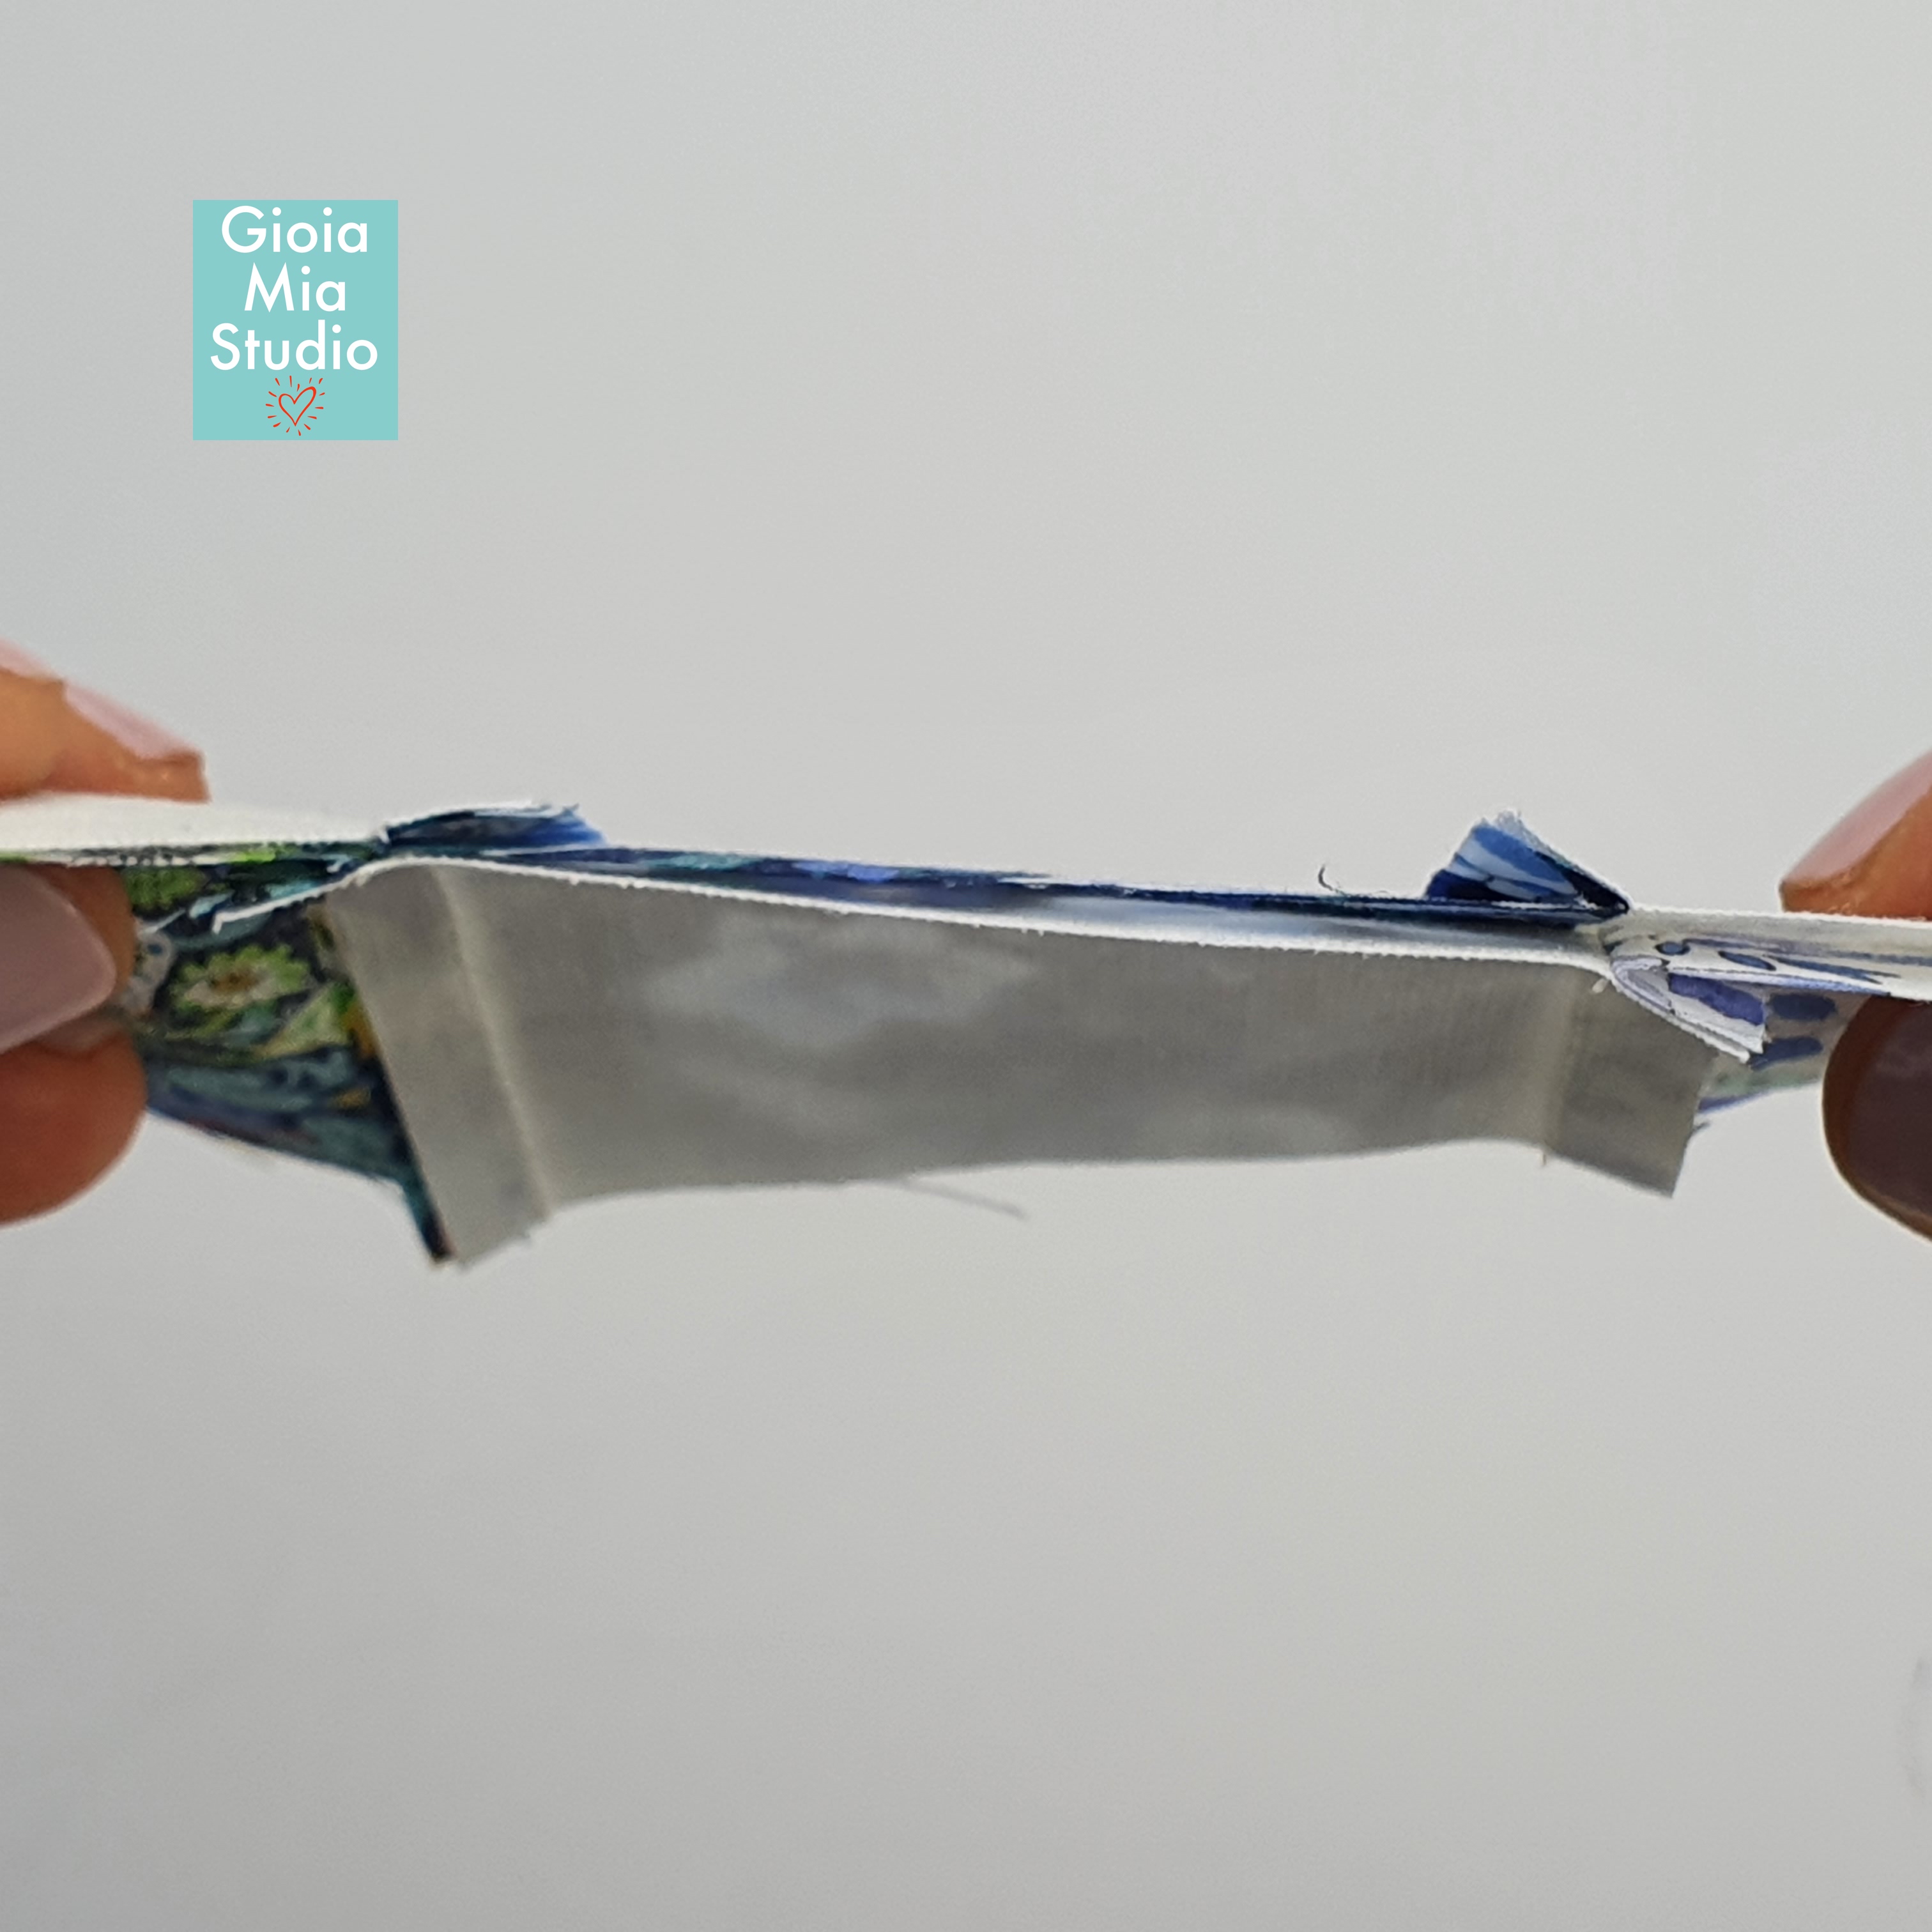
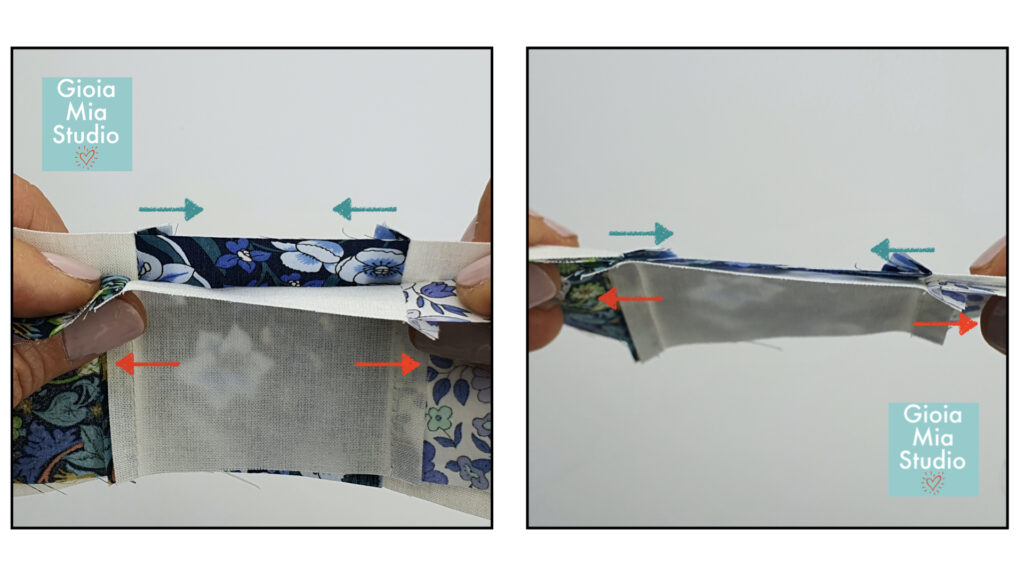
All seams are ironed toward the darker fabric. This “hides” the fabric seam from showing through on the lighter side. It looks neat and clean.
The reward of ironing? When I align these two sections and sew them together, the seams will lay flat. If I may continue with the romance, the seams lay together like a pair of soulmates. That’s how you want your piecing every time. Ironing will make your quilt patterns crisp and beautiful.
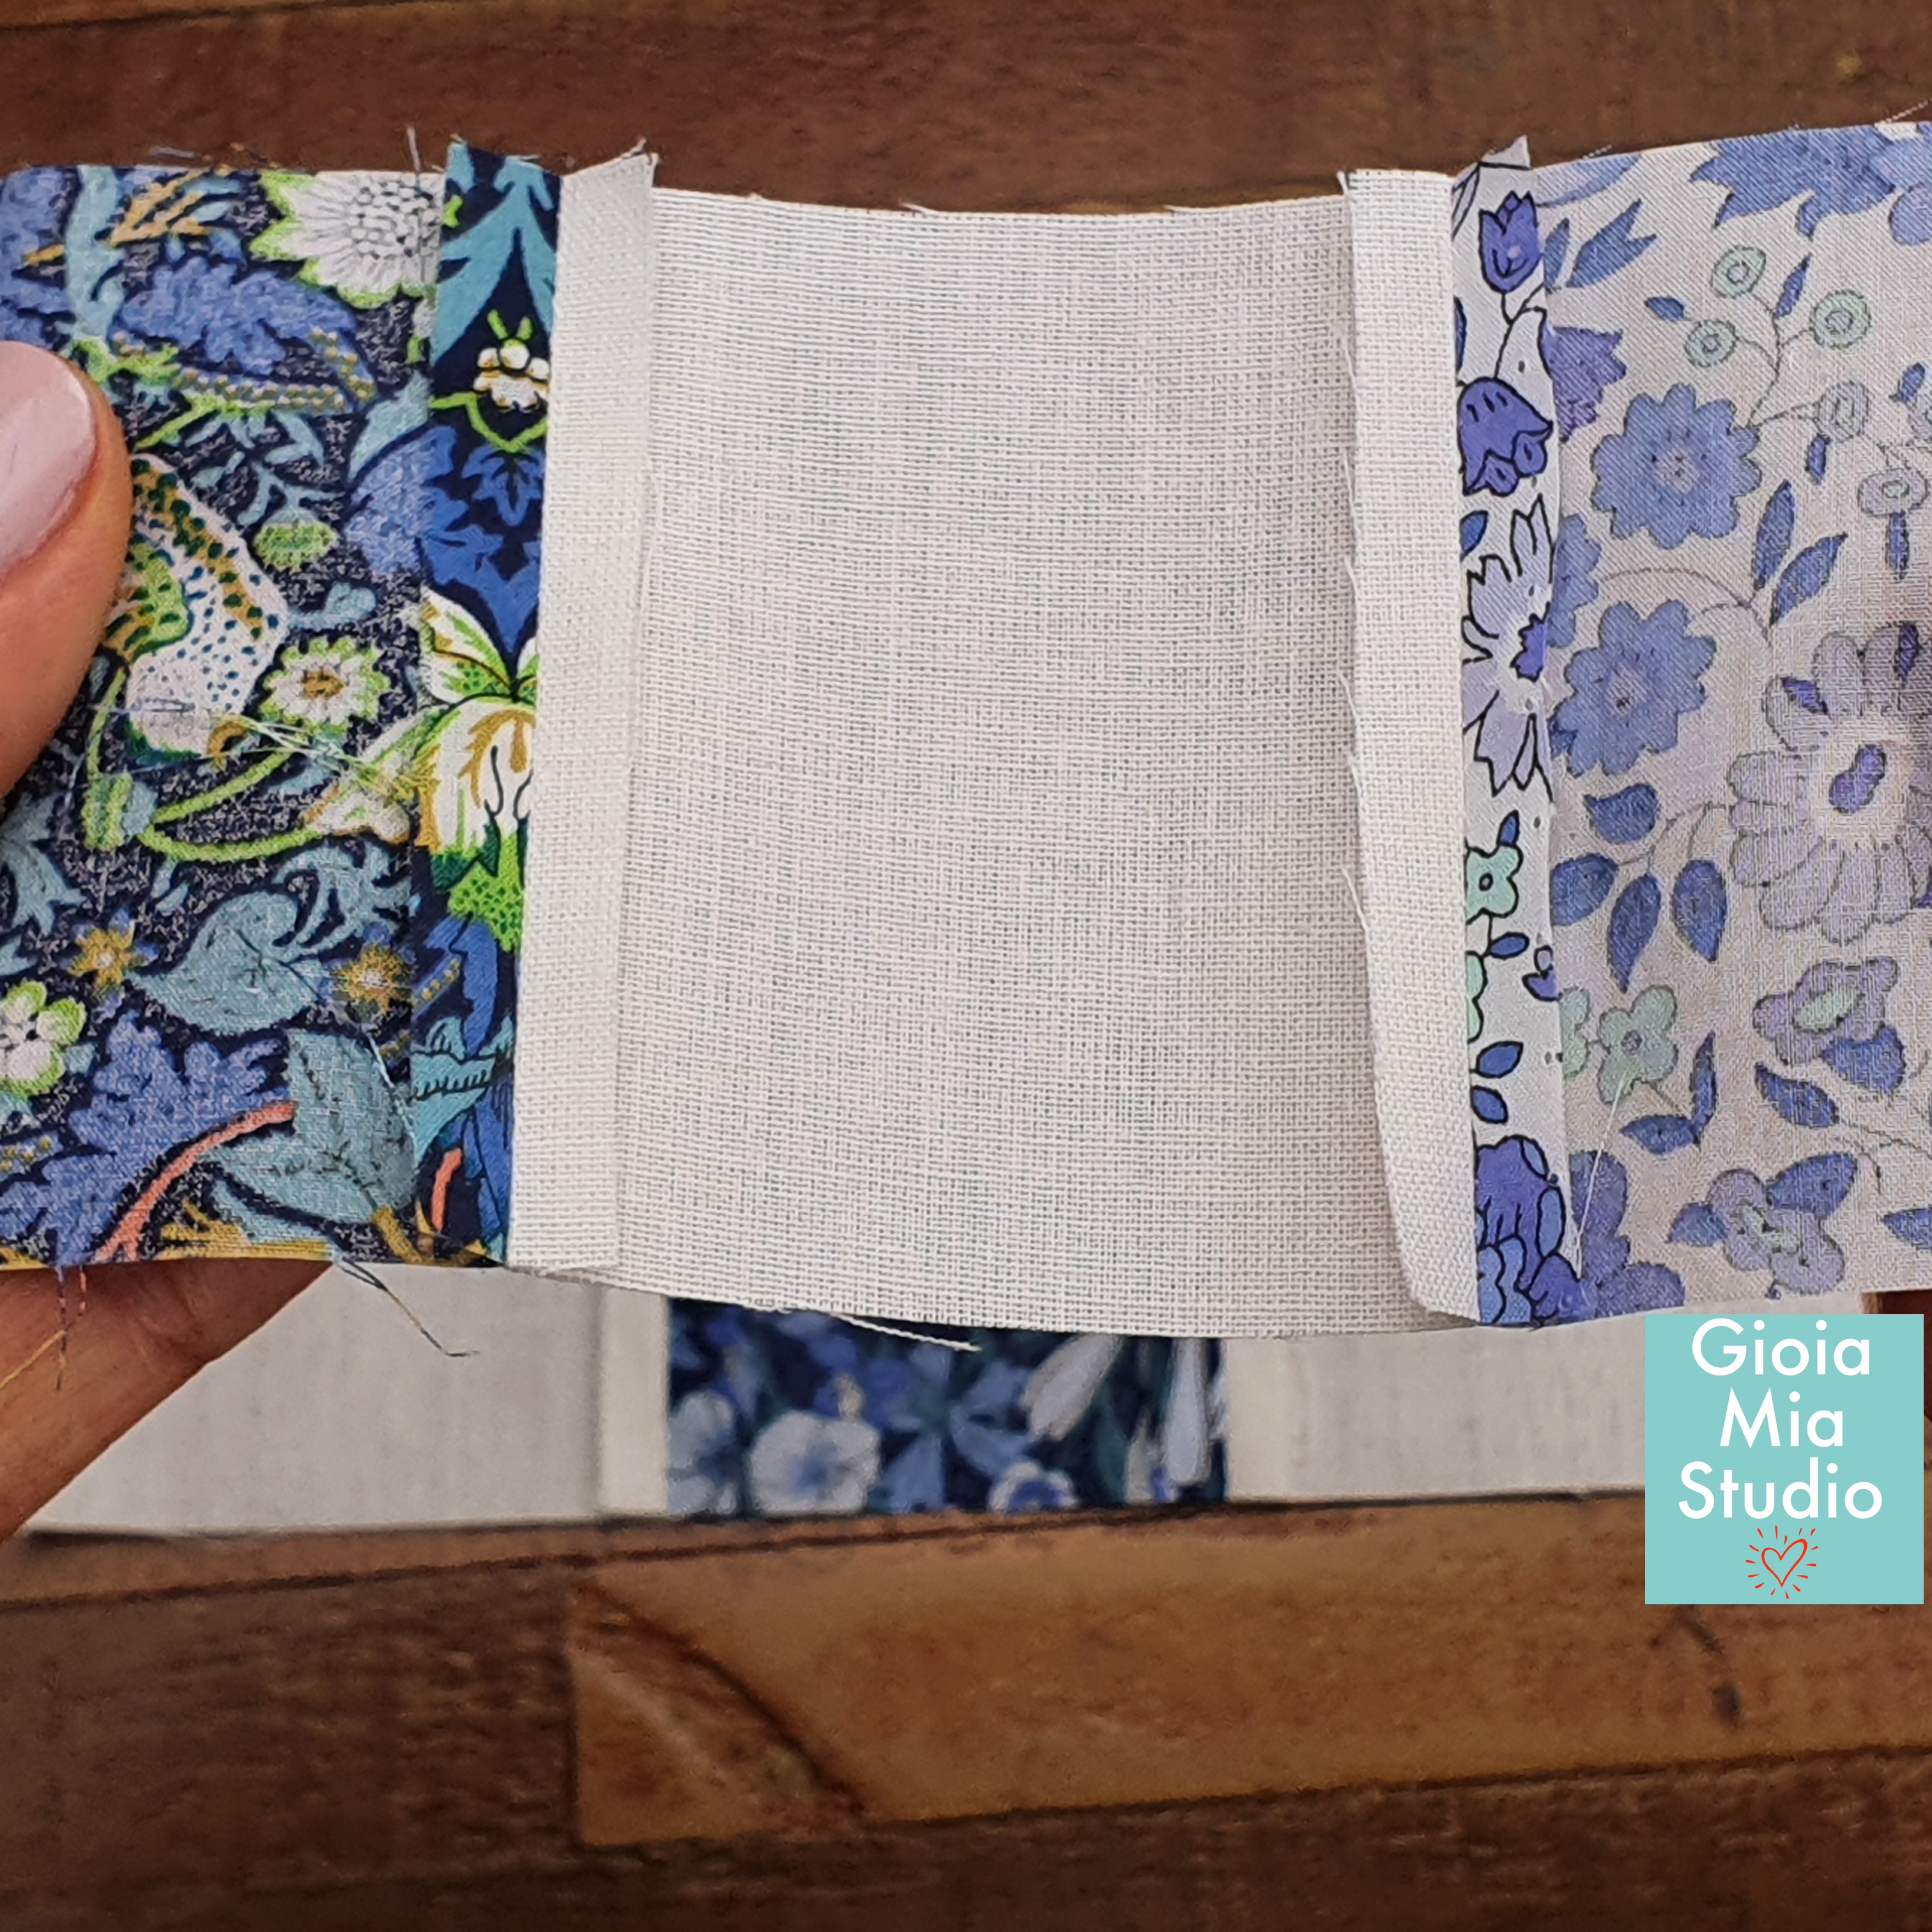
option #2 open pressed seams
Not in love with nestling? Don’t worry, here is another option. It isn’t as romantic but it is trust worthy. Where is love without trust?
The alternative to nestling is to press your seams open. I find this method more time consuming but it is a sure fire way to align your seamed pieces together.
Iron Rules & the Rebels
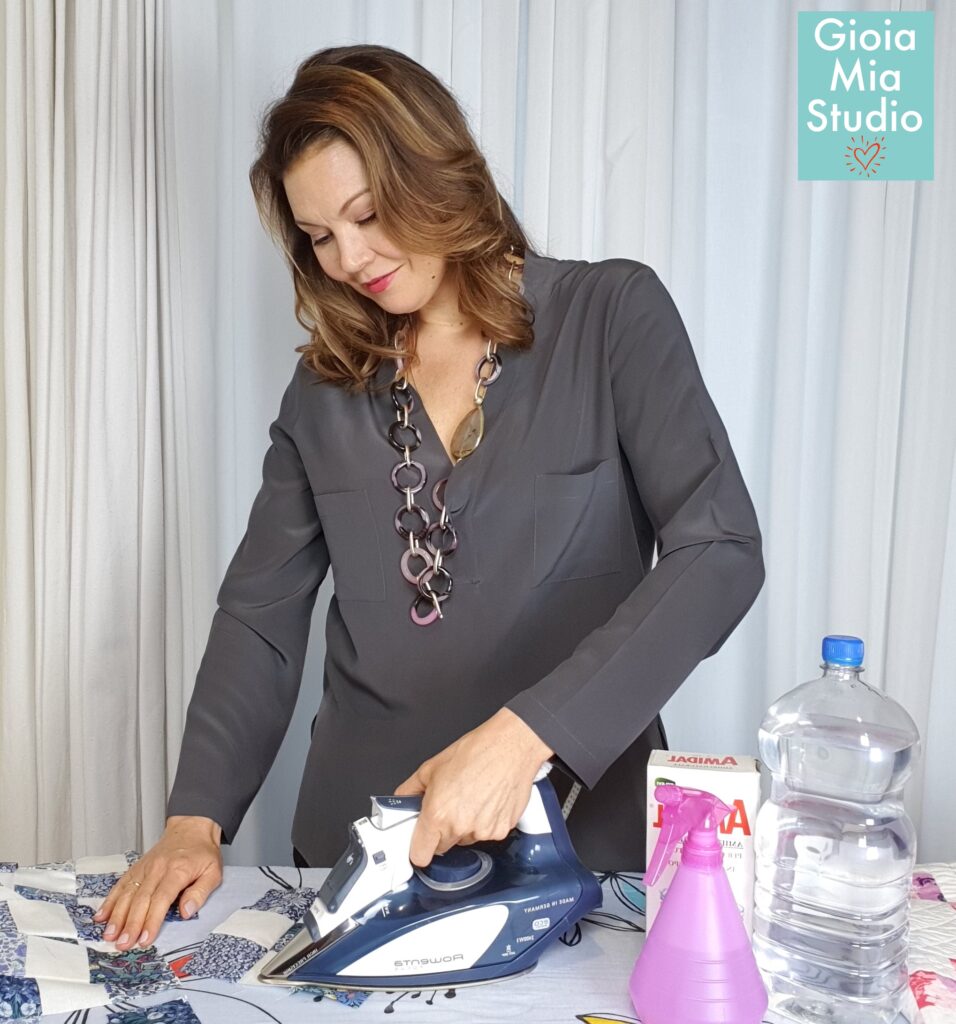
I love to follow the rules, but when it comes to ironing, I break them. This is my warning: the next steps are not the standard for quilters. If you are a rebel and would like to follow in my ways, here is the down and dirty of how I like to iron. I find the best way to achieve that perfectly pressed seam is with a spray bottle full of a starch mixture, an iron set on high, and the iron tank full of distilled water. When the hot steamy iron hits the fabric, I want that seam to set and my quilt piece to steam flat.
Starch Recipe
You’ll need:
– A spray bottle (preferably clean and not used before)
– Starch
– 2 cups of distilled water (cold or room temperature)
– Approximately 1 tbsp of starch (give or take depending on your desires)
– bowl
– whisk or spoon for stirring
– funnel
In a bowl, add the starch and water. Mix until the starch is dissolved. Pour the mixture into the spray bottle (using the funnel). Lightly mist your fabric and immediately use the warmed iron.
*Always do a test spray on a piece of fabric before using the starch mixture on your actual quilt. Check to see if the spray left a stain before proceeding further.
Ironing tips:
Set the iron on the pieces. Don’t drag the iron across the fabric. There should be little to no movement of the iron. Too much movement can pull, stretch, and distort your fabric, especially the edges that are exposed to the bias of the fabric.
For even more details, below is a short video on making beautiful crisp quilt seams.
Sign up for the newsletter and have the tips and tricks delivered straight to you inbox, from Rome with love.
The form you have selected does not exist.
What other tips do you want to know about? Do you have a favorite ironing method? Do you have another way of aligning your seams? Let me know in the comments below, I’d love to hear from you.
Have a joyful day!
Rachel
Hello, I’m Rachel with Gioia Mia Studio in Rome, Italy. Each week I provide quilt tips, a tutorial, or other helpful quilt information. Sign up for the newsletter and have the tips and tricks delivered straight to your inbox, from Rome with love.
The form you have selected does not exist.
I love it! The explanation that was given both, in the video and in the blog post, are just spectacular !!