Quilt Along Rail Fence Week 6
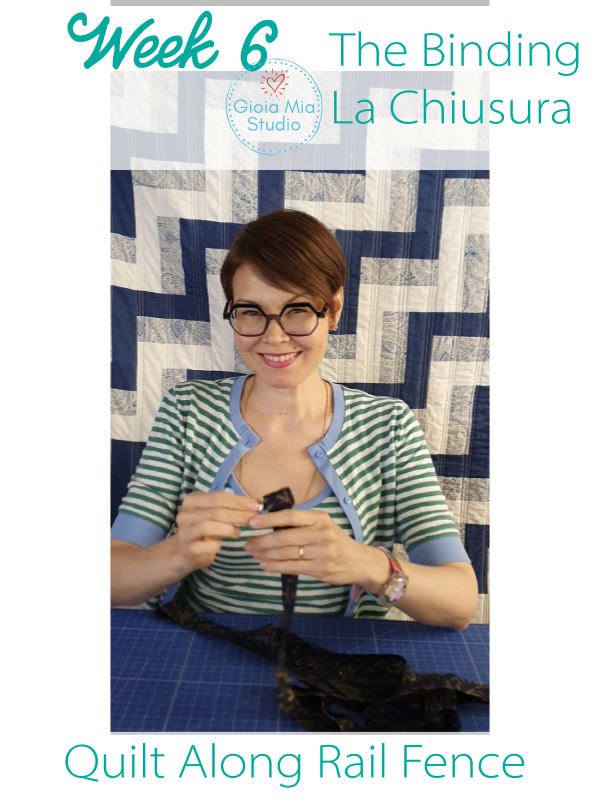
We made it! Welcome to the last session of the Rail Fence Quilt Along. I want to start by saying thank you. It means so much that you joined me on this quilt journey. The fun doesn’t stop here. I hope to host another quilt along in the future. I will let you know about😊
The final step for your Rail Fence is the binding. I have a video tutorial for you with step by step instructions for binding done totally by machine. Just so you know, in terms of aesthetic, you can attach the binding to either side of your quilt. It is up to you and it depends on where you want your stitches to show. The same goes for hand stitching the binding.
Suggestions:
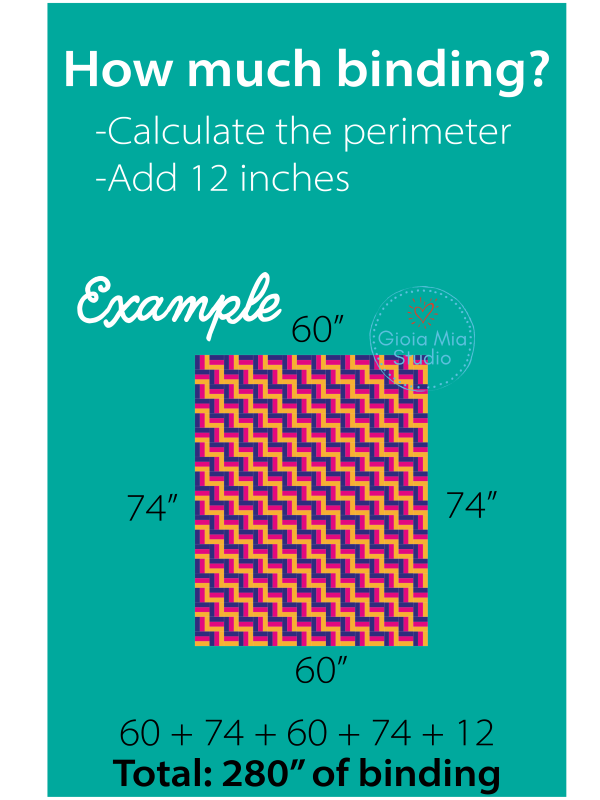
Binding Caluculations
The strips for the binding are 2 ¼” wide.
Cut as many as you need to go around your perimeter, plus 12”. Here is a diagram to help you with the calculations.
If you want some room for margin of error, calculate the perimeter, plus 20″.
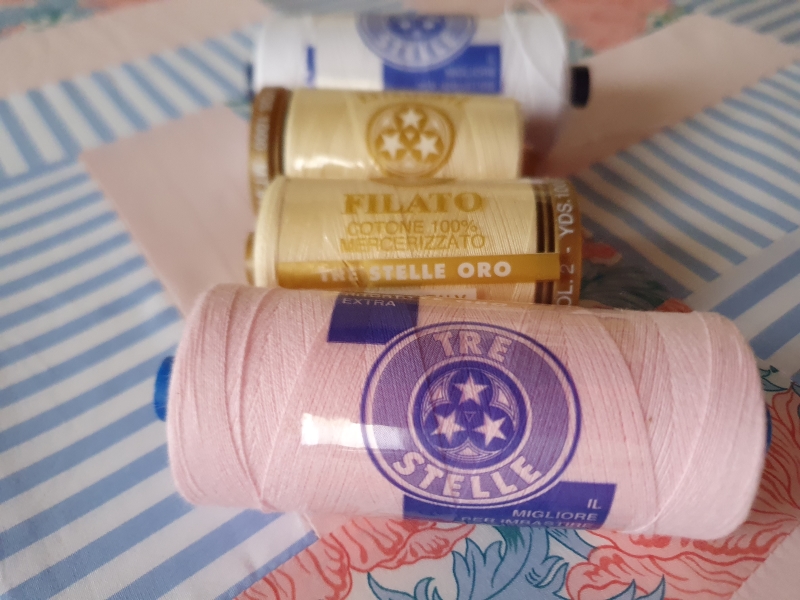
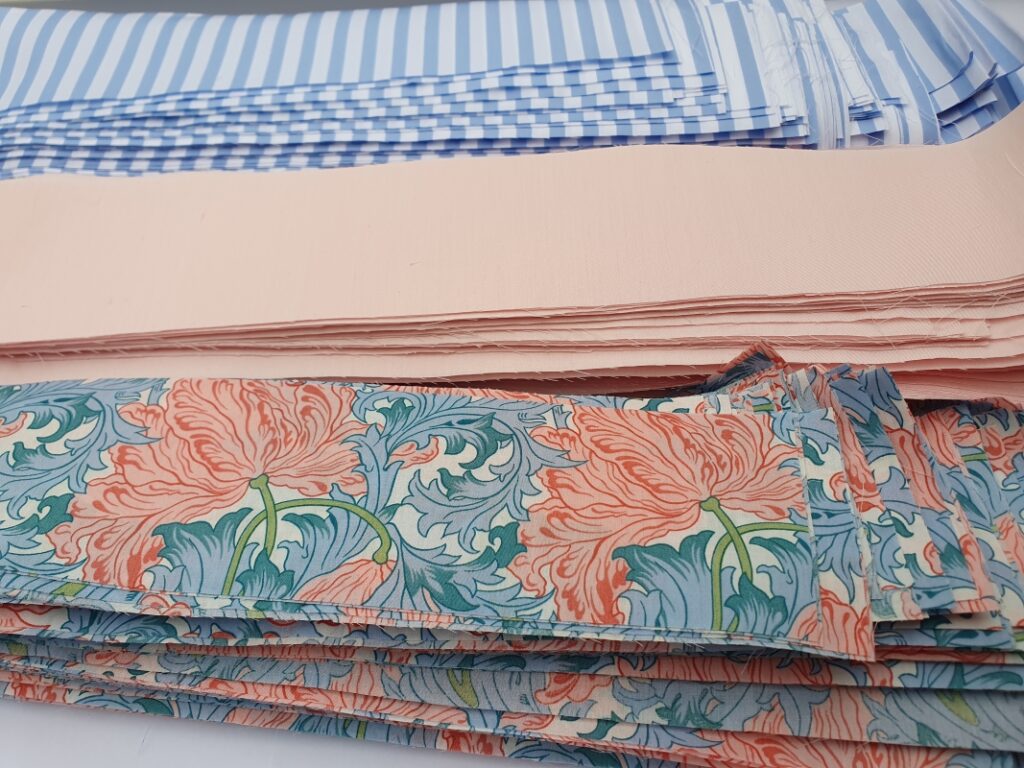
This photos look familiar, right? Same pic but new information. Last week I wrote about how much I love this thread for quilting. I like the look of thicker stitches for the decorative, lemon peel motif, I made on my quilt. But, I also love this thicker thread for when I machine stitch my binding. This thread is a 50 weight by Cucirini Tre Stelle. It is 100% cotton.
I set my machine stitch length to 3.
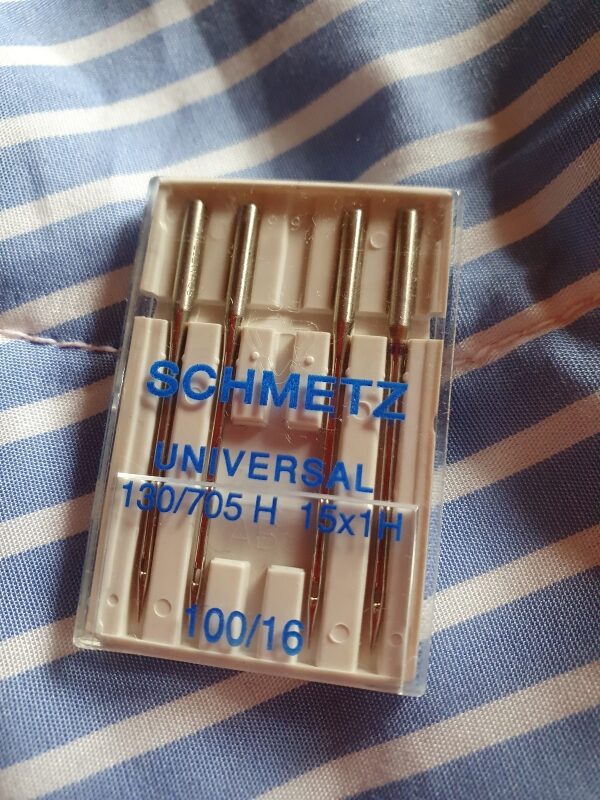
And, I use a larger machine needle, 100/16. (See the image below.)
These lovely needles made their debut last week. We used them to quilt our Rail Fence sandwich. This week use them again for attaching the binding.
You can also use them to make a “thick” decorative stitch with 50 weight thread.
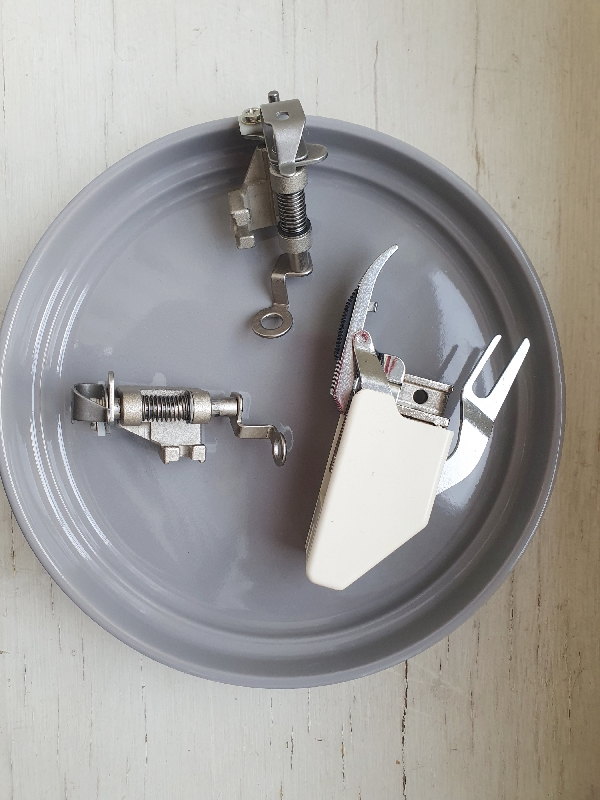
You’ll need a walking foot this week for the binding. (It is the big white object on the plate.)
At this point there are so many layers to sew throught. The walking foot will help feed everything evenly throught the machine.
Here is a video on the quilt binding process totally by machine.
And, there are more links at the end of this email to help you with the quilt.
Send photos or post to Instagram. I would love to see your progress and finished quilts! And, if you don’t want me to share the photos on social media, no problem. Just mention it and I will keep the photos for me.
I wish you a happy week of quilting!!
Rachel
Here are some more links to help you with the Rail Fence Quilt Along.
As a reminder, Let’s Stay Together:
INSTAGRAM
Be sure to follow me @GioiaMiaStudio
#GMSRailFence #GMSQAL
Instagram is enormous and to keep us together during this quilt along, let’s use a hashtag. Then we can follow the hashtag and follow each other’s accounts. #GMSRailFence #GMSQAL
Not sure how to make a hashtag (the pound sign, #)? After you choose your photo, Instagram will prompt you to write a post. After you write your message, you type this: #gmsrailfence or #gmsqal.
