Quilt Along Rail Fence Week 5
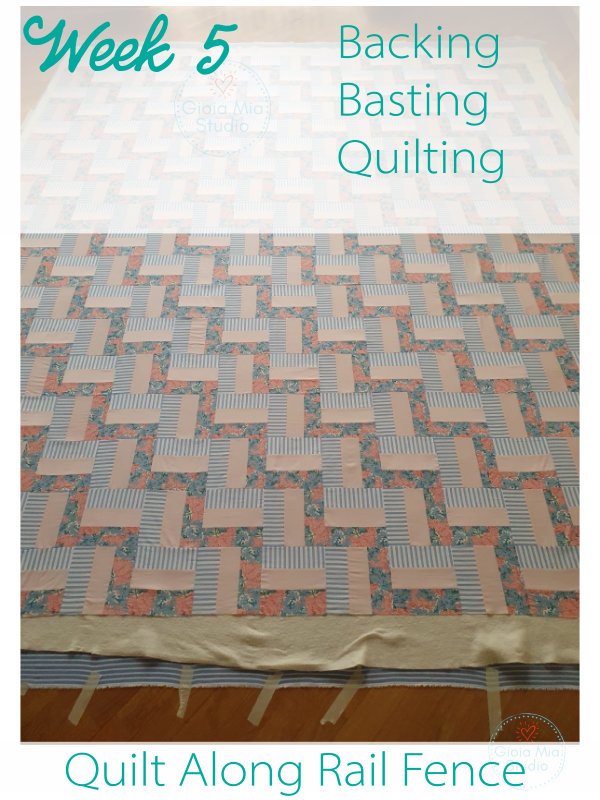
Hello and Welcome back! It is week 5 of the Quilt Along. It is starting to feel like Spring in Rome. The air is warmer and there is more beautiful day light. Soon I will want to be outside all the time! But first, let’s talk about our agenda. haha!
This week you are either sending your patchwork top off to the long arm service or you are planning on basting and quilting at home
If you plan on quilting at home, I have some great tips for you on the blog and a youtube video. The video takes you through each step of the process.
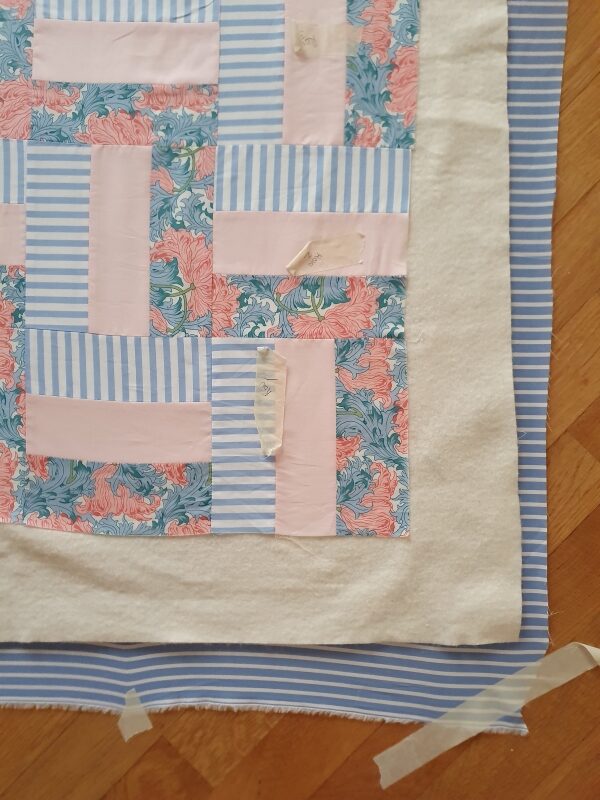
Suggestions:
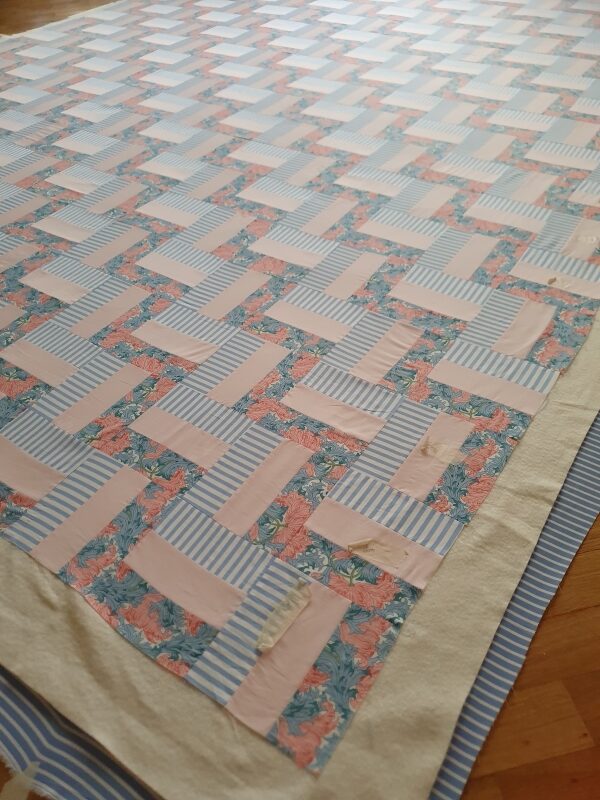
The Backing Should be about 4″ to 5″ wider than your patchwork top
The Batting Should be about 2″ to 3″ wider than your patchwork top
Your patchwork top is also called the quilt top. You don’t have to do anything to it. Just lay it down on the batting and smooth it out.
Reminder: You only need to tape the backing to the floor. You don’t tape the batting or patchwork top.
As you tape the backing, try not to pull the fabric too tightly. If it is too tight, the moment the tape is released, the fabric will retract and leave you wrinkles. Taping the backing is a patient process of smoothing out the fabric.
Useful Tool for Quilting at Home
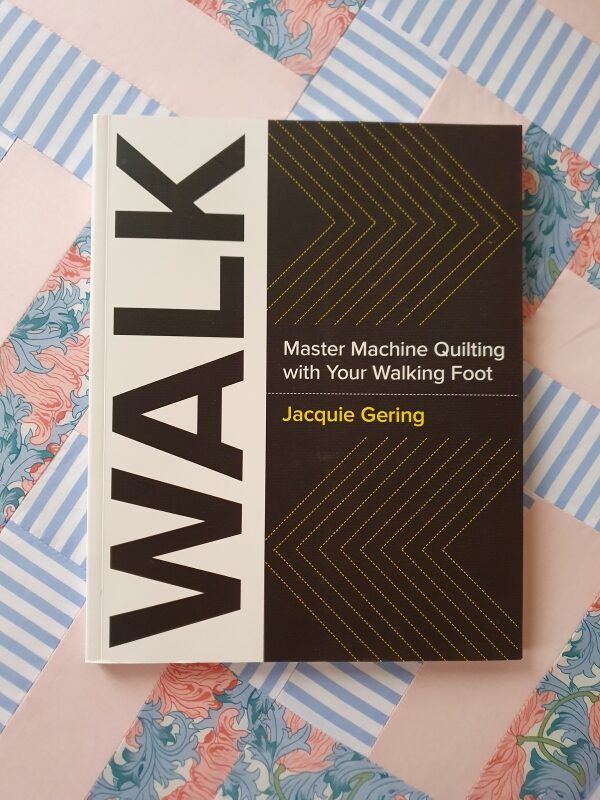
This Book is awesome.
If you are curious about quilting at home or if you do quilt at home, this book will take your quilting game to the next level.
This is a hera marker. You use it by pressing into the basted quilt (quilt sandwich). It leaves a mark and then you stitch by following the line. I was a sceptic for a long time. However, I must admit, it works really well. Ciao Ciao pencils and washable markers!
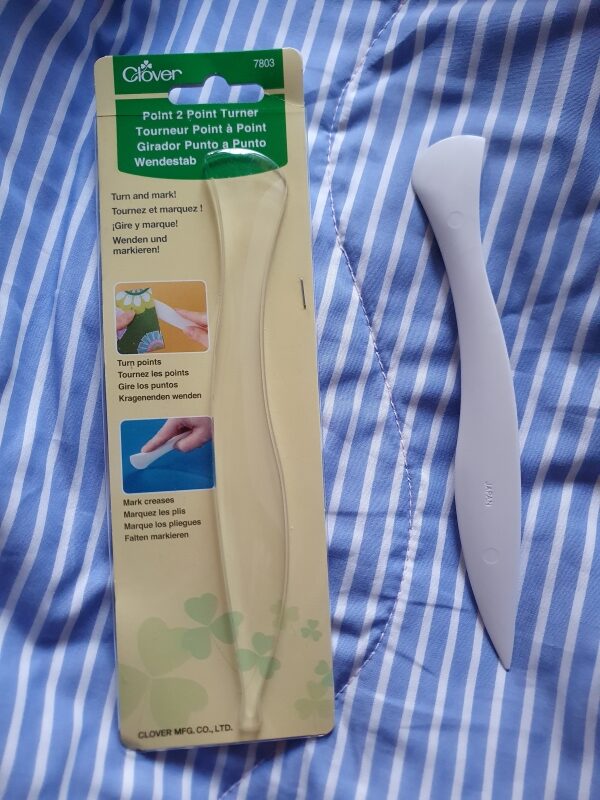
(the pointy end is for turning.)
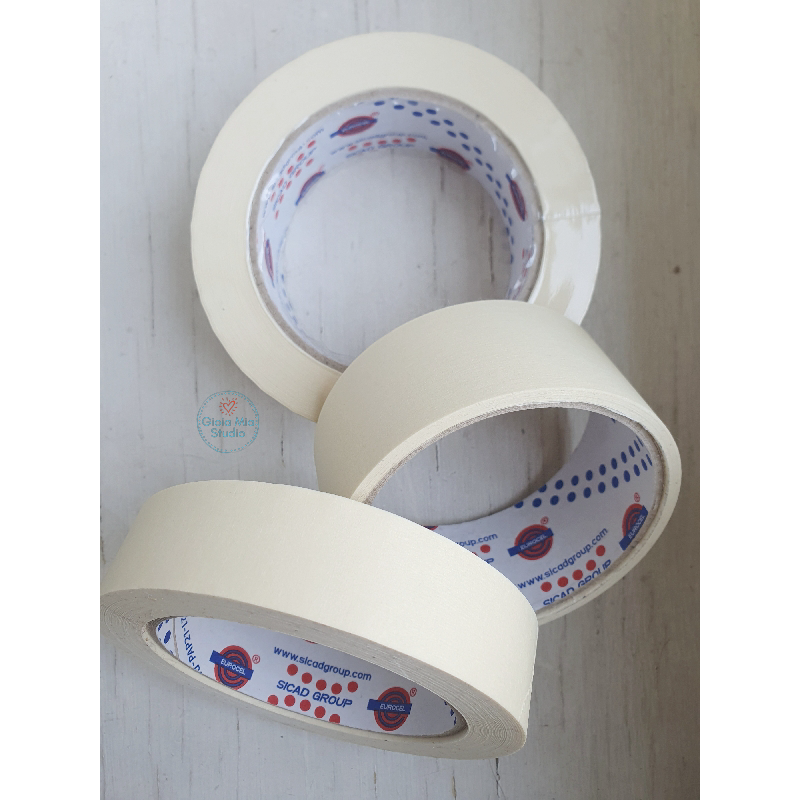
Masking tape will help you hold your backing in place. You can easily lay your batting and patchwork top on the backing and not worrty about the backing moving around.
Spray baste or saftey Pins are two options for basting. Is there another way? Oh, I suppose hand stitching is a method, too. In the case of the video, I demonstrated using a spray baste.
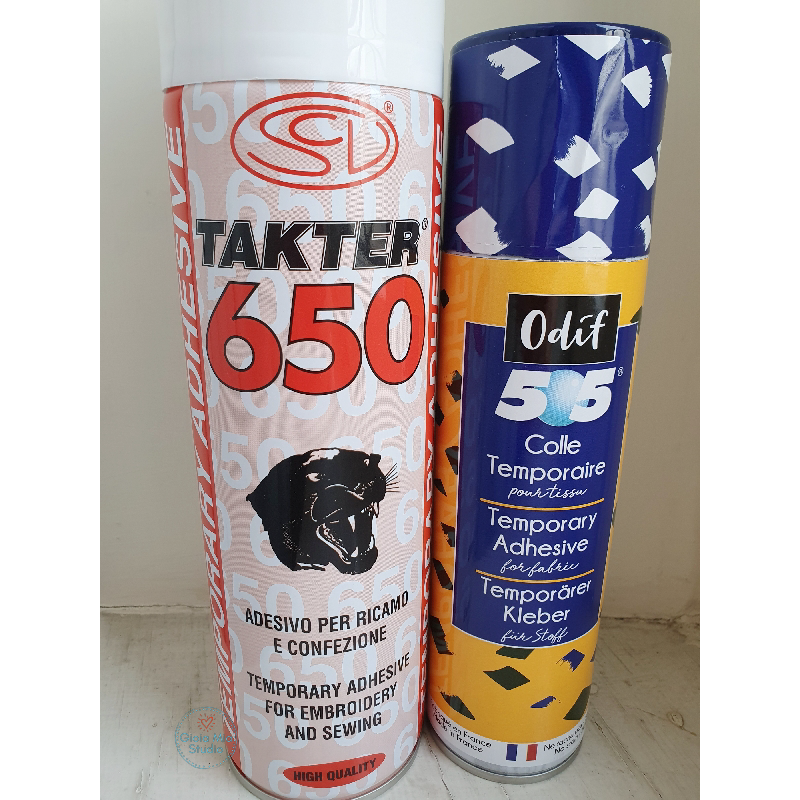
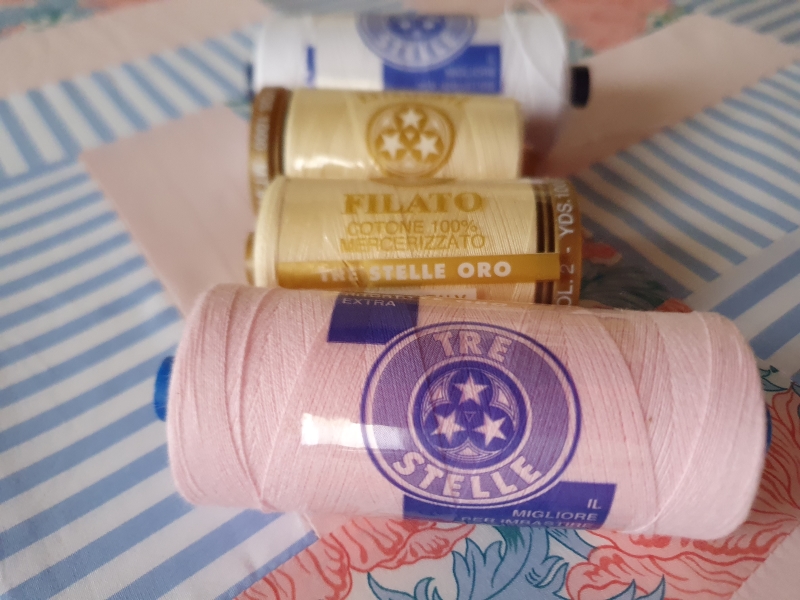
I like the look of thicker quilting stitches. For me my favorite thread is a 50 weight by Cucirini Tre Stelle. It is 100% cotton.
I set my machine stitch length to 3.
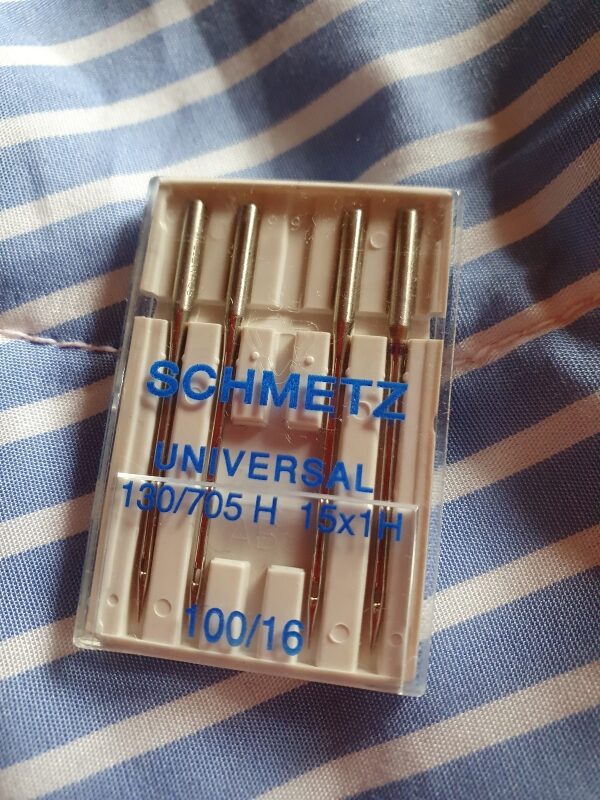
And, I use a larger machine needle, 100/16. (See the image below.)
I know, some of you might be questioning the needle size number 100/16. However, when quilting, your needle is puncturing 3 layers. One of those layers is batting. And, your needle is holding a 50 weight thread. Sooooo, it may seem insane to use 100/16 but it is actually works beautifully.
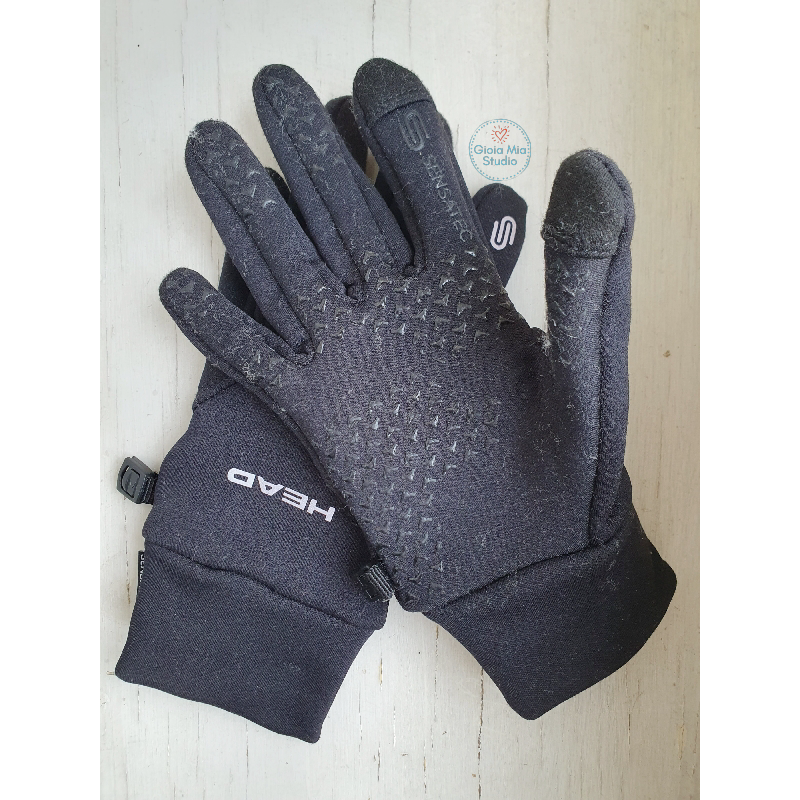
Your hands will loose oils when handling the fabric. To gain a hold on the quilt, use some gloves that have grips. They can be actual quilt gloves or any glove that suits you.
I like these gloves by Head. I found them at Costo years ago.
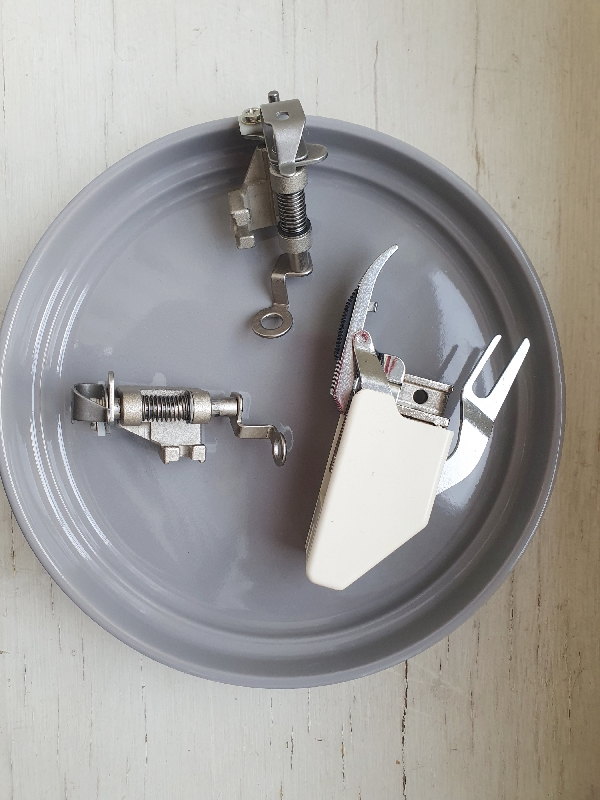
You’ll need a walking foot if you plan to quilt at home. It is the big white bulky object in the photo. The walking foot helps feed the three layers of fabric equally through the machine as you sew. Nifty! I am also a convert to the walking foot. I fought it with it for years and we recently made peace. haha!
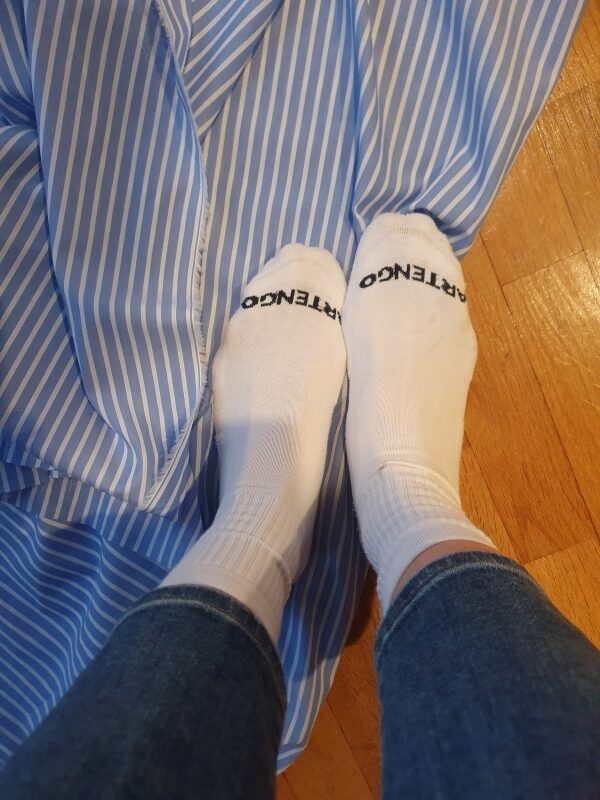
This is sort of funny but also very true! These nerdy white socks are needed for quilting at home. Why? Well, because my quilty friends, one must walk back and forth across the quilt many times when basting. These high fashion socks are used just for quilting and walking over my fabric:) When basting, from time to time, I check the bottoms to make sure they are still brillantly clean. My small but helpful trick.
If you have the Rail Fence Quilt Pattern, I also have a video for you to visualize the steps.
And, there are more links at the end of this email to help you with the quilt.
I hope this process is going well for you! Feel free to write a comment or question below!
I wish you a happy week of quilting!!
Rachel
P.S. By the way, how are the videos and blog posts? Are they informative and helpful to you?
Here are some more links to help you with the Rail Fence Quilt Along.
As a reminder, Let’s Stay Together:
INSTAGRAM
Be sure to follow me @GioiaMiaStudio
#GMSRailFence #GMSQAL
Instagram is enormous and to keep us together during this quilt along, let’s use a hashtag. Then we can follow the hashtag and follow each other’s accounts. #GMSRailFence #GMSQAL
Not sure how to make a hashtag (the pound sign, #)? After you choose your photo, Instagram will prompt you to write a post. After you write your message, you type this: #gmsrailfence or #gmsqal.
