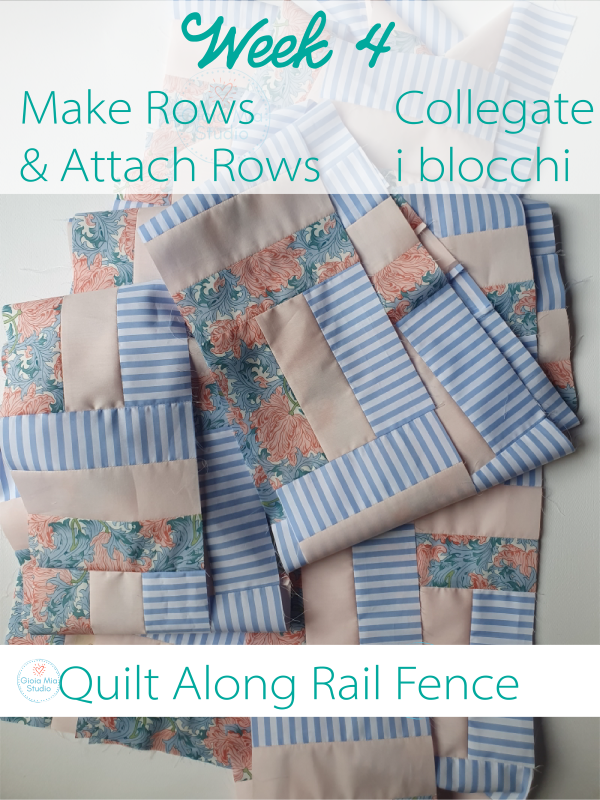
Quilt Along Rail Fence Week 4
Welcome to week 4 of the Gioia Mia Studio Rail Fence Quilt Along!
Thank you for joining me on this journey. Do you know why I am doing this Quilt Along? Well, I started this QAL for 3 reasons.
1st I love quilting and I love to participate in a quilt along. So, why not host my own.
2nd A quilt along pretty much guarantees I will complete a quilt start to finish. I get to meet new people, witness their talents, and participate in their quilt process.
3rd I wanted to learn the technological parts of a quilt along. This means applying what I learned in Adobe Illustrator to write the quilt pattern, and to make the graphics for the newsletter, YouTube, the blog, and Instagram. I also learned about newsletters, and some other techy stuff. And, I am still learning how to deal with technological hiccups.
I would love to hear about what brought you on this quilting journey with me. Feel free to write in the comments.
Let’s Get Down To Business
Here is what is on the agenda this week:
- Attach the blocks and make rows
- Attach the rows to make the quilt top
This week we are taking all those lovely blocks and attaching them together to make rows. Then the rows are attached together, one by one, until you have your quilt top. eeeeek! I am over the moon that we are finally here.
The best way to see how to do the assembly is with your quilt pattern diagrams and with the videos. But, here is also a written explanation in this blog post.
Need a visual? Head to the end of this blog post, download the pdf, and print the diagram:-)
An Example of How to Assemble the Rows
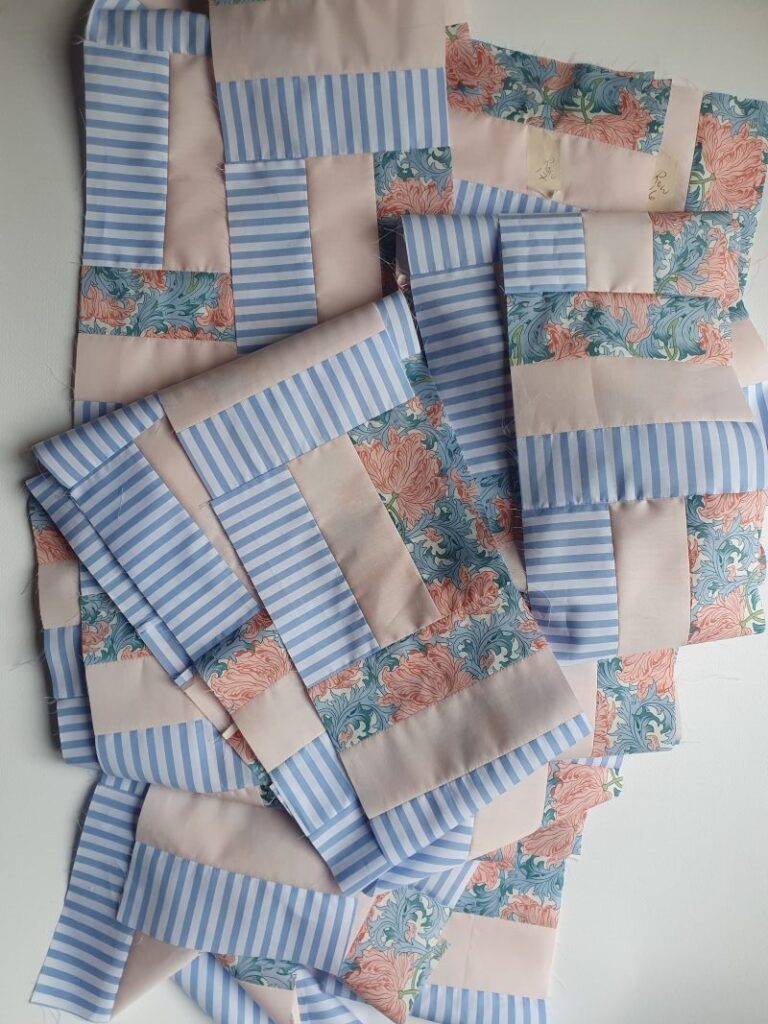
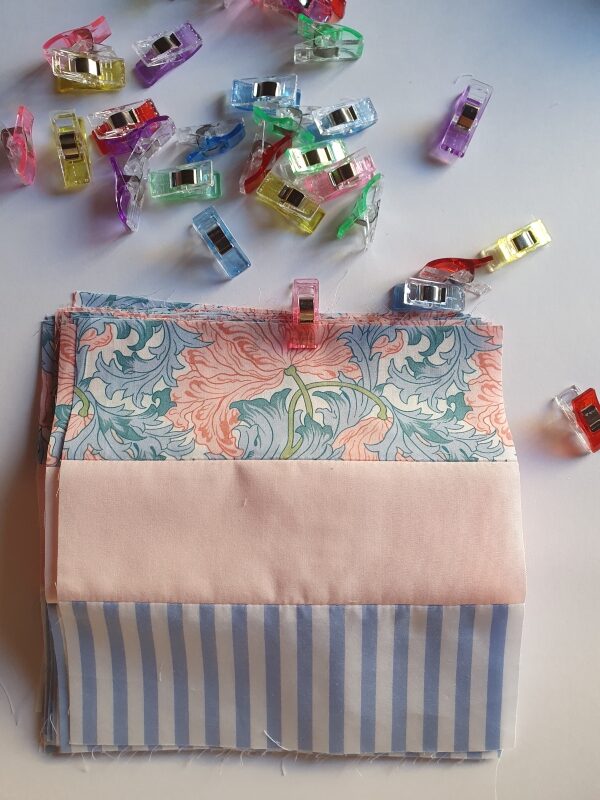
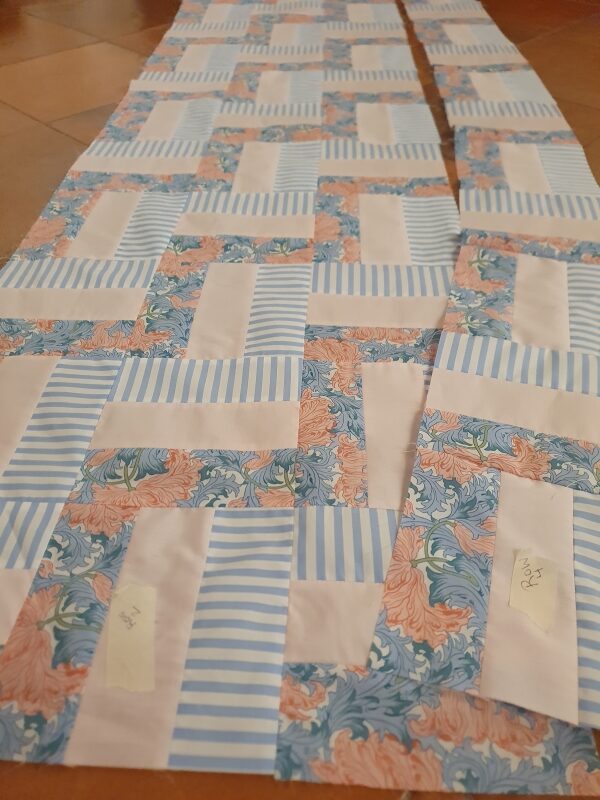
Take your first block for row 1. Set it in front of you with the strips in a horizontal position. Write on the masking tape, “row 1”, rip off the piece of tape, and stick the tape on the block. Now you can easily see the first block of the row and the direction of the first block. Next, take another block, put the strips in a vertical position. Lay the blocks good side to good side. Pin the blocks in place and stitch a ¼” seam.
After you sew the blocks together, open the block. Find the block with the piece of tape on it. Ta-da! Now you know immediately, that the taped block is your first block of the row. Continue the process of attaching the blocks (one horizontal, one vertical, one horizontal, one vertical…) until you reach the end of your row.
After row 1 is complete, grab another set of grouped blocks. Take a block for row 2. Set it in front of you, this time with the strips in a vertical position. Write on the masking tape, row 2, rip off the tape, and stick the tape on the block. Now you have the first block of the second row labeled and you can see the direction of the first block. Next, take another block, put the strips in a vertical position. Lay the blocks good side to good side. Pin the blocks in place and stitch a ¼” seam. After you sew the blocks together, open the block. Find the block with the piece of tape on it. Again, now you know immediately, the taped block is your first block of the row. Continue the process of attaching the blocks (one vertical, one horizontal, one vertical…) until you reach the end of your row.
When you are ready for row three, repeat the steps of row one and row two.
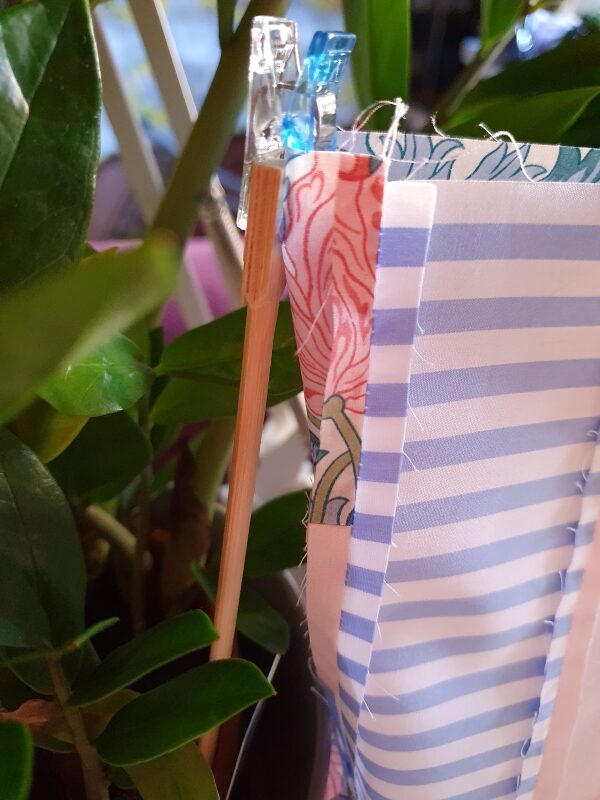
As you build your rows, keep a diagram handy. I used chopped sticks from sushi take-out to hold up my example. Haha! I just pushed the chop sticks into my potted plants and then clipped my example to the chopsticks. You can also just print out your pattern, and look at the diagram. Attaching the diagram to chopsticks is optional. Hahaha!
My Biggest Tips:
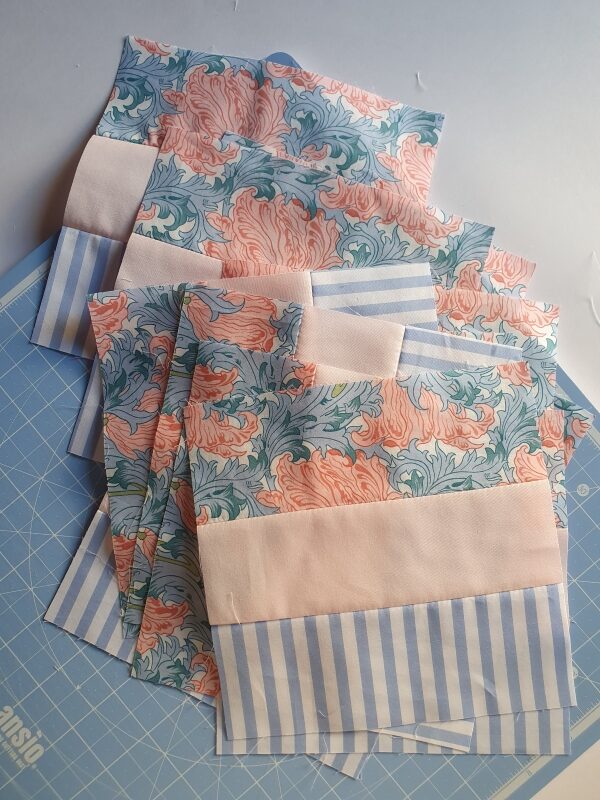
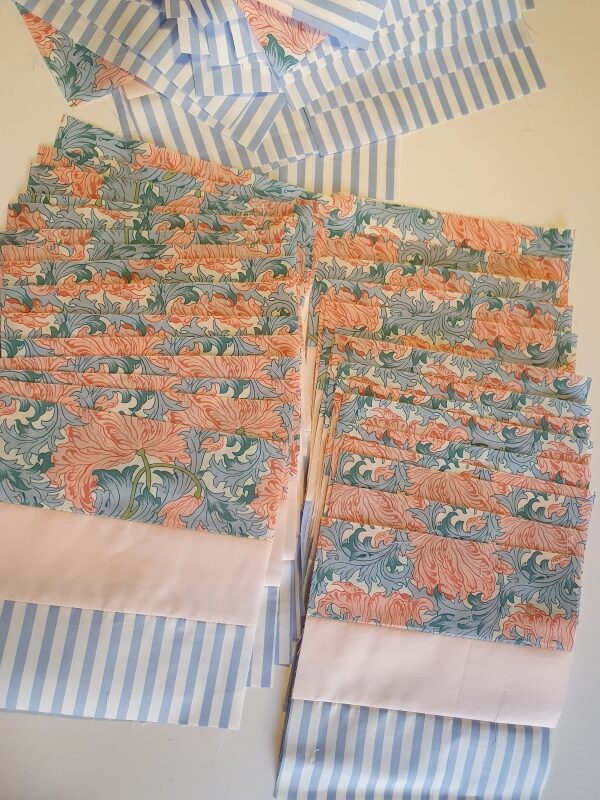
-Count how many blocks are needed per row. Then, group your blocks. It makes the assembly process faster.
-Have a diagram handy to glance at. It will keep you sane!
-Use masking tape to label your rows. This will also keep you sane!
-Press open all the seams. There are a lot of seams in this quilt pattern and I found open seams to be the most orderly way to assemble this quilt.
-Use pins to hold the blocks together
-Stitch at the ¼”
-Stitch carefully, to make sure the seams remain open
Quilt Top
Once your quilt top is assembled together. Take a deep breath. And, take a bow. You did it!!! Next, take a moment to think about the finishing touches for your “quilt sandwich”.
Do you want to use a long-arm quilt service?
Or
Do you want to make the quilt sandwich at home?
Long Arm Quilt Service
This service is something I would love to try. In Italy I am having a difficult time finding a long-arm quilt service that I can trust to do a good job. In the USA, I have seen many wonderful examples of the long-arm quilting. So beautiful! There are fans, arcs, feathers, geometric designs; you name it! If you go this route here are some things to ask the service provider:
-Do I need to do anything to prepare my quilt for your service?
-What is the cost?
-Can I choose the design?
-What is the turn-around time for you to complete the quilting?
-Is binding part of the process? Is this an additional fee?
At Home Quilting
Starting on week 5, there will be a blog post and a video demonstration of how to quilt your quilt. I don’t mean to be redundant but how else can I say “quilt your quilt?” haha! In week 5’s tutorial, I will demonstrate how to assemble the “sandwich” and stitch your quilt together on your home machine. You can do any design you want! However, I will only demonstrate simple straight lines. I won’t show how to free-motion quilt or how to hand-stitch because I feel like those are video series all by themselves.
If you have the Rail Fence Quilt Pattern, I also have a video for you to visualize the steps.
And, there are more links at the end of this email to help you with the quilt.
Here are some more links to help you with the Rail Fence Quilt Along.
Download this pdf, if you want a visual diagram to look at while you assemble and sew.
As a reminder, Let’s Stay Together:
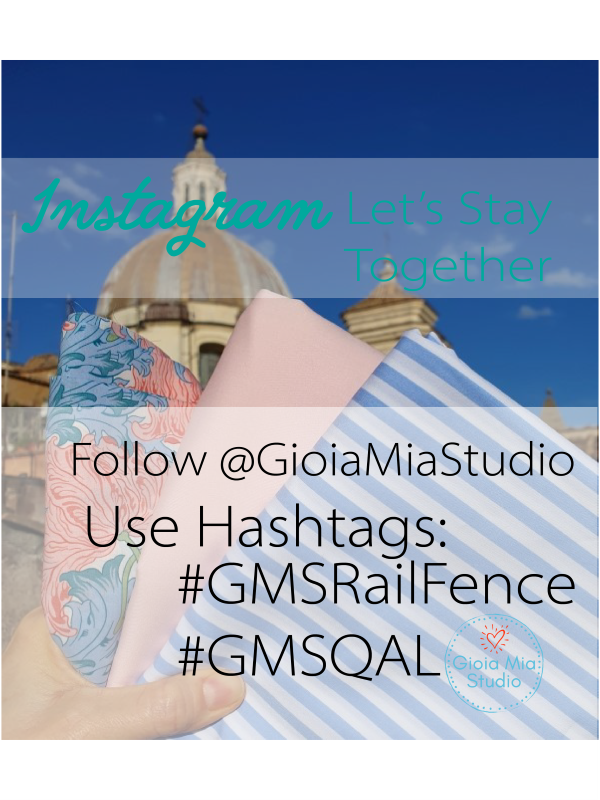
INSTAGRAM
Be sure to follow me @GioiaMiaStudio
#GMSRailFence #GMSQAL
Instagram is enormous and to keep us together during this quilt along, let’s use a hashtag. Then we can follow the hashtag and follow each other’s accounts. #GMSRailFence #GMSQAL
Not sure how to make a hashtag (the pound sign, #)? After you choose your photo, Instagram will prompt you to write a post. After you write your message, you type this: #gmsrailfence or #gmsqal.
Thanks so much for stopping by the blog! I’m wishing you a successful week four!
Sending you lots of joy from Rome,
Rachel