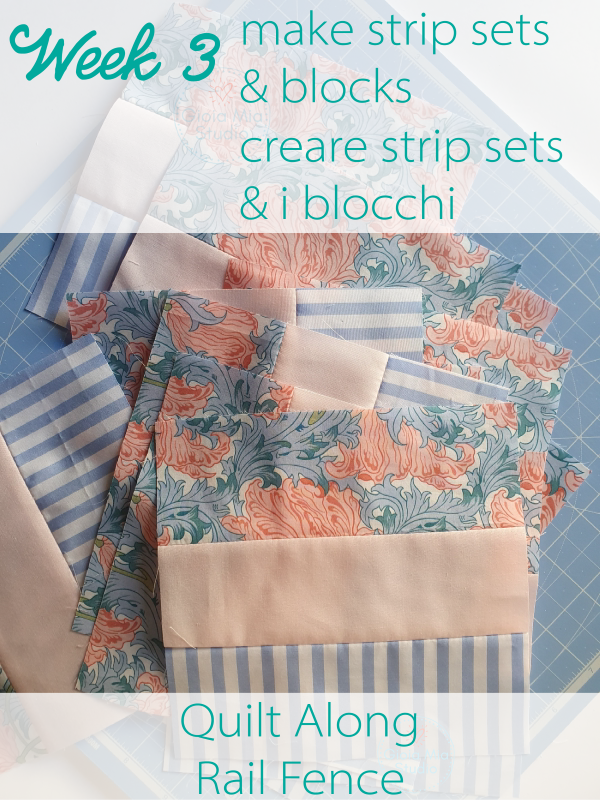
Quilt Along Rail Fence Week 3
Welcome to Week 3 of the Rail Fence Quilt Along. How did it go cutting your strips? I hope it went well and that the video was helpful. This week I have another video for you!
Here is what is on the agenda this week:
- Make Strip Sets (combine the three fabrics into a set)
- Cut the Strip Sets into blocks
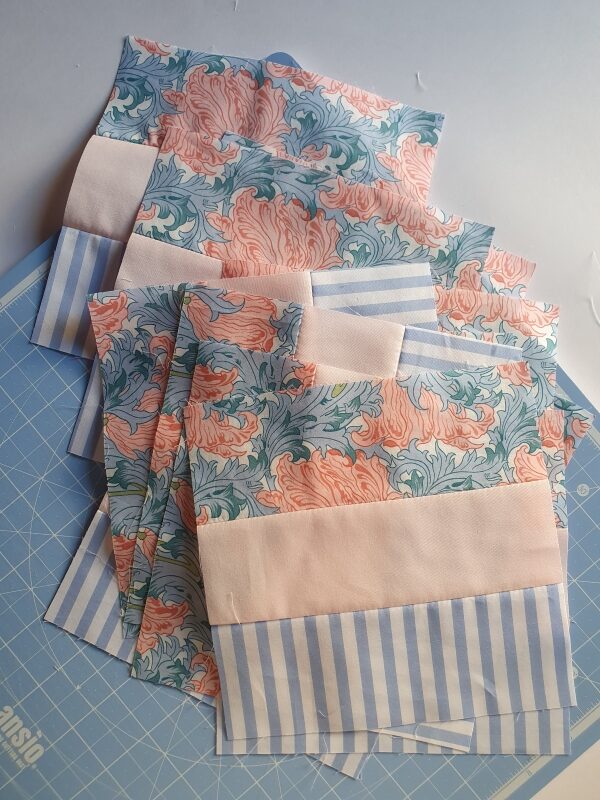
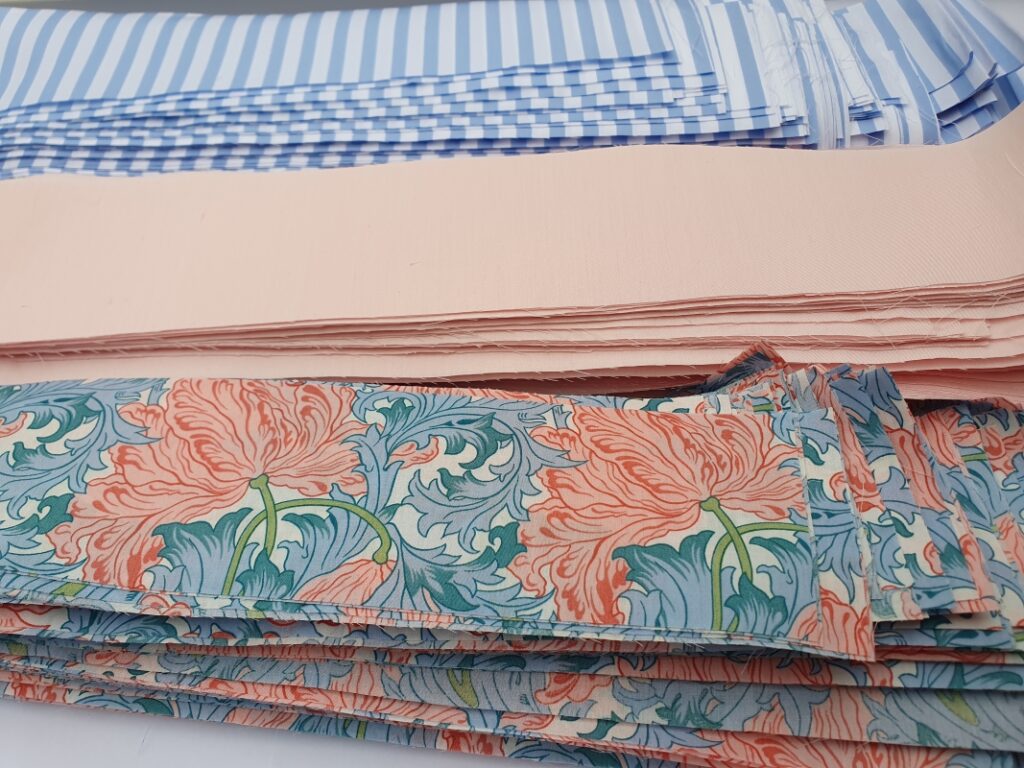
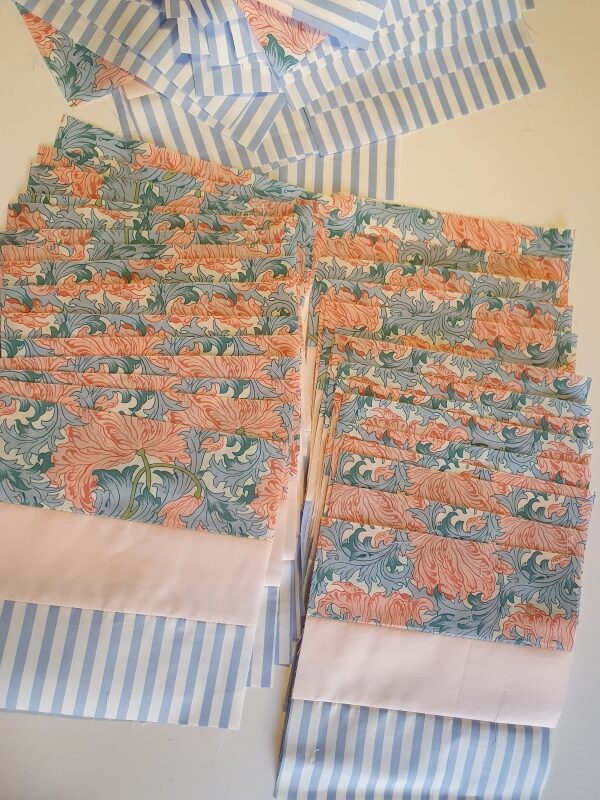
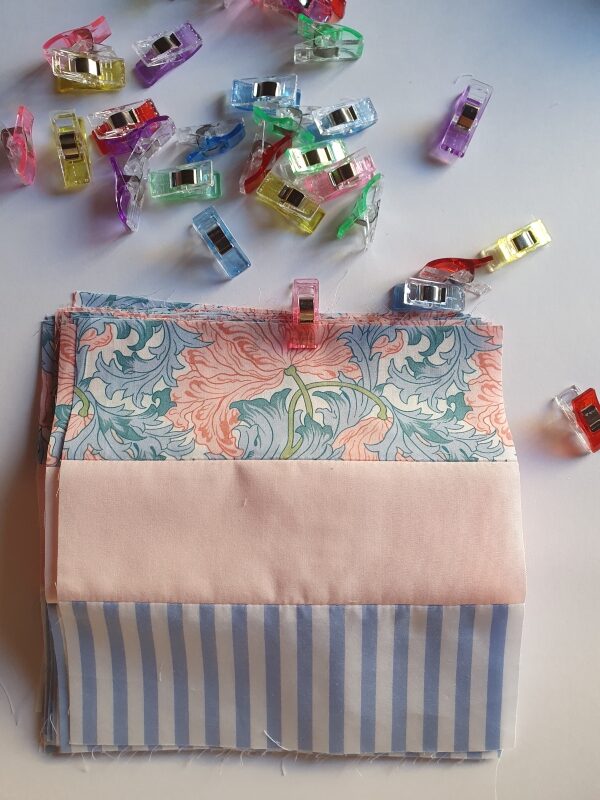
Unfortunately, I don’t have any photos of my strip sets, I only have video. What a pity! I am always taking photos but I must have deleted the strips sets or just totally blanked. It happens, I suppose. But, I have lots of photos of the blocks! Haha!
I think you will love how easy it is to put the strip sets together. Take your time with the first set to really understand the assembly process. After one set, you will fly with the rest.
Some tips for the strip sets:
- Make an example for yourself. Hang it in a location that is easy for you see. As you assemble your strip sets, it is nice to have an example. This way, you are more likely to sew the strips in the correct order. (How many times have I had to take out my seam ripper?!?!)
- Pin the strips together. It is time consuming but it makes sewing so much easier. And, the accuracy of pinning saves you time.
- The Quarter Inch seam – some people prefer to use the presser foot as an indication of the ¼ inch seam, and others prefer the ¼ inch marker on the sewing plate. It is up to you. The important thing is to choose one method and stick with it throughout the entire project! If you switch back and forth, your quilt will have different measurements and end up not aligning properly. That would be a big bummer!
See this blog post about the 1/4inch seam. - Take the time to iron open the seams. For this Rail Fence quilt pattern, I discovered that pressing open the seams makes life easier, for down the road, when we sew our blocks and rows together.
- Starch is a wonderful thing! When you press your strip sets, use some starch to keep them crisp.
- Take your time and enjoy the process. This is the most important😊
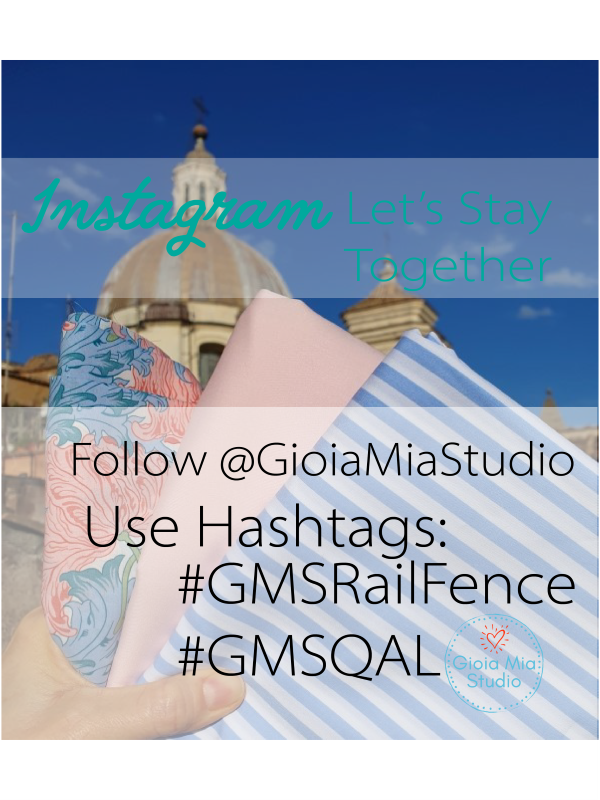
As a reminder, Let’s Stay Together:
INSTAGRAM
Be sure to follow me @GioiaMiaStudio
#GMSRailFence #GMSQAL
Instagram is enormous and to keep us together during this quilt along, let’s use a hashtag. Then we can follow the hashtag and follow each other’s accounts. #GMSRailFence #GMSQAL
Not sure how to make a hashtag (the pound sign, #)? After you choose your photo, Instagram will prompt you to write a post. After you write your message, you type this: #gmsrailfence or #gmsqal.
If you have the Rail Fence Quilt Pattern, I also have a video for you to visualize the steps.
And, there are more links at the end of this email to help you with the quilt.
Here are some more links to help you with the Rail Fence Quilt Along.
Happy Sewing!
Sending you lots of joy from Rome!
Rachel