Essential Quilting Tools Part 2
Sandwich! Quilt Sandwich! Get your red hot quilt sandwich! Haha
Congratulations! You are probably here because you’ve pieced your quilt top together (aslo known as patchwork) and now you’re ready to quilt everything together. Some people ship their quilt off to a specialist who will professionally do the quilting for you. This specialist is called a Long Arm Quilter. I am envious of this service option! It isn’t so easy to find or afford a Long Arm Quilter in Italy.
But, why not do the quilting yourself?!?! You can! This blog post will explain the tools you will need to tackle quilting at home. At another time, there will be a blog post with how to decoratively quilt the three layers together.
In case you’re not sure what I am talking about, the stage of quilting is when you have
1) the completed the patchwork or piecing of your quilt. This is the pretty decorative part with pieces of fabric that make a pattern like the classic Rail Fence, Irish Chain, and new modern ideas.
2) A padding is put in between the pieced patchwork quilt top and the backing. Batting is the correct name for the padding of the quilt. There are many options such as: 100% cotton, Polyester, Wool…and more! (read more below)
3) Next a large piece of fabric is used to put on the back of the pieced quilt. This is called the quilt backing. If you are following a pattern that you purchased, it will list the amount of fabric you need for a quilt backing.
Sometimes the backing is sold in very long pieces called Quilt Wide Back fabric. Often you need to piece together quilt fabric to make one big piece. I am confident that if you just completed the patchwork, you can make a quilt back😉
4) The three pieces (pieced patchwork, batting, backing) are attached altogether by using the sewing machine or hand stitching. It is up to you.
Here are the tools you will need to complete the quilt (“sandwich”).
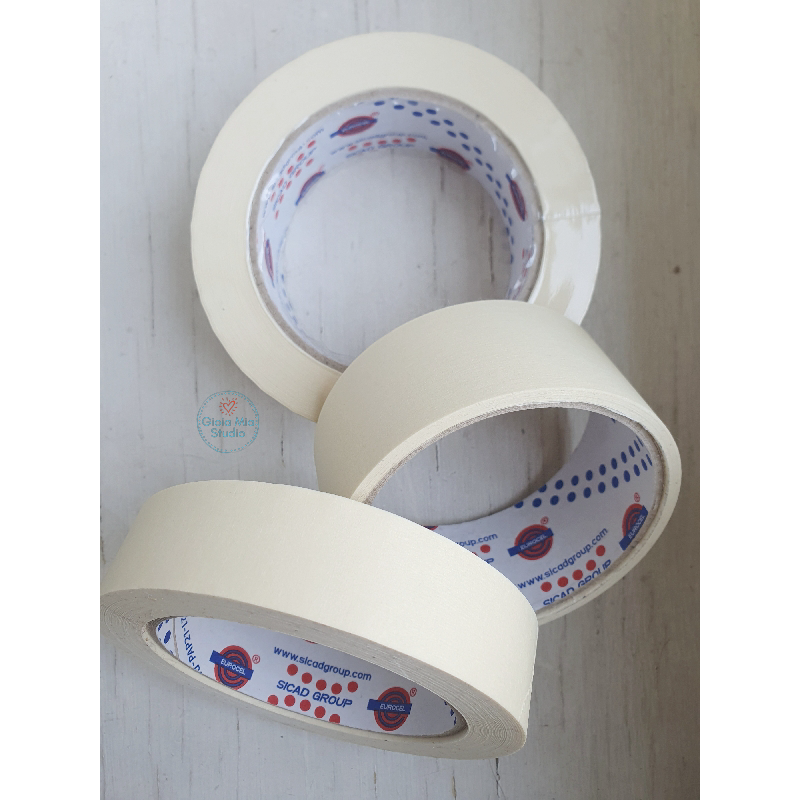
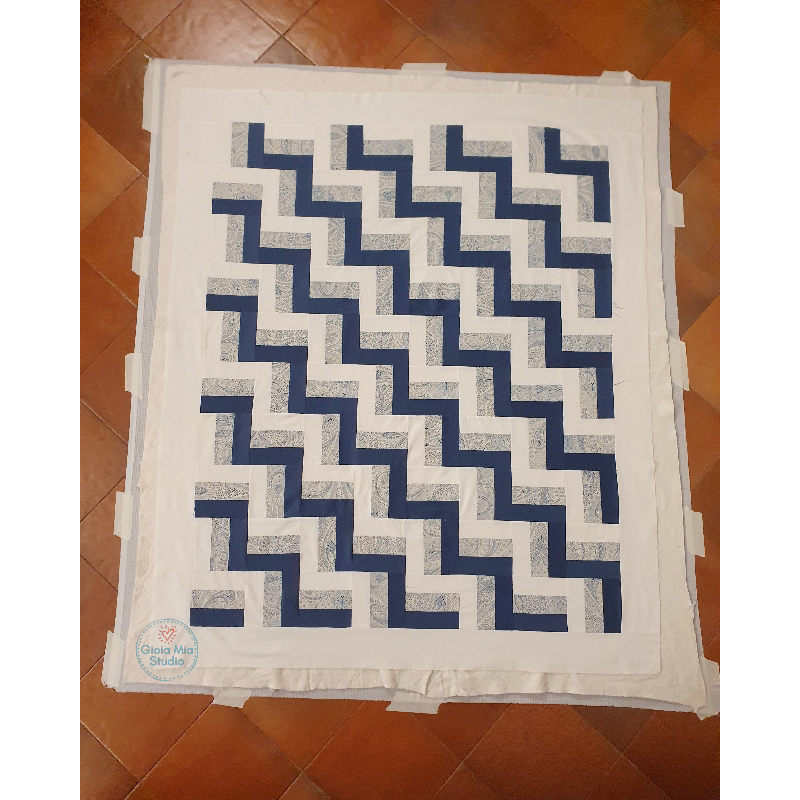
Masking Tape. I know, it sounds weird but it is an essential tool. You’ll use masking tape to arrange your quilt backing into place. I like to tape my backing to the floor.
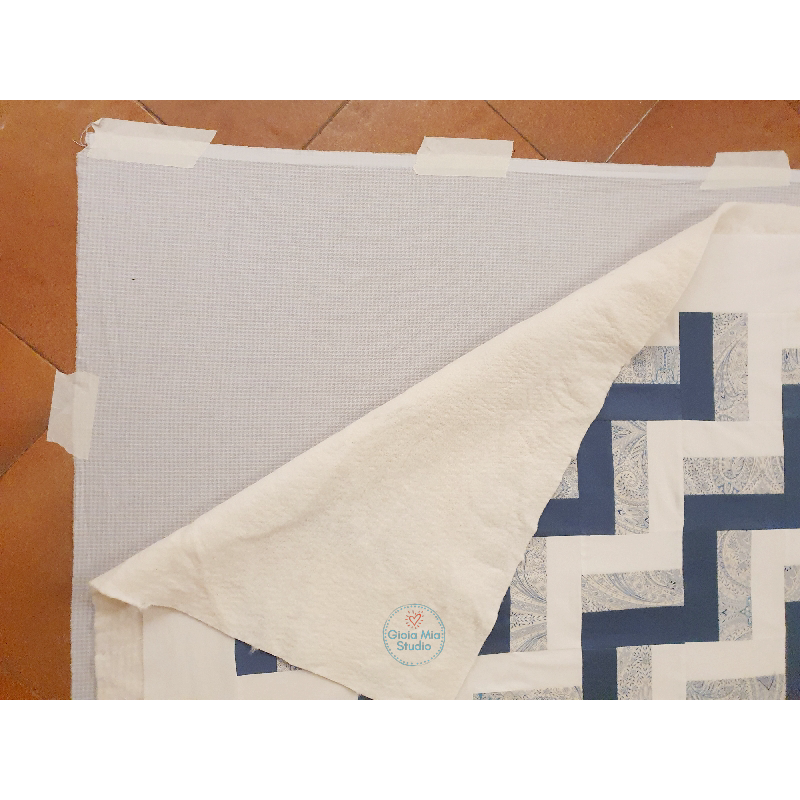
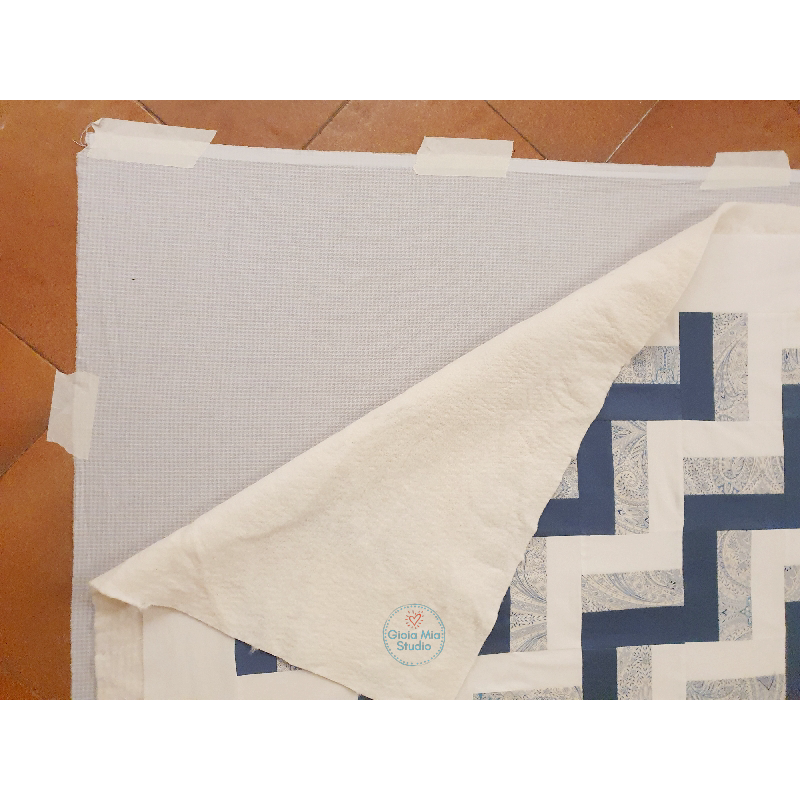
The masking tape holds the large quilt backing in place. (The good side of the backing fabric faces the floor. The bad side of the backing fabric faces up to you.) The taped down backing allows you to arrange the “sandwich” layers. When you’re ready, you lay the batting and patchwork on top of the backing and the backing won’t fold or pleat, or move.
Here is an example of my quilt before I baste it with saftey pins. The masking tape holds my backing to the ground. I can easily move and adjust my batting and patchwork without readjusting the backing. Everthing stays flat and smooth.
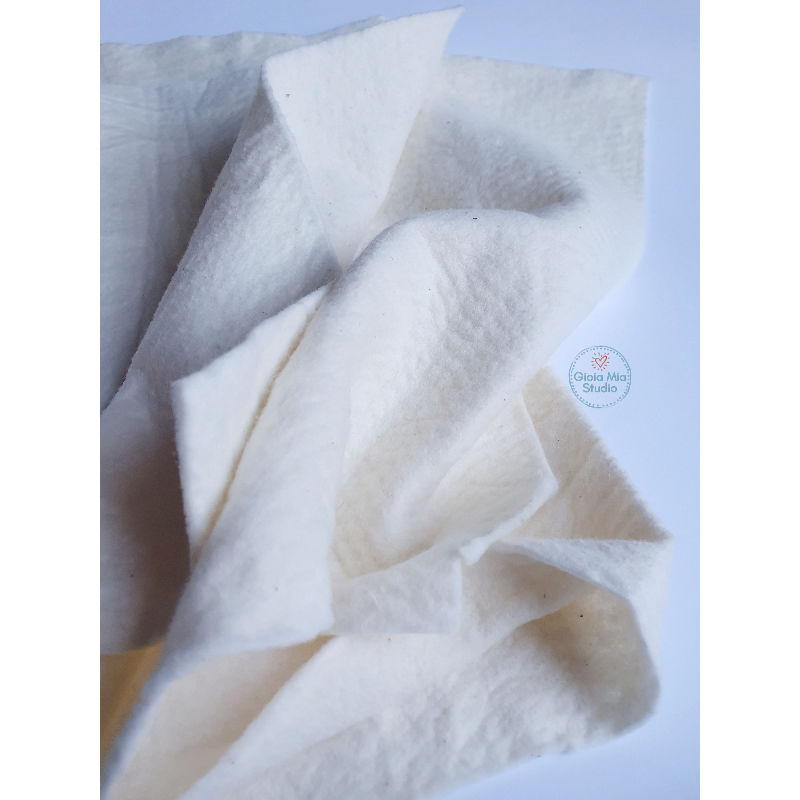
Batting is the padding in the quilt. There are many options on the market. Choose the one you like the best. If you’re not sure what to choose, I can recommend the following:
1) For a totally natural fibers blanket try a batting made of 100% cotton. Use cotton fabric for piecing, the backing fabric, the batting, and the thread. Quilts of 100% cotton are great for breathability, the skin breaths better and retention of heat is equalized with natural fibers.
2) If totally natural is not high on your list of priorities, a slightly less expensive option is 20%polyester and 80% polyester. There are also completely batting synthetic options. It comes down to your needs and budget.
3) Wool batting is quite a cozy option. Wool needs special care when washing. Other than that it is easy to work with. Some quilters have said they have concern for how to store wool quilts. I just store my wool batting quilts like I would my wool sweaters. I put them in a roomy container with a bar of soap or a pretty scented bar (tavolette) from Farmacia Santa Maria Novella.
TIP: No matter the batting, I never store quilts in a plastic bag; there is no room for the quilt to breathe and mold can develop. Ewwww!
4) Bamboo batting is something I am less familiar with and I don’t have advice on it. If you have an opinion on it, comment below!
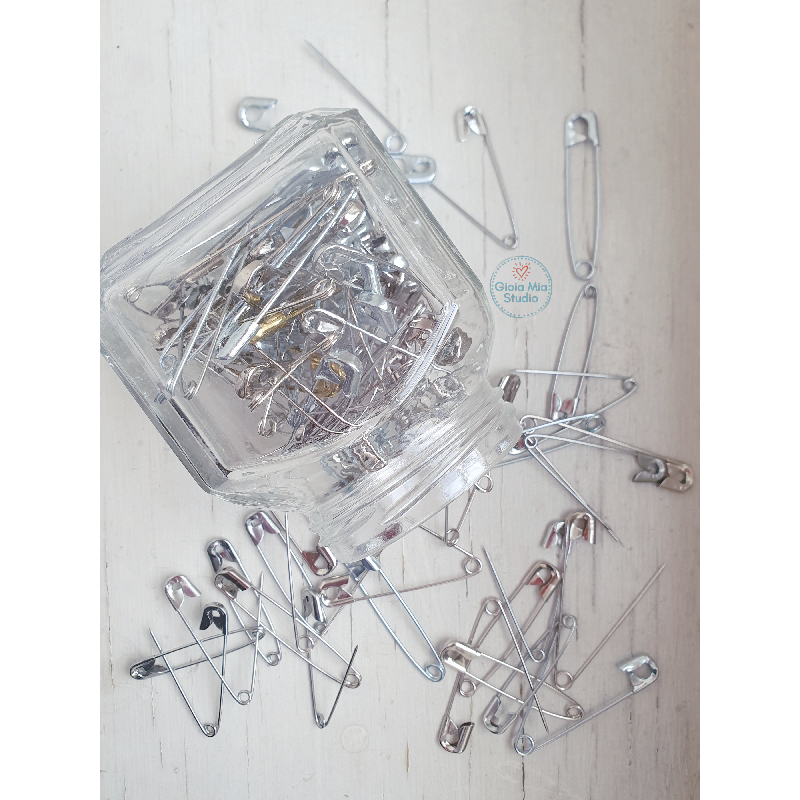
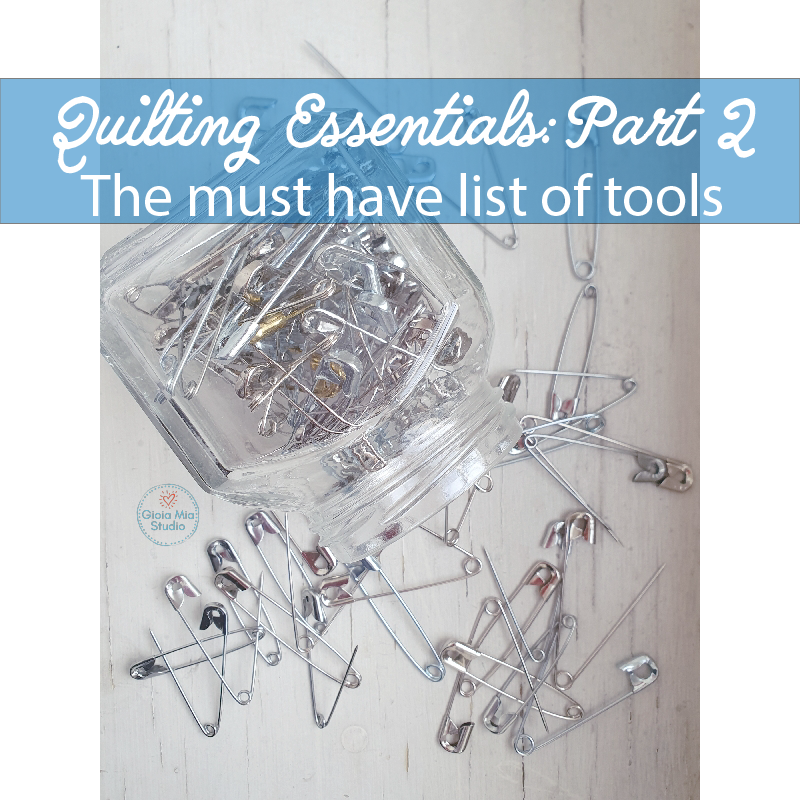
Safety Pins: I admire the massive safety pin on a Scottish kilt. My dear lassie, the safety pins I am writing about are for holding your quilt sandwich together! Sorry, to disappoint! Haha😊Saftey pins are a wonderful option for those who want to keep their quilt 100% natural. When quilting, the safety pins are evenly distributed over the quilt. The safety pins capture all three layers of your quilt. This process is called basting. When you finish pinning the safety pins, you can without worry, carry the quilt to the sewing machine to sew all the layers together. The layers won’t move too much now that they are held in place by the safety pins. (It is a personal choice but I only use the safety pins for the baby quilts. I don’t use the spray glue – below.)
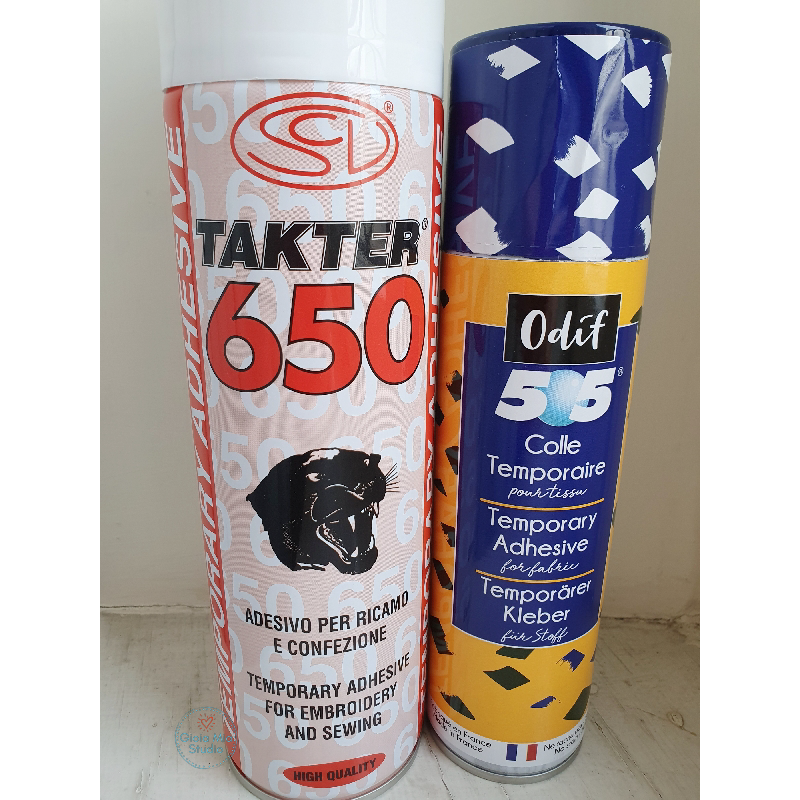
Spray Glue: This is the alternative to the safety pins. This option is not natural because you spray a glue onto your quilt. The glue is a sticky substance and sometimes has a chemical smell. Yes, you are spraying a chemical onto your batting. Soooooo, avoid this if you want to stay granola. That being said, have I used the spray glue? Absolutely! I love it! I baste so much faster using the spray glue. And, it is less pressure on my knees because this is done on the floor. Don’t throw away your COVID masks! I highly recommend opening all the windows and wearing a mask when using the spray glue.
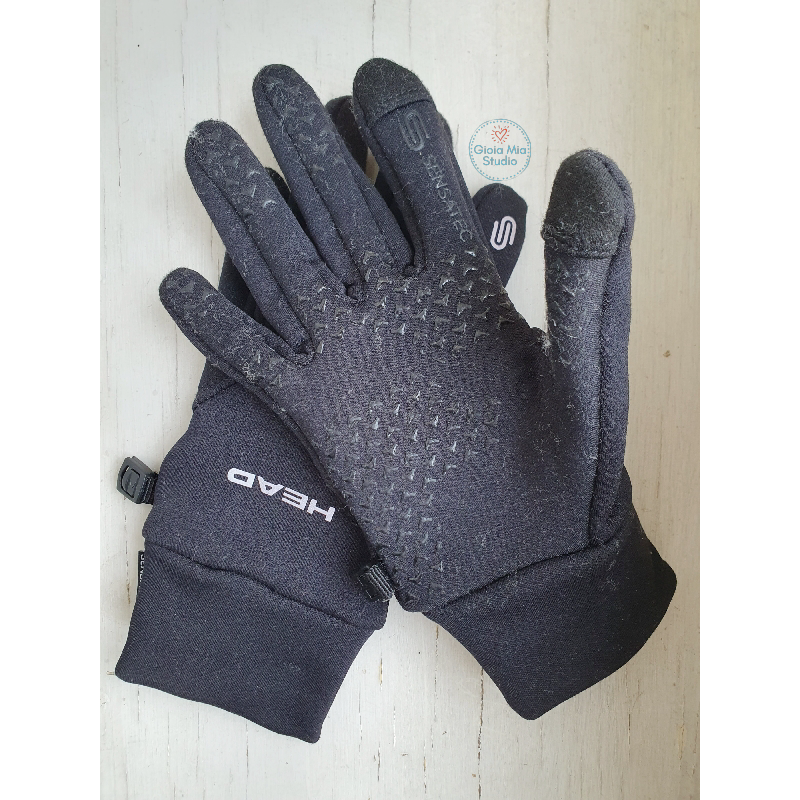
Quilt Gloves: These are very helpful for gripping the quilt while sewing the sandwich together. As you do your quilting, the oils of your hands will absorb into the quilt fabric. This means your hands will get slippery and a bit tired. The gloves are a great way to combat this! My gloves are not the stereo typical quilt gloves. Haha! They are ski gloves by Head; they have grips and the fingertip works with the screen of my cell phone. I love them. I picked them up years and years ago at Costco for $12. They are lightweight, stretchy but tight, and full of grips. As a side note, I also think a fine pair of gardening gloves would work out but I’ve never tried it out.
Walking Foot or Darning Foot: The walking foot is this odd looking large foot. It helps pull the fabric evenly through the machine, specifically on the top. This is important when fabric layers are thick. The dog feed of the sewing machine will pull the lower layer through the machine. Without the walking foot, the top layer can end up with drag and get behind the lower layer. So, the walking foot assists by pushing the top layer along, too. The result with the walking foot: the layers of fabric are evenly pushed through the machine. Ta Da! The walking foot makes straight lines. But, a lot of cool designs can come from straight lines. And, straight lines can look very modern and elegant.
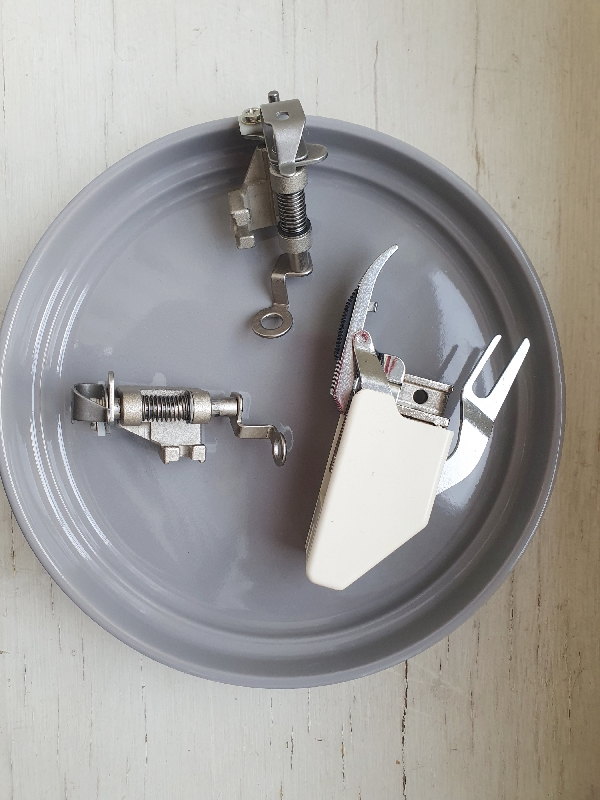
If you want to free motion quilt, you will need a darning foot. Free motion quilting involves dropping the feed dogs and you push the fabric under the needle to make a design as if you are drawing. Straight lines are for the walking foot. Free motion allows for curves, feathers, wreaths, puzzle pieces, etc. I am not going to say much else about the topic of free motion quilting. It is a topic all by itself. Don’t be afraid to google how to do free motion quilting. Try and practice on some scrap fabric pieces. Make a mini scrap quilt sandwiche and go for it. It can be fun. It just takes some patience and practice.
I recommend thread number of 30 or 40. My favorite cotton quilting thread is Cucirini Tre Stelle.
Thread: There are some different options for quilting a design with thread. Quilt designs show up best with a thicker thread. They are easier to see when the thread is thick and it gives that cozy quilty look. How do you know what constitutes a thick thread? All you need to do is ask for a sewing thread of 30 or 40 weight. I like to use cotton thread, weight 30 or 40 when I make my quilts.
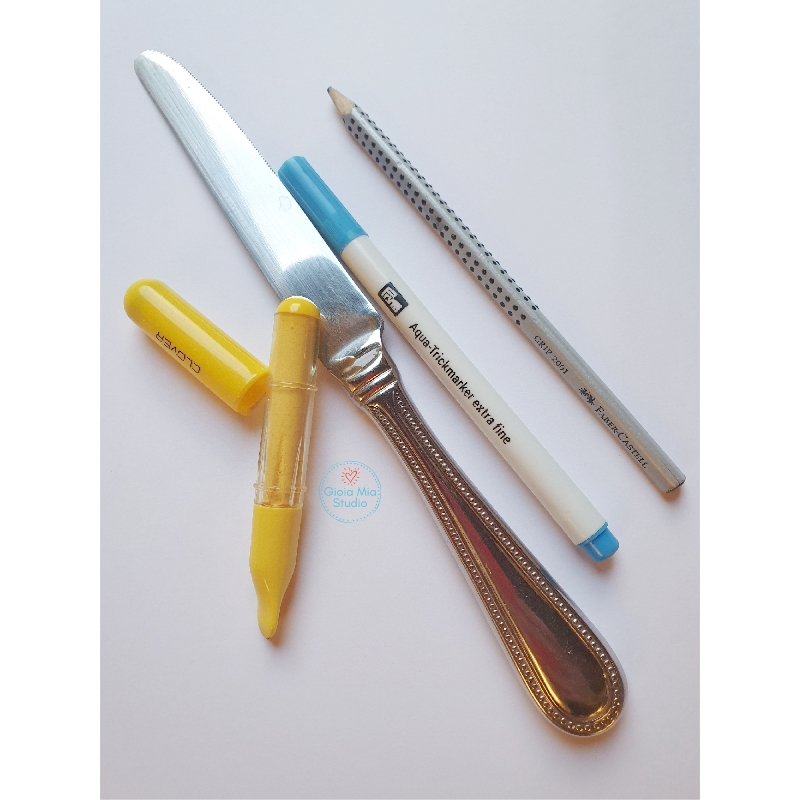
Marking Tools: You’ll need to see where to make your quilt design. Lines or feathers, you’ll need to mark your fabric somehow.
Natural option: Hera Marker or butter knife (use the non teeth side). You just push with this tool into the quilt and the pressure leaves an indentation. Just follow the line and sew!
Washable marker: There are many washable markers out there. You can mark up your quilt and then sewwwww awayyy over your design. Make straight lines, lines that cross hatch, feathers, you name it! Just make sure you TEST THE MARKER on piece of your quilt fabric before you mark all over your quilt. You want to test by drawing on the scrap of fabric, and then wash it. See if the marker is gone before your commit.
Pencil – I don’t recommend it. I mean, do as I say not as I do…I use a pencil. But the pencil doesn’t always wash away. And, the residue is ugly.
Chalk – Just like the markers, sample the chalk on a scrap piece of fabric to make sure the chalk washes out of your quilt fabric. There are lots of companies sell chalk pens, like the yellow Clover chalk pen in the photo.
I hope this list of quilt tools is helpful to you. Thanks for reading! If you have questions, please feel free to comment. Do you have a favorite quilt tool? Tell me in the comments:)
I send you joyful greetings from Rome!
Rachel
