Learn an easy and quick way to cut fabric
Quilting requires a lot of cutting, which requires a lot of time. But, what happens when you love speed and accuracy? Let’s look at how to cut quilt fabric.
I have a method of cutting that will shorten your cutting time and it will give you precise results. It will require some specific tools, most of which I’m sure you already have:
- cutting mat with a grid
- long ruler
- rotary cutter
- fabric
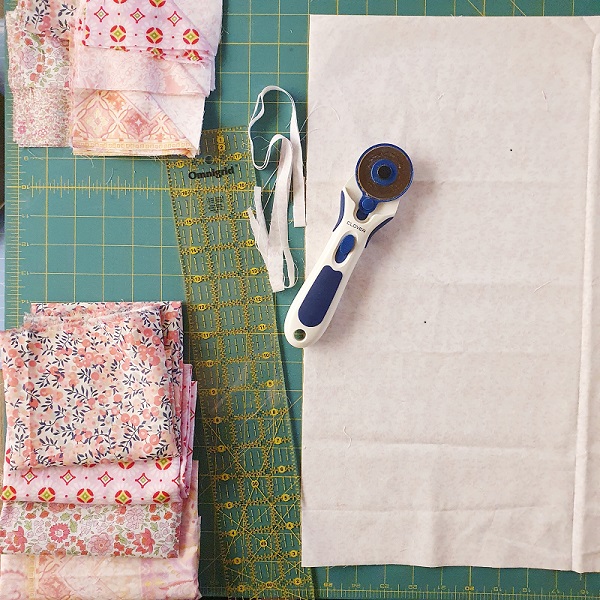
Squares Squares and Rectangles
This example to cut fabric will yield a lot of squares. You can easily imagine, if you only add one inch to one side then you can have many rectangles instead of squares.
Step 1: The Horizontal
Start by giving yourself some space. It is important to position your body in a comfortable way over a table. Sometimes I use my dinning table to cut my fabric. I find it big and spacious.
Lay your mat down and gather your tools.
Fold the fabric WOF (width of fabric) or selvedge to selvedge.
You will cut through 2 layers.
Learn more about WOF or selvedge, click here.
Cutting more than 4 layers is not advised.
quick tip
Things get wonky.
Look at your mat and at the grid lines. Place the folded fabric edge along a horizontal line. Any line closer to the top of the mat is a good location because all your fabric can fit on the mat.
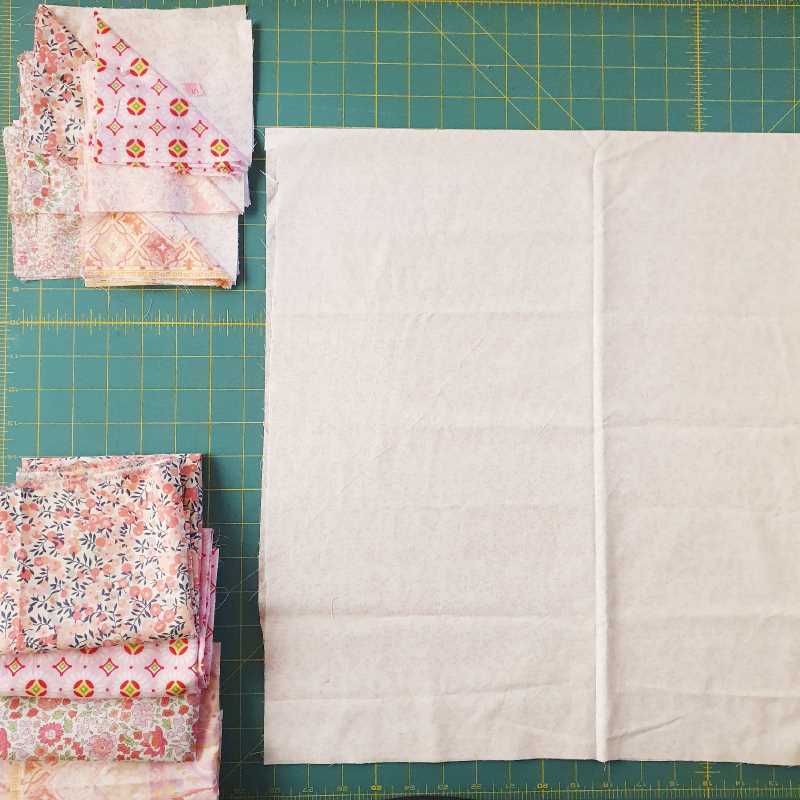
Lay it closer to the top of the mat. This way all the fabric will fit on it.
Step 2: The Vertical
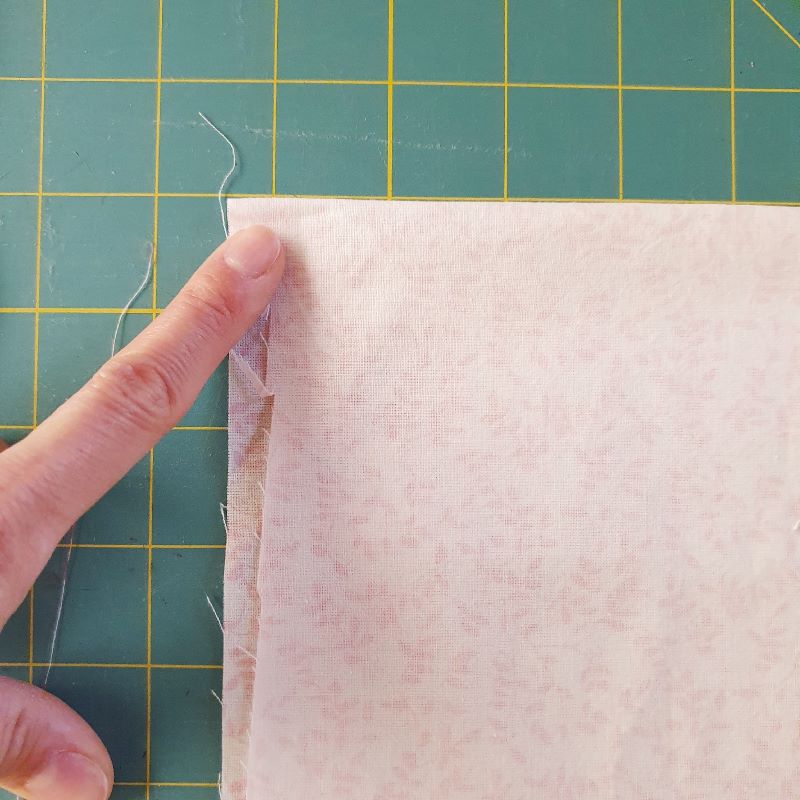
Now we need to examine the line of the fabric going downward or the vertical side of the fabric. Look at your fabric. Is it perfectly aligned with the vertical grid line? Probably not. We can fix that!
Let’s trim the vertical side of the fabric with our ruler.
We will use the ruler and the lines on the mat to help us. See the photo below for an example.
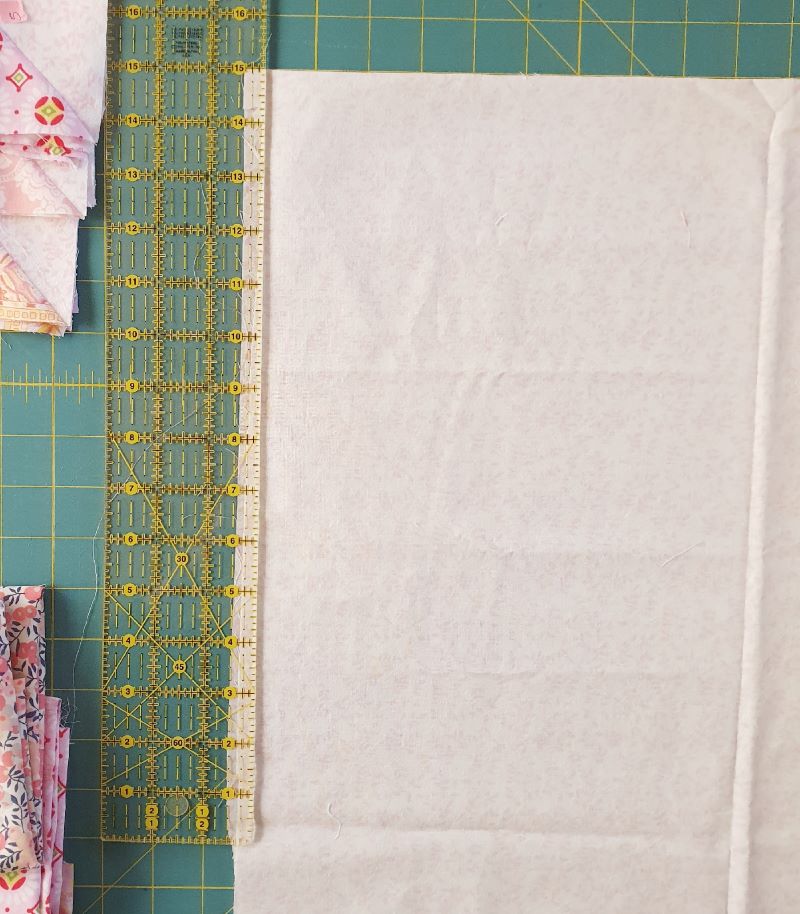
In this example, you can see the uneven line varies from 1/4 inch to 1/2 inch!
Bye bye, uneven vertical line!
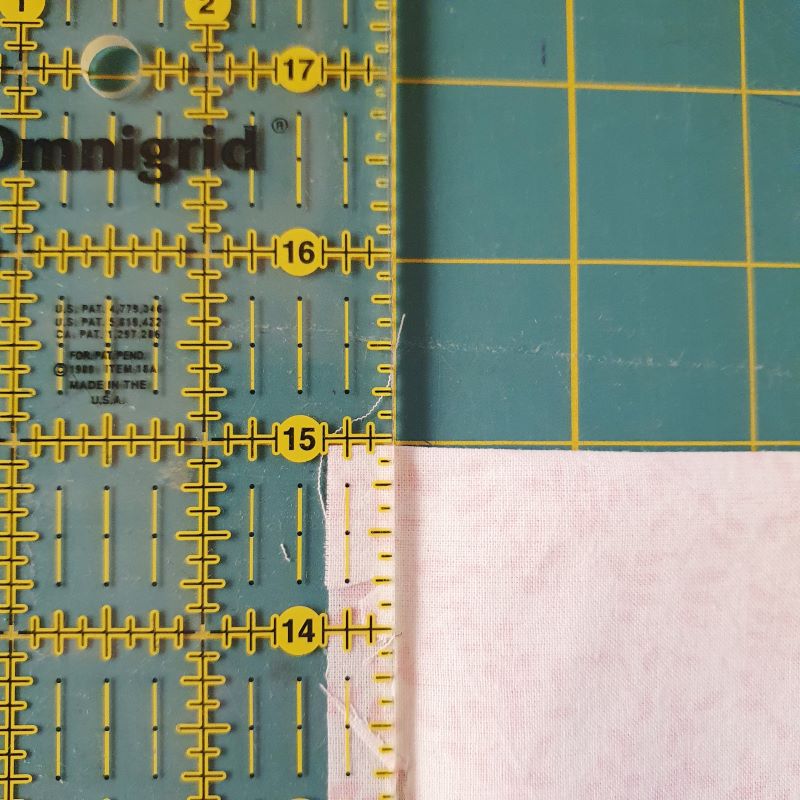
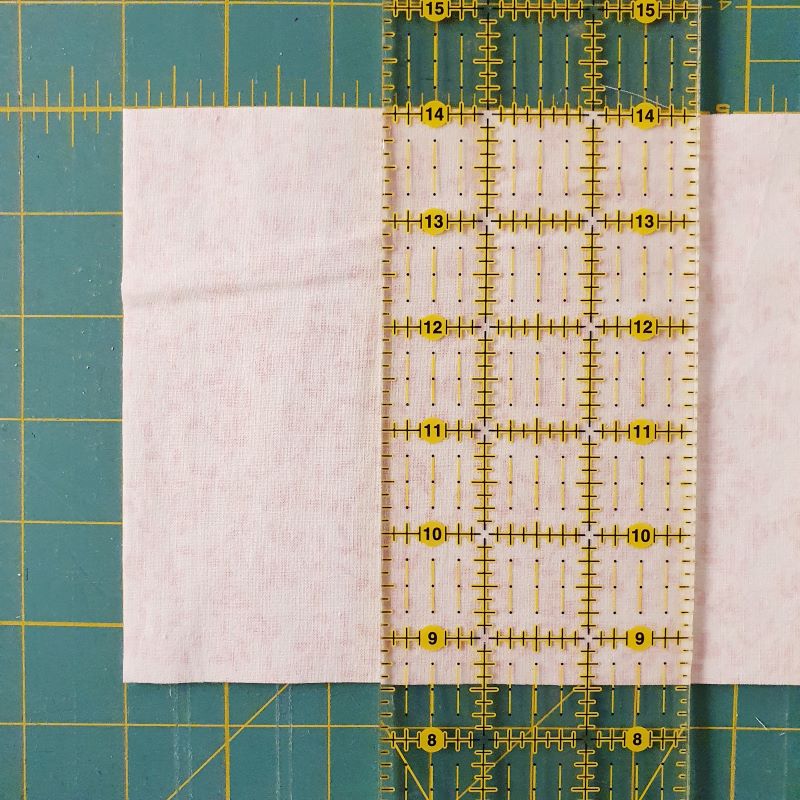
This is an up-close view of the ruler aligned with the grid line.
As long as the horizontal fabric alignment is good,
so will the trim of your vertical side.
Step 3: Ready to Cut!
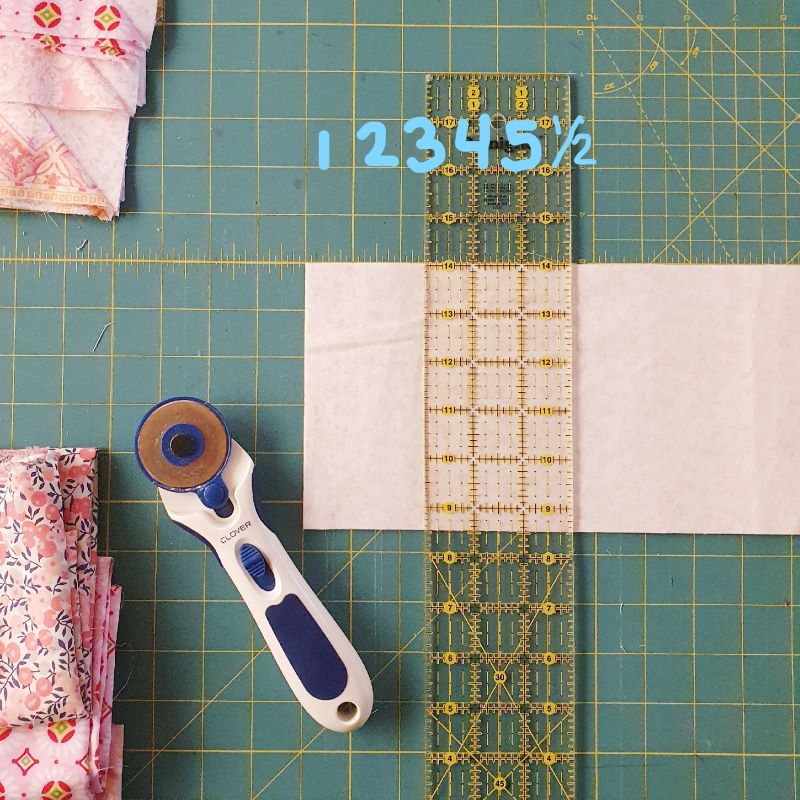
Now that the fabric is aligned, we are ready to cut. For my project, I need squares that are 5.5 inches.
On my mat, I count five and a half inches across.
I align my ruler with the grid lines at five and half inches at the top of the fabric and at the base.
This alignment at the top and the bottom assures I cut a straight line.
Voila I have my first 5.5 inch strip of fabric!
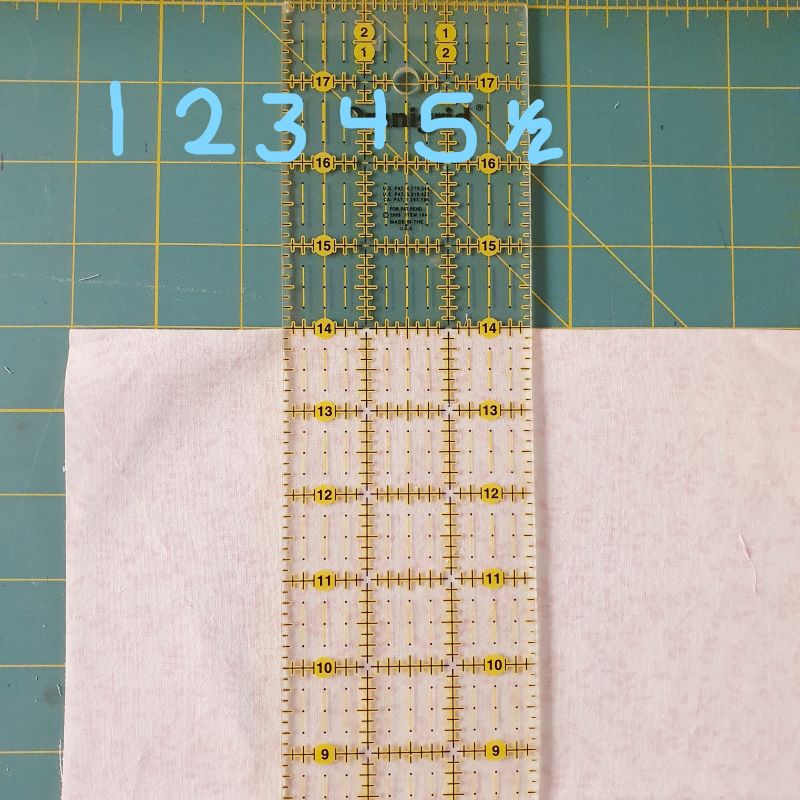
Count the amount of inches you need.
In my case, I needed 5.5 inches.
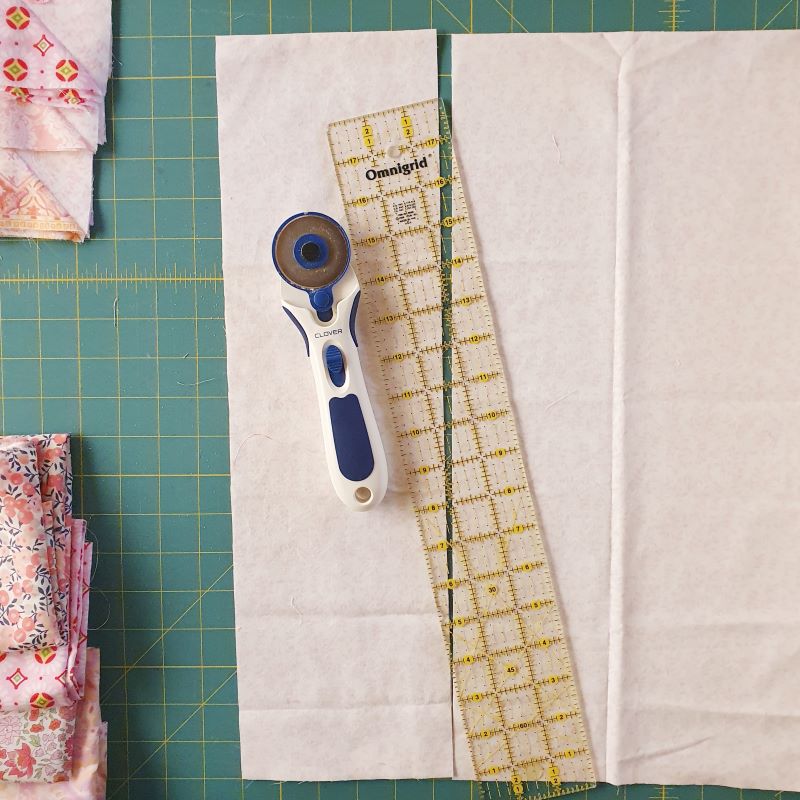
Then line the ruler at the top of the fold and at the base of the fabric.
Be sure that you are aligning the same lines at the top and bottom.
Step 4: The Final Cut
We are almost finished! We are flying!
Take the 5.5 inch strip of fabric, and lay it horizontally across the cutting mat. Line the fabric evenly along any horizontal line.
Check that your vertical line is even. If it is not, then trim it. (Just like we did in the previous steps.)
If you have a selvedge, now is the moment to trim it off.
Measure across and align your ruler. For my project, I need 5.5 inches.
I align my ruler with grid lines both at the top of the fabric and at the base. This assures I cut a straight line.
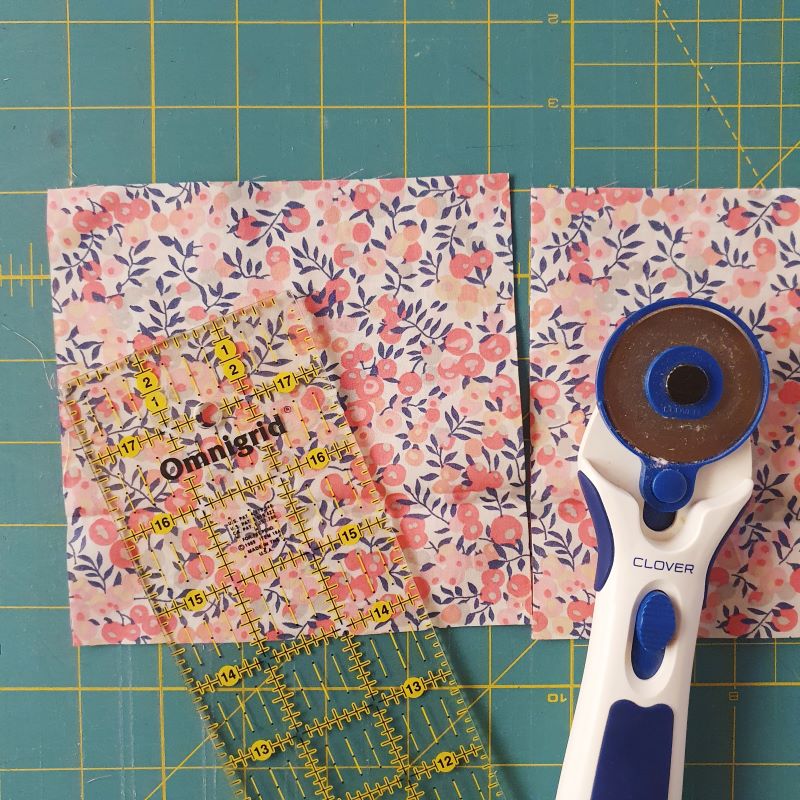
Slice with your rotatory cutter to make your square or rectangle. (If you folded your fabric, you’ll have two pieces)
Continue the same method for the remainder of the fabric piece.
I took the long 5.5 inch wide strip and laid it horizontally on the mat.
Next, I measured 5.5 inches across and lined up my ruler.
Next step, cut!
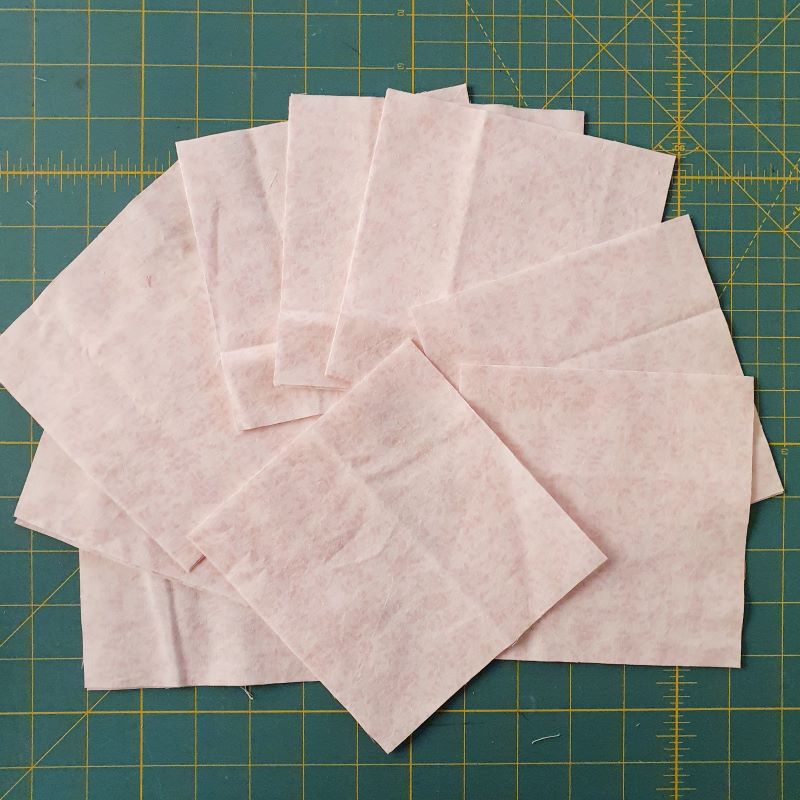
Before you know it, you’ll have all the pieces you’ll need!
For me, cutting is my least favorite part of quilting. Mostly I don’t like it because I find it time consuming. I just want to get to the fun part of sewing.
When I use this method my time is cut in half! Yes, the pun is intended!
I hope this cutting method makes things easy for you, too.
Mini-Bio🙂
Hello! I’m Rachel with Gioia Mia Studio in Rome, Italy. (pronounced joy-yah)
You’ve come to the right place to find quilt tips, free tutorials, and quilt joy.
Always have my newsletter and the latest quilt topics. Just sign up below. Follow along and be part of our quilt community on Instagram.
The form you have selected does not exist.
Leave a Comment
Are you going to try this method?
