Rail Fence Quilt Block
Would you like to learn classic quilt block patterns? Traditional quilt patterns are featured right here with step by step instructions. Plus, you’ll find tips and tricks to perfect your quilt skills.
Check out this beginner friendly quilt block, Rail Fence
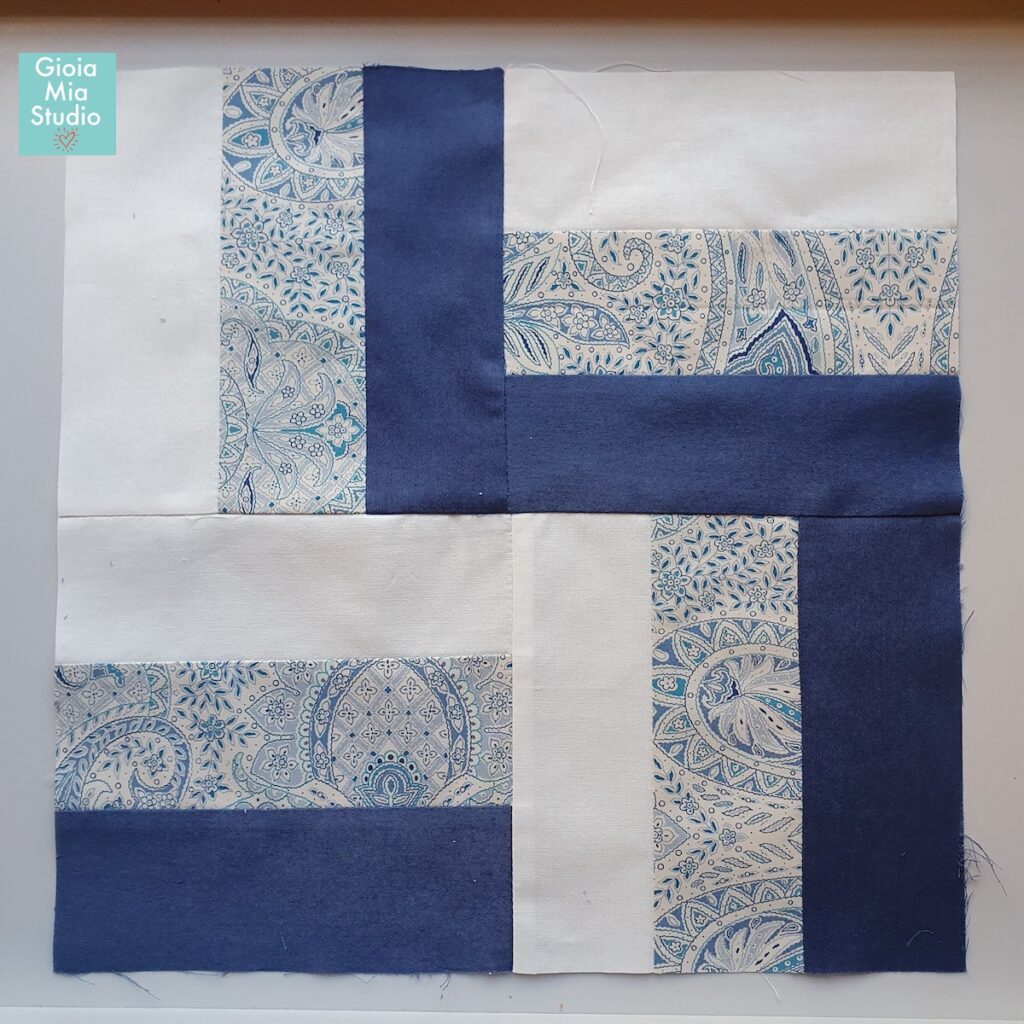
The Rail Fence is so easy!
Make an entire quilt in a weekend!
What you’ll need for one block:
- two – 2.5”x 14” color 1 (I used dark blue)
- two – 2.5”x 14” color 2 (I used a print of blues)
- two – 2.5”x 14” color 3 (I used the color cream)
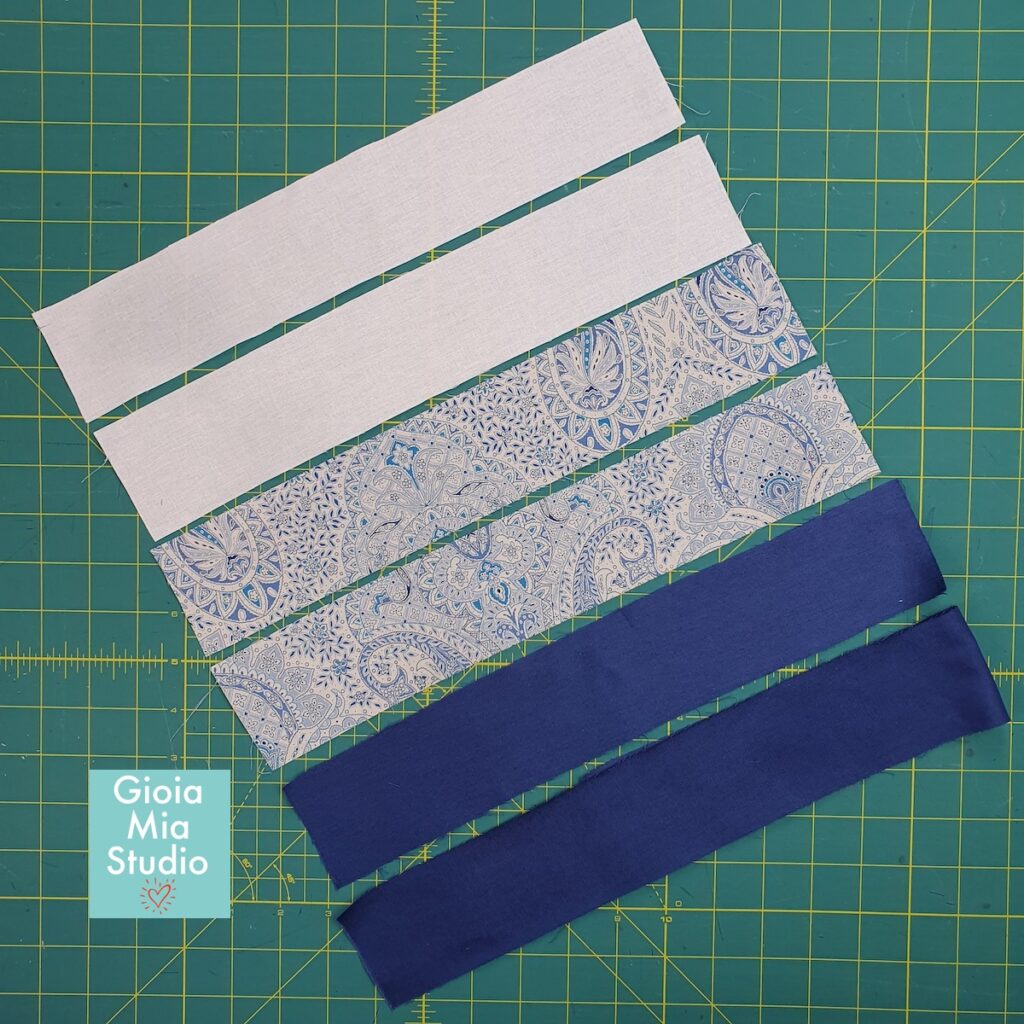
each strip is 2.5 inches wide and 14 inches long
How to assemble:
Take one strip of each color and stitch them together lengthwise.
- sew one strip of color 1 with one strip of color 2
- Then sew one strip of color 3 (and attach it to color 2)
- The colors should go in order, 1, 2, 3
Repeat with the remaining strips.
You will have two sets when you finish. See the photo below.
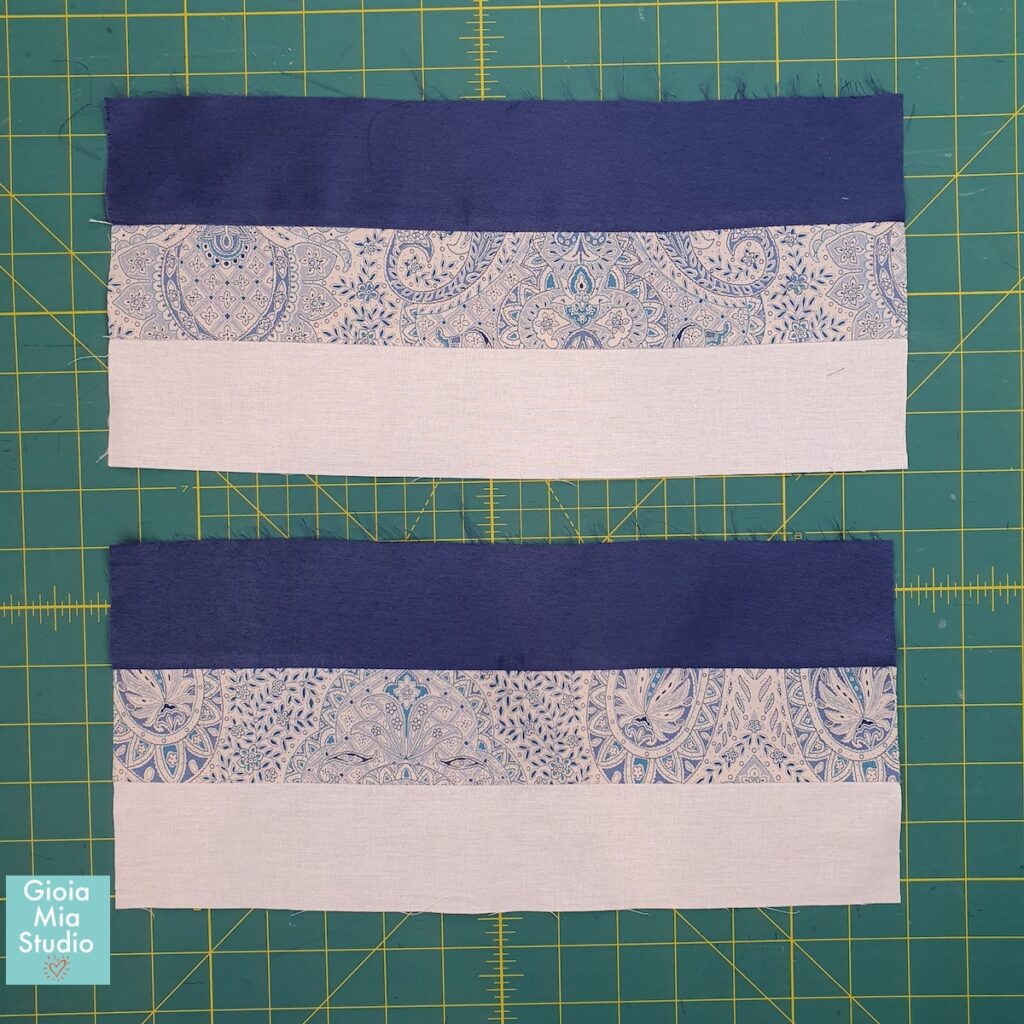
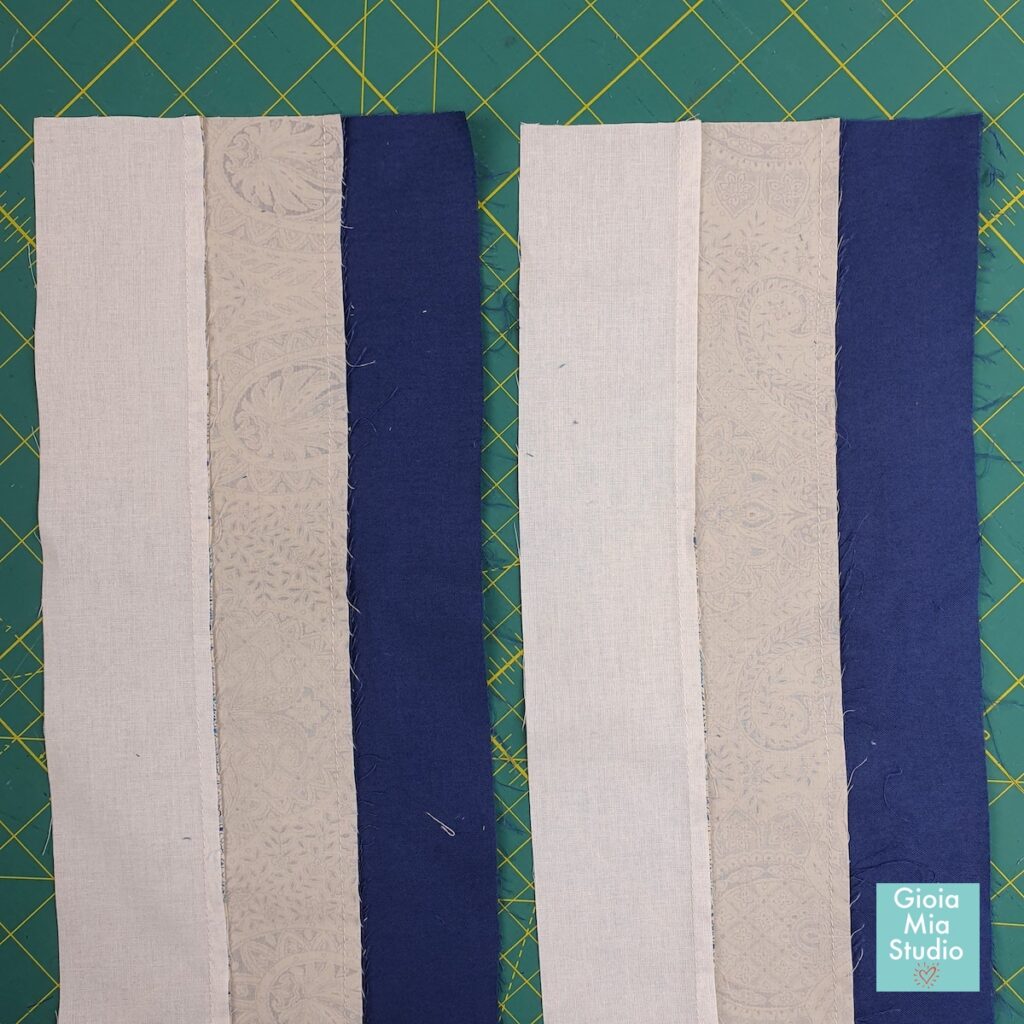
Press all seams in one direction – toward the darker fabric. If you need some tips of seams and ironing, read this blog post.
Next use the ruler to cut 6.5” off each strip set.
On your cutting mat, lay a strip set so the lines are horizontal. Then measure 6.5 inches across, align your ruler, and slice.
Look at the photo to see a visual of what I mean.
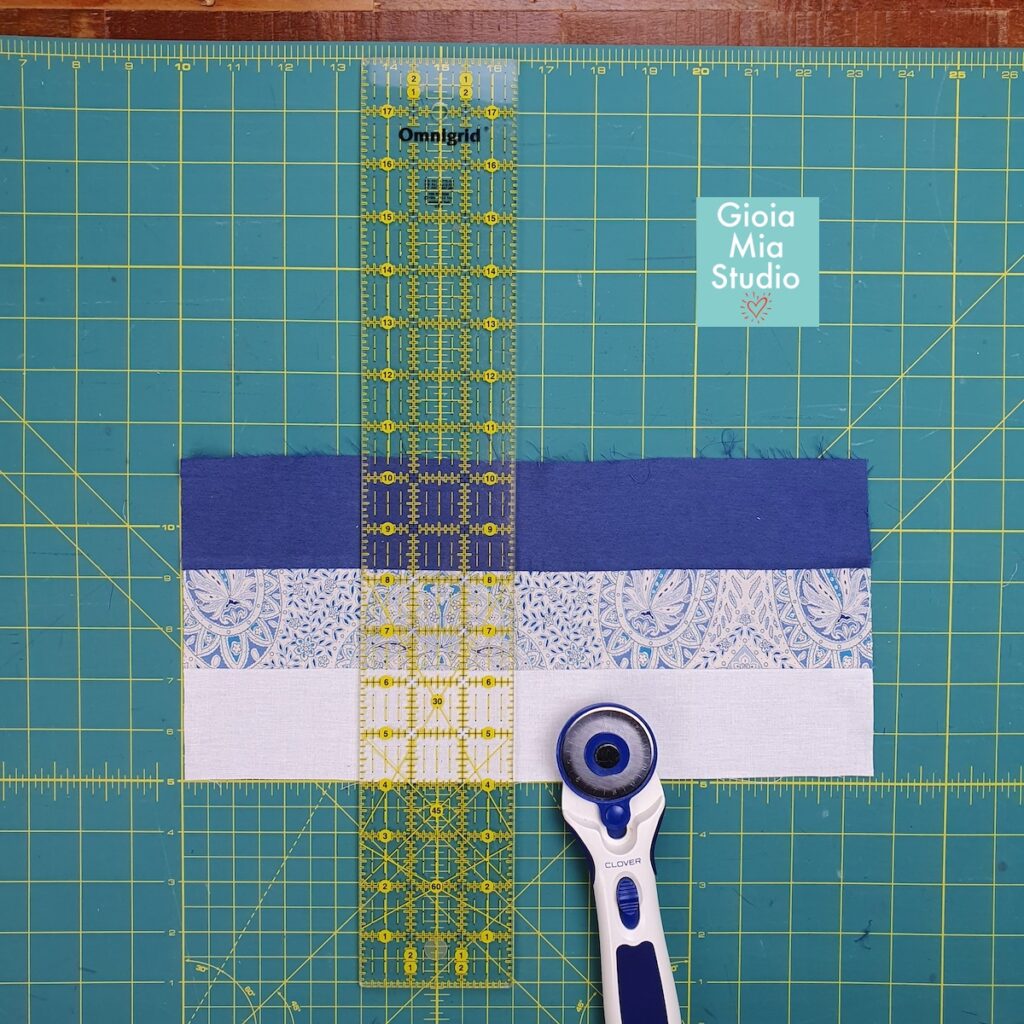
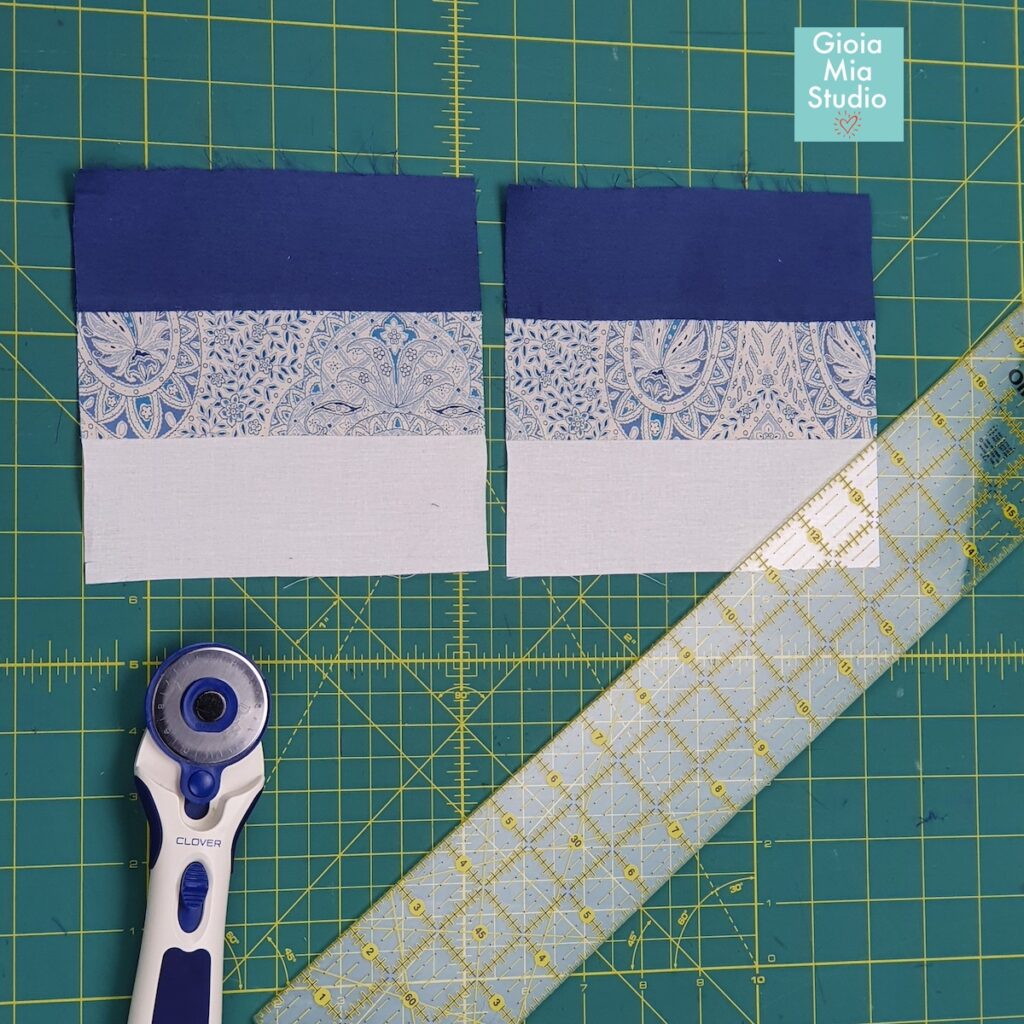
There may be a tiny bit to trim off of your finished squares. Measure them to 6.5 inches and trim.
Repeat this step with the remaining strip set.
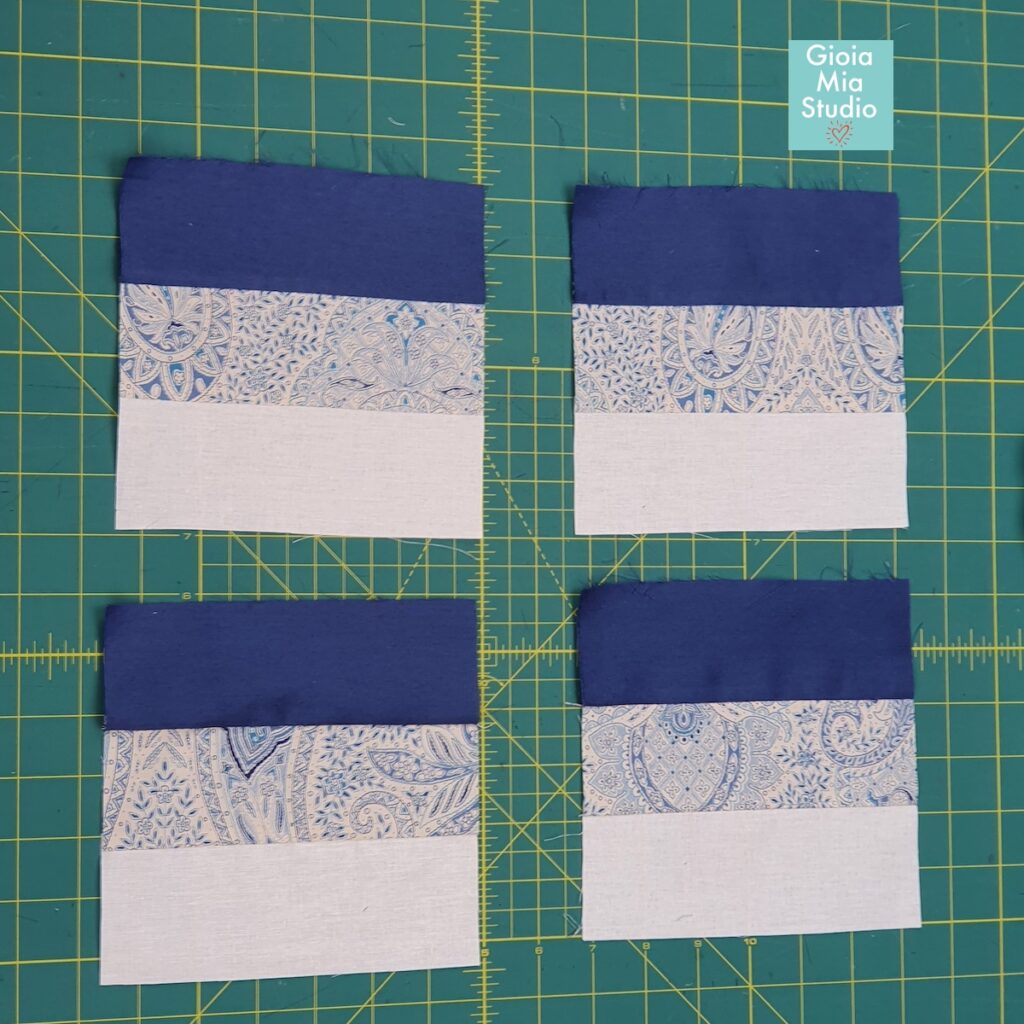
Can you believe it? We are almost finished!!
To make the rail fence effect, arrange your squares like the photo.
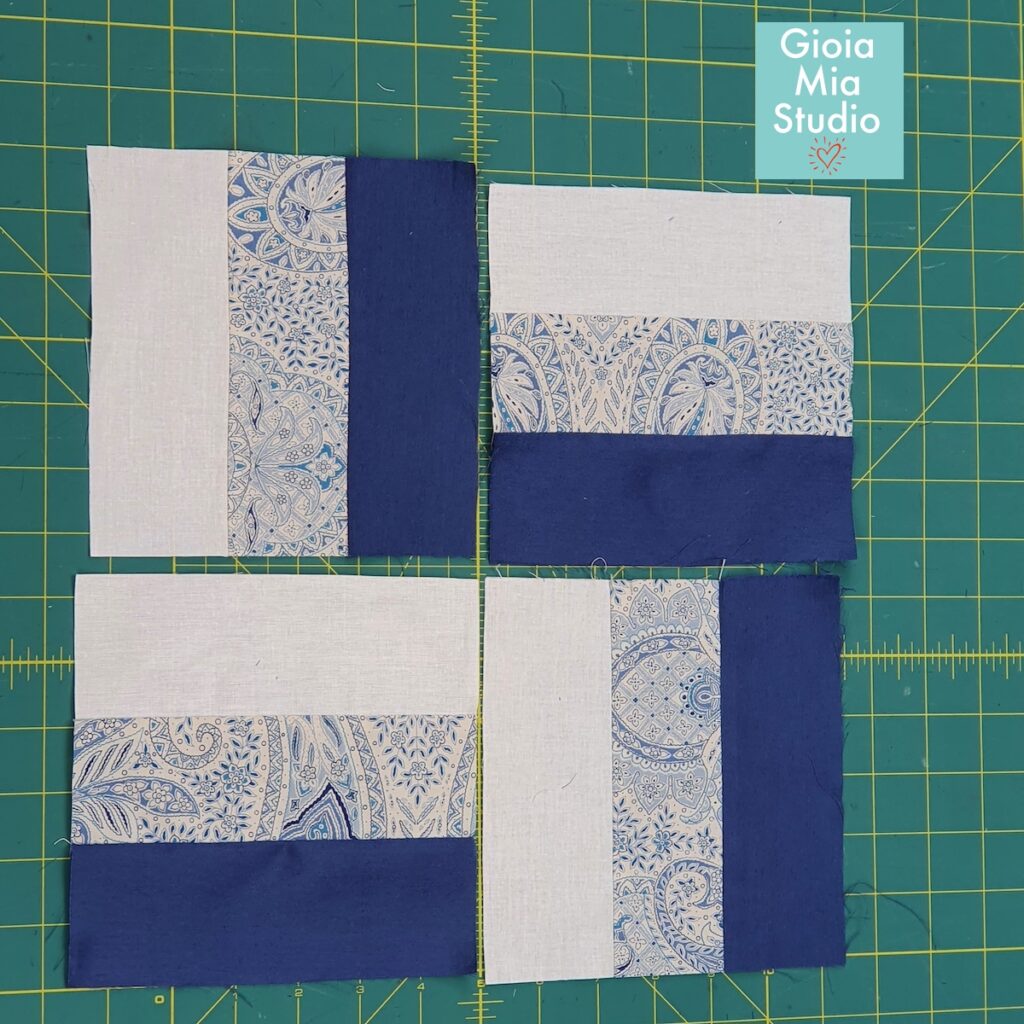
Let’s sew!
Now you just sew the squares together.
- I like to assemble my blocks from left to right.
- Then, I like to sew the top row to the bottom row
The photos below show you my process.
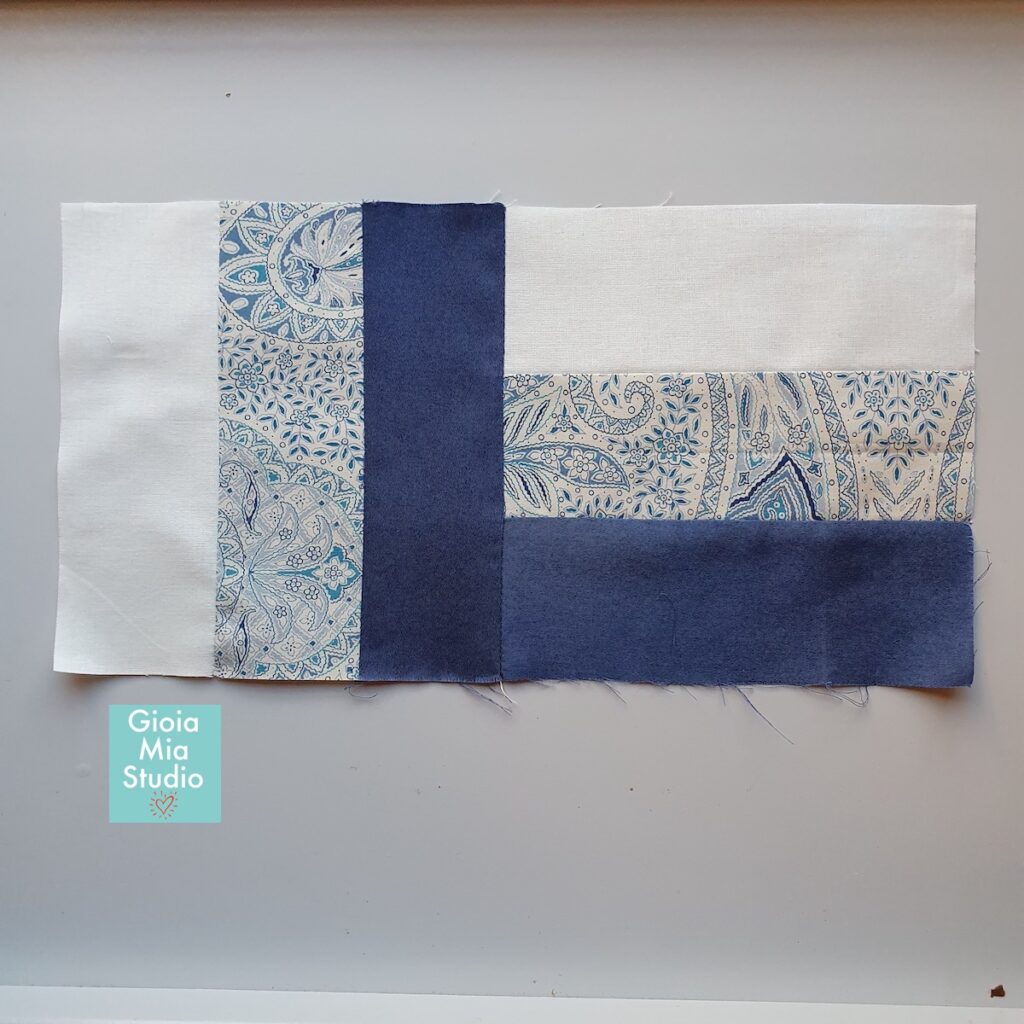
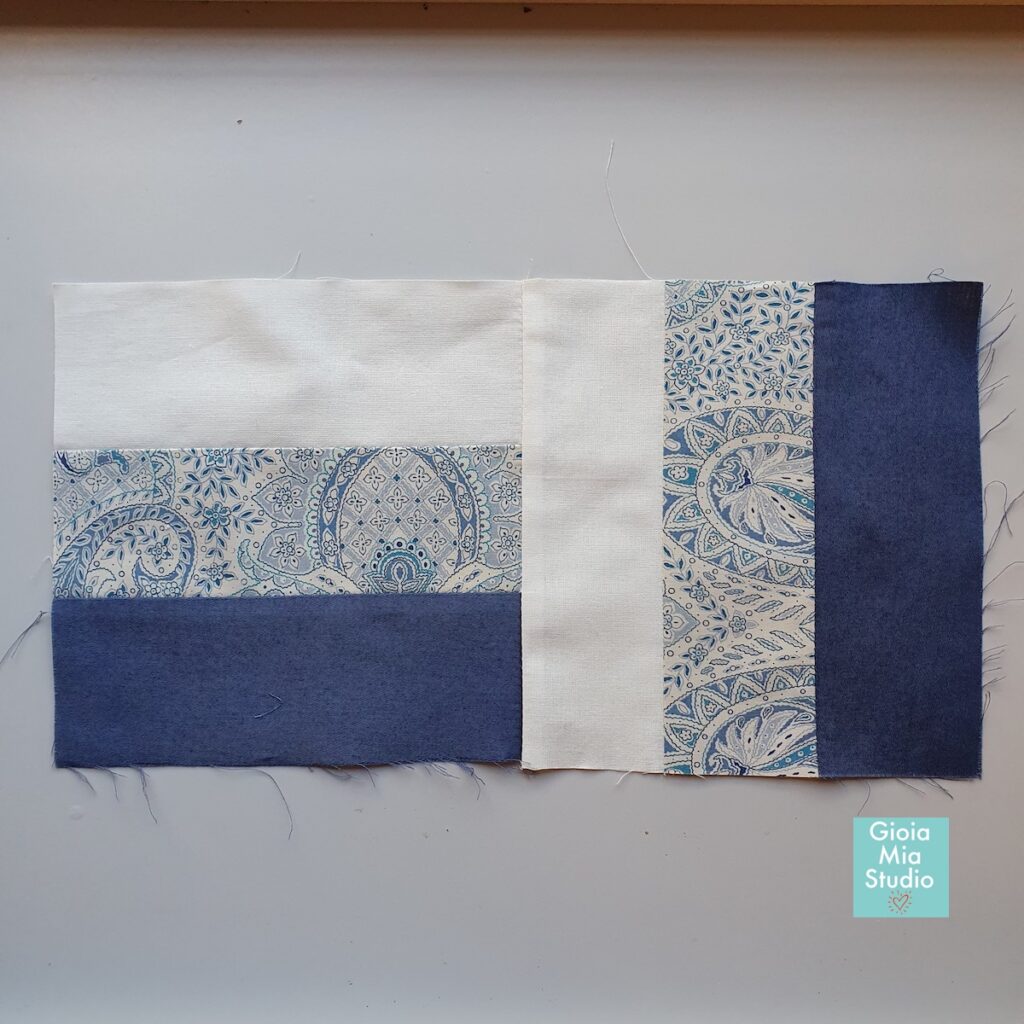

Ta-Da! There you have it! So easy!
For my Rail Fence quilt block, I used blues from my stash.
I have a lot of blue fabric in my sewing studio. Budget is my love language.
Leave a Comment
What colors will you make your blocks? Will you go for an eclectic look? Or do you prefer similar colors?
Have a joyful week!
From Rome with Love,
Rachel
Hello! I’m Rachel with Gioia Mia Studio in Rome, Italy. (pronounced joy-yah)
You’ve come to the right place to find quilt tips, free tutorials, and quilt joy.
Always have the newsletter and the latest quilt topics. Just sign up below.
Follow along and be part of our quilt community on Instagram.
The form you have selected does not exist.
.
