Let’s get quilting!
Would you like to learn classic quilt block patterns?
Traditional quilt patterns are featured right here with step by step instructions. Plus, you’ll find tips and tricks to perfect your quilt skills.
The Irish Chain quilt block is simple, classic, and beautiful
.
Calming Blue
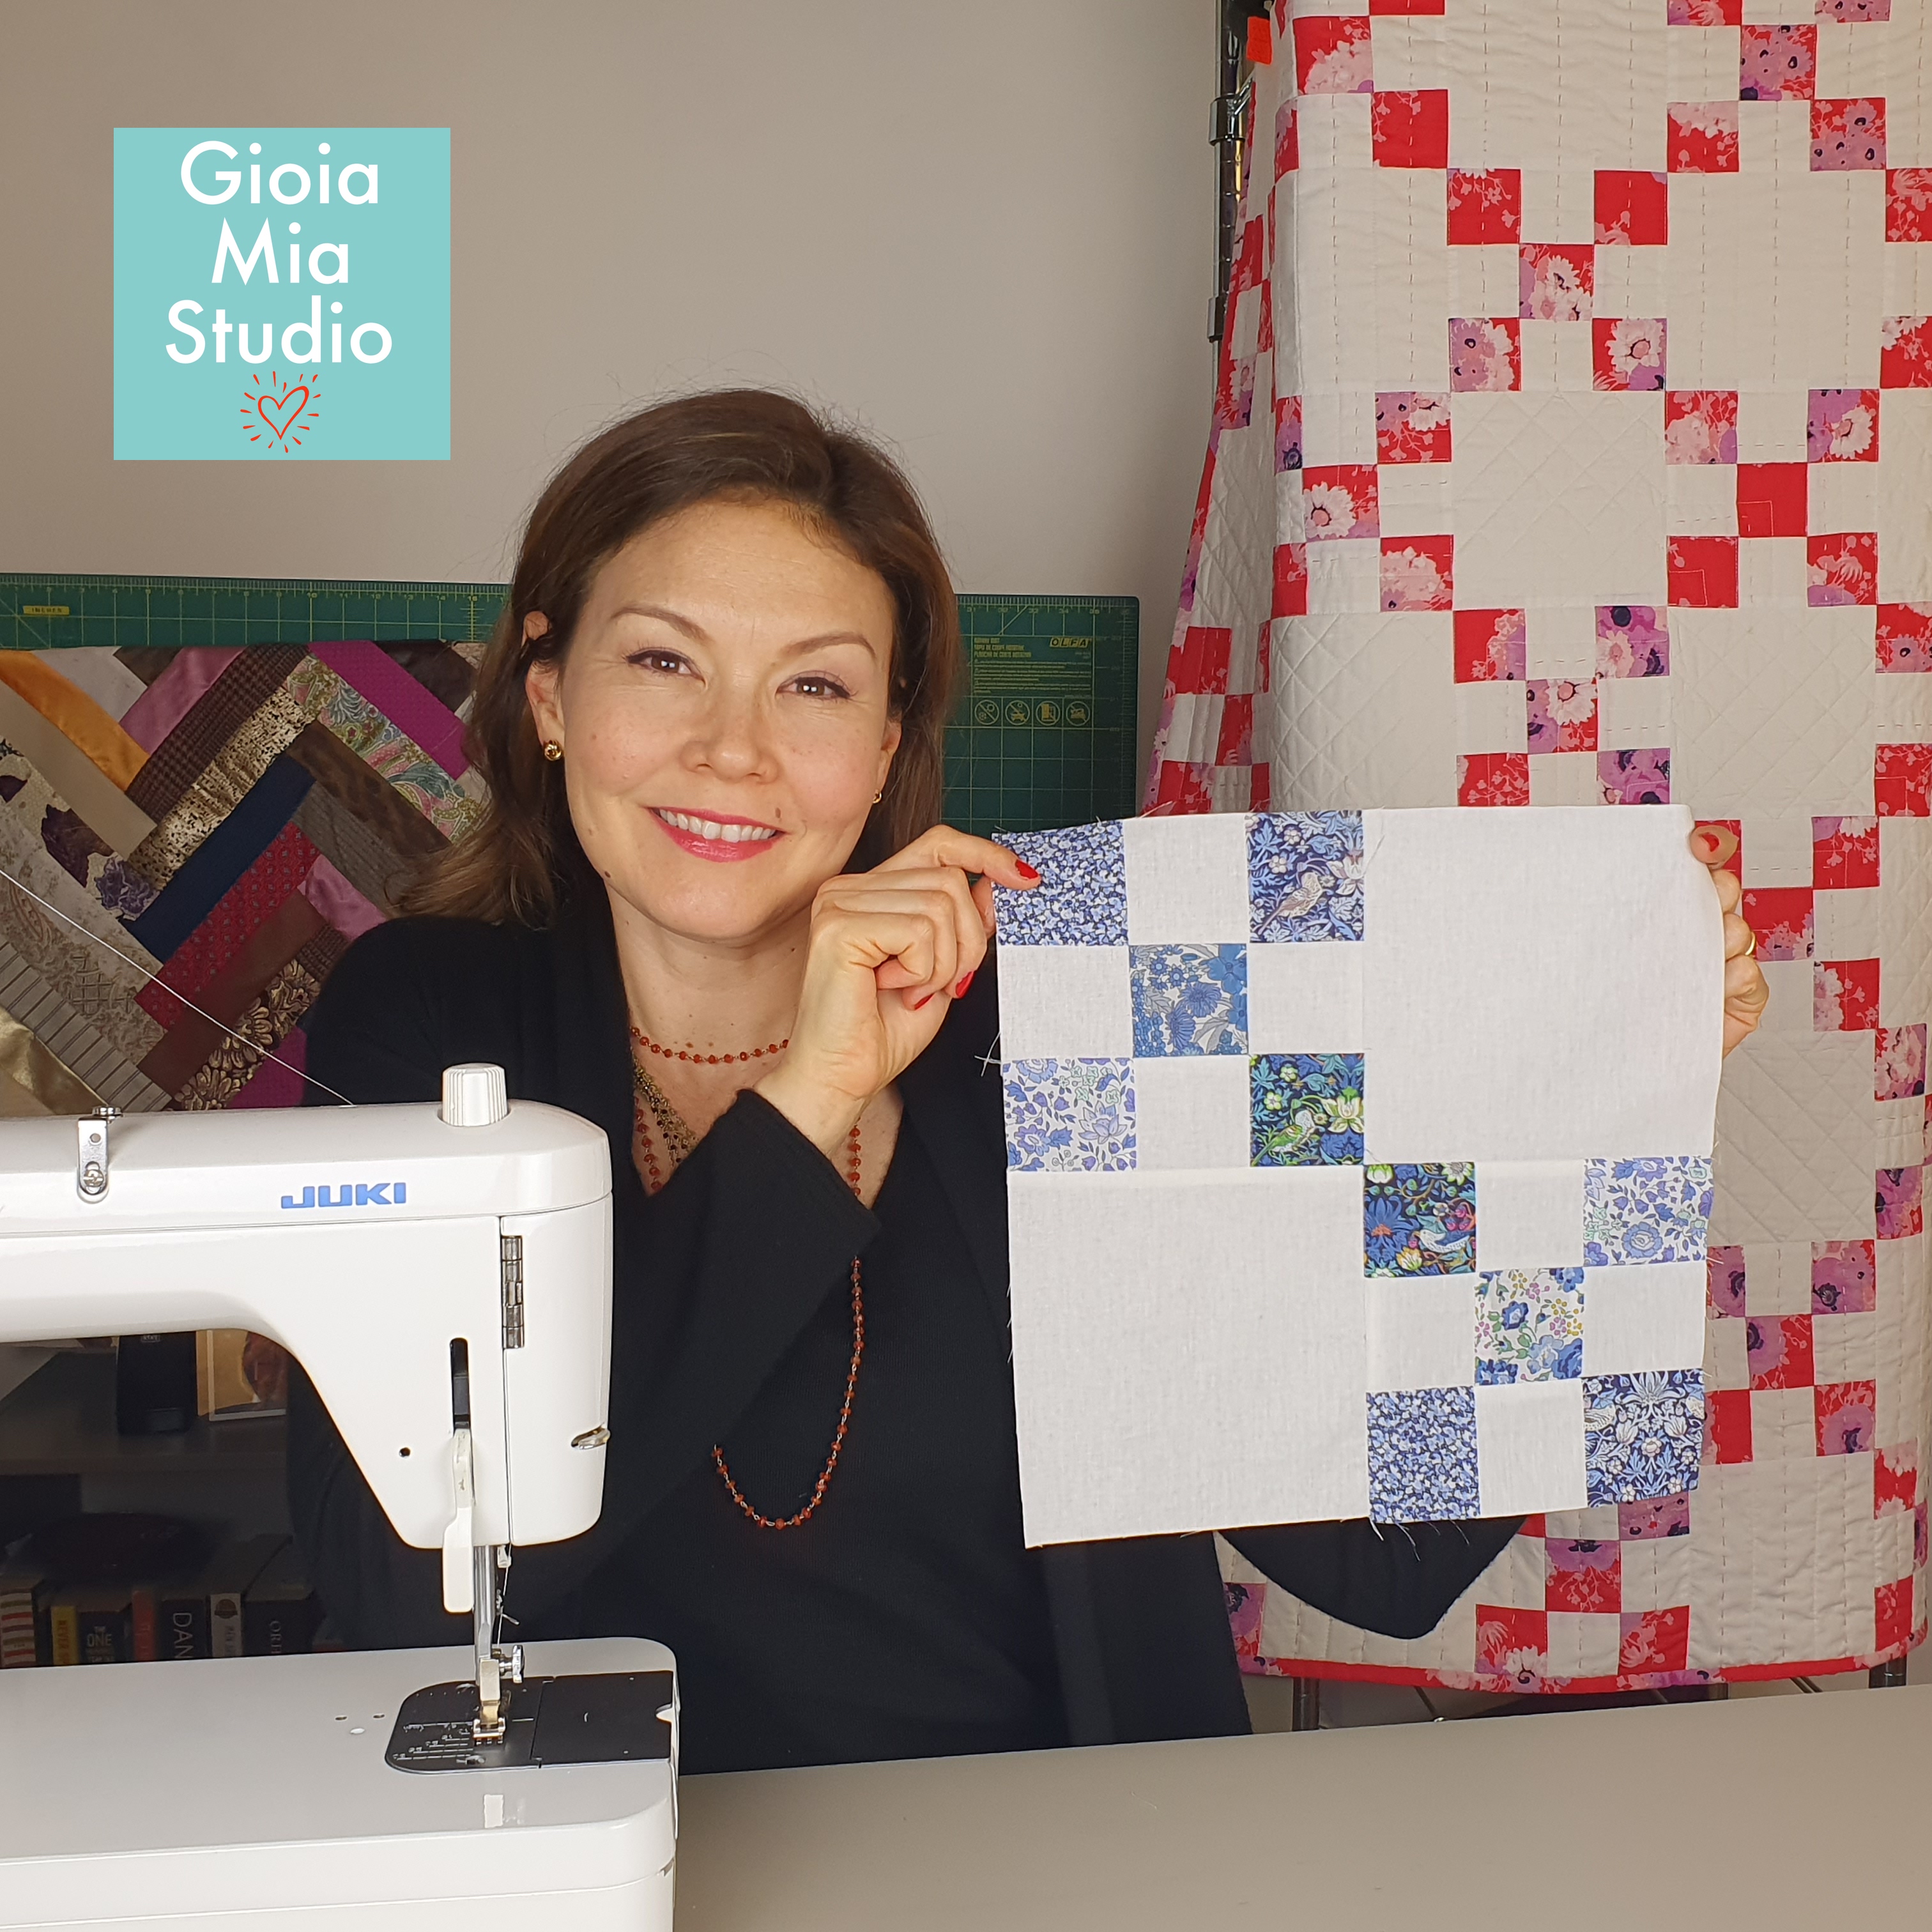
I love the color blue because it is so calming to me. I think the idea of cuddling under a blue hued blanket is very dreamy. Plus I have a lof of blue fabric and blue scraps in my sewing studio. This means I don’t have to spend too much money on new fabric. Budget is my love language;)
For the Irish Chain block, I used blue prints from Liberty London.
Irish Chain block explained in 1, 2, 3
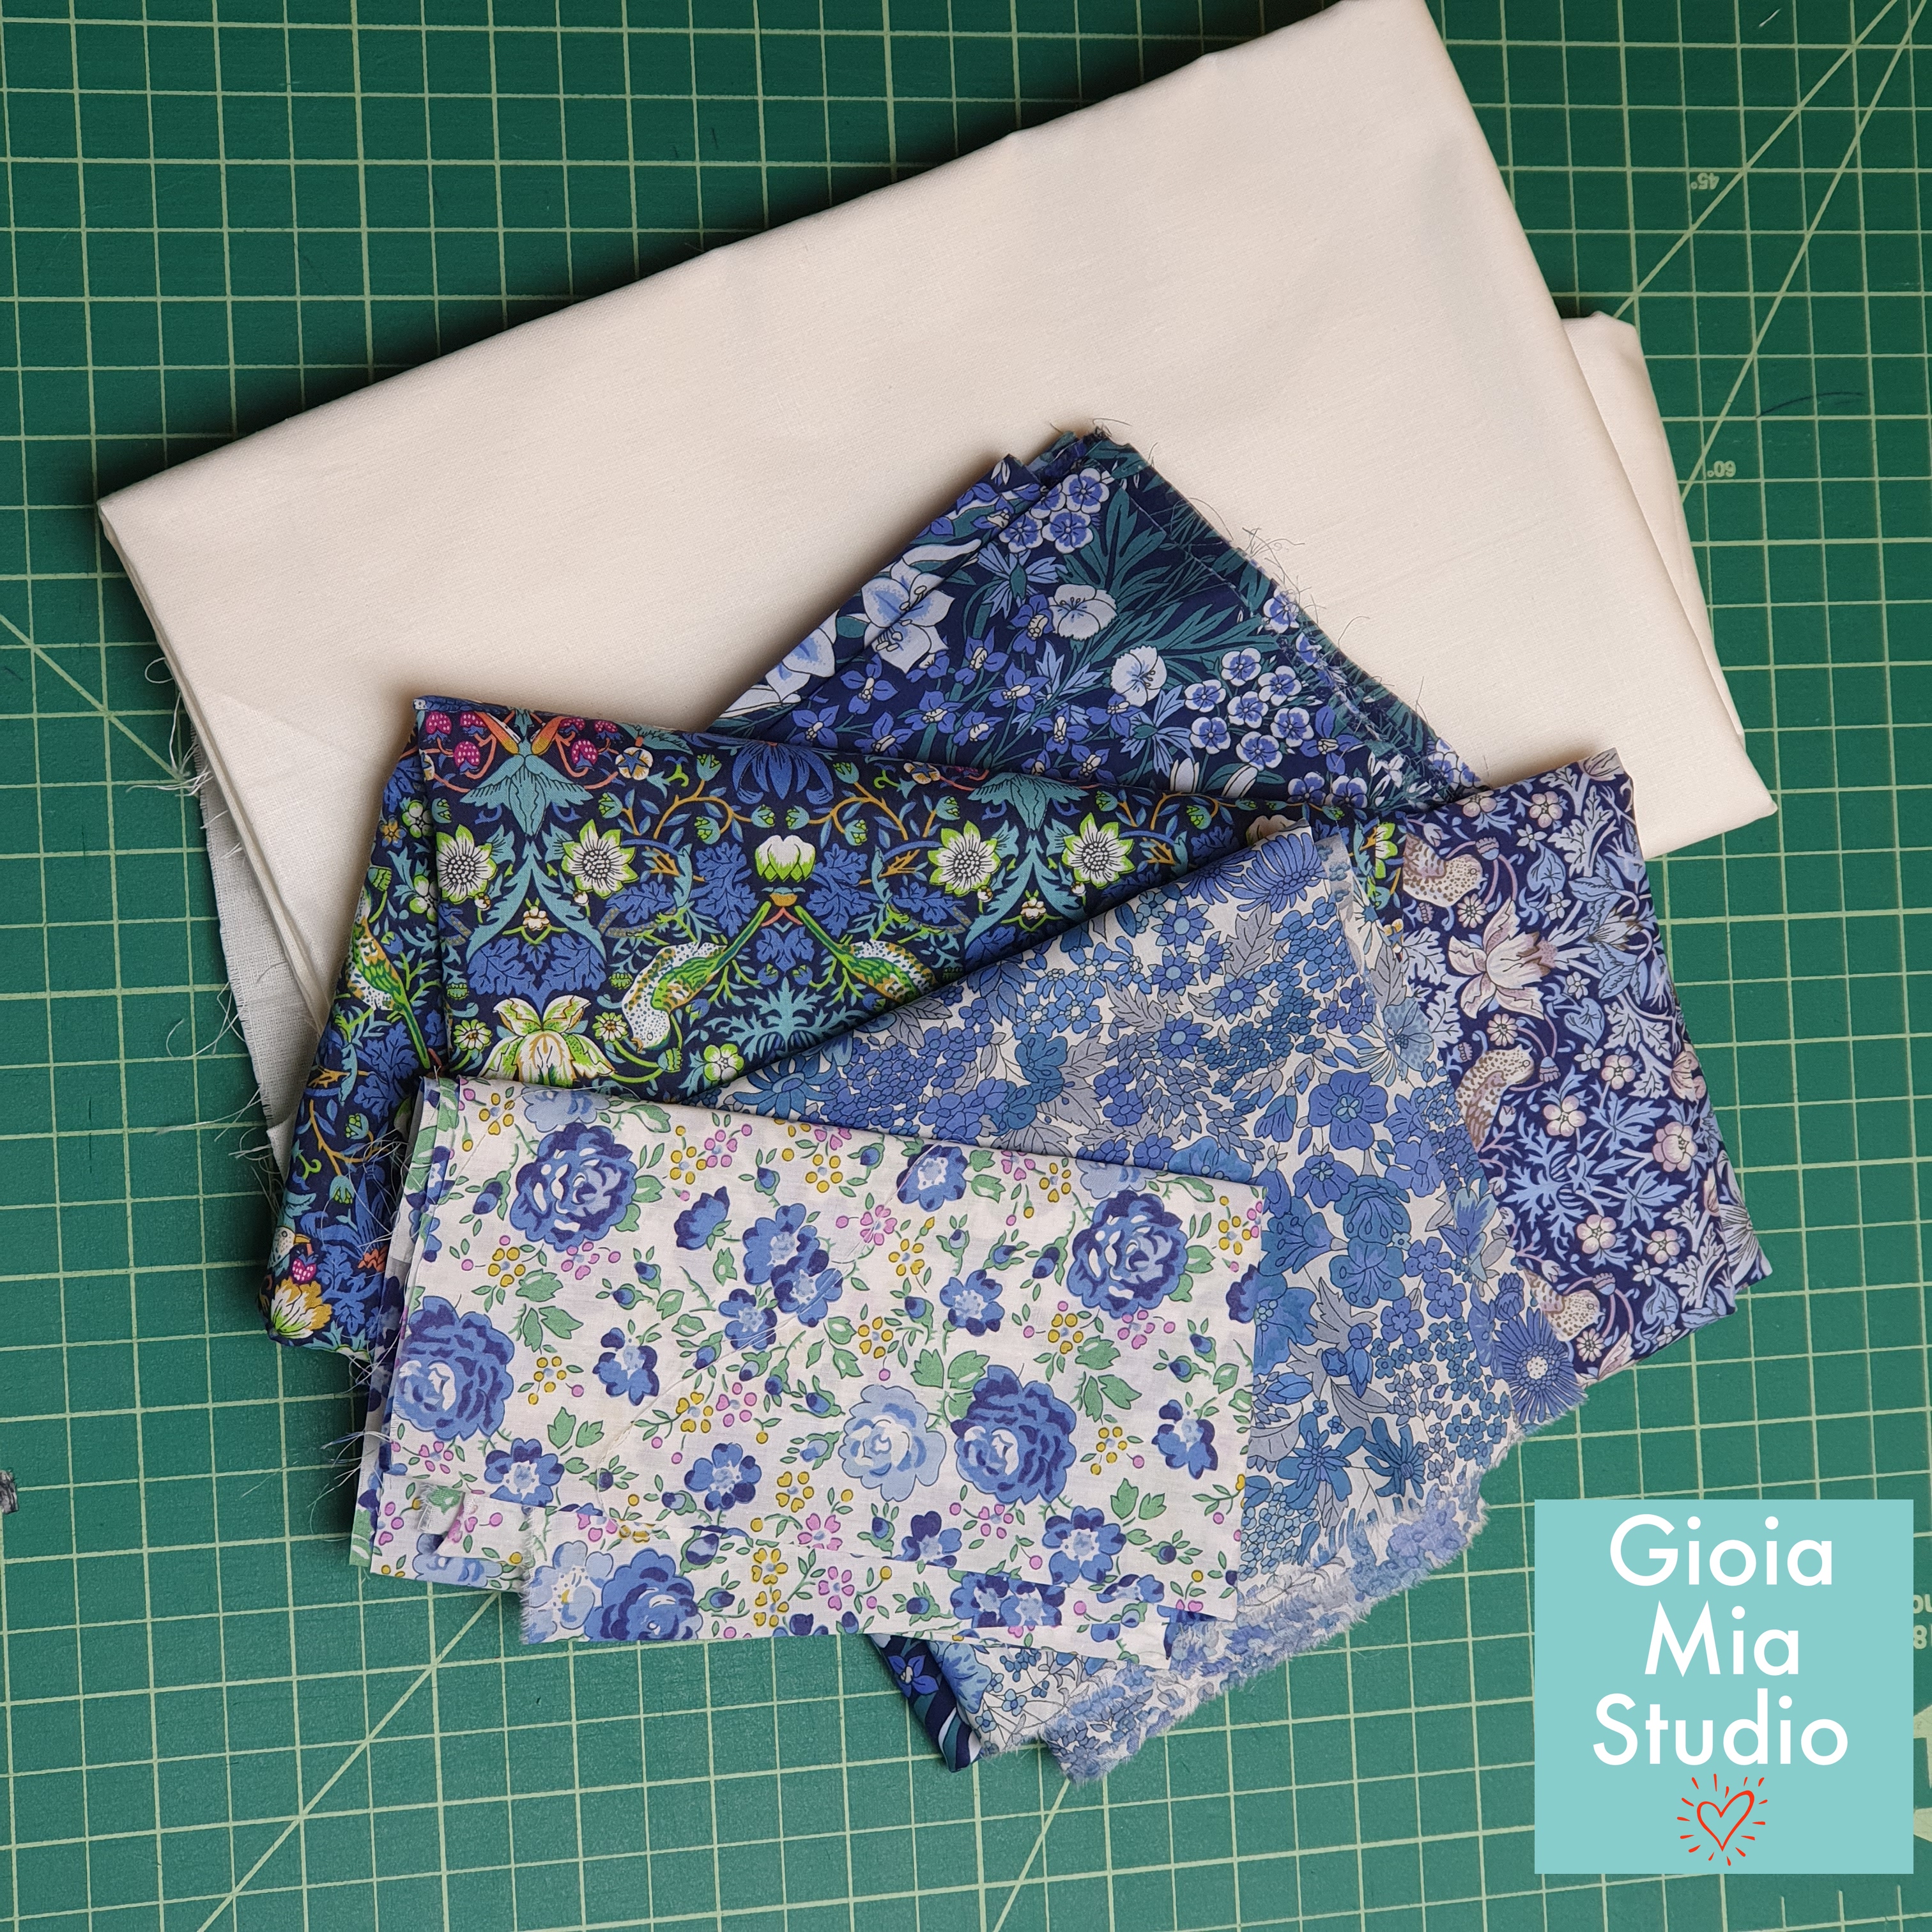
Make a block like the one I’m holding in the photo above.
What you’ll need for one block (12″x12″):
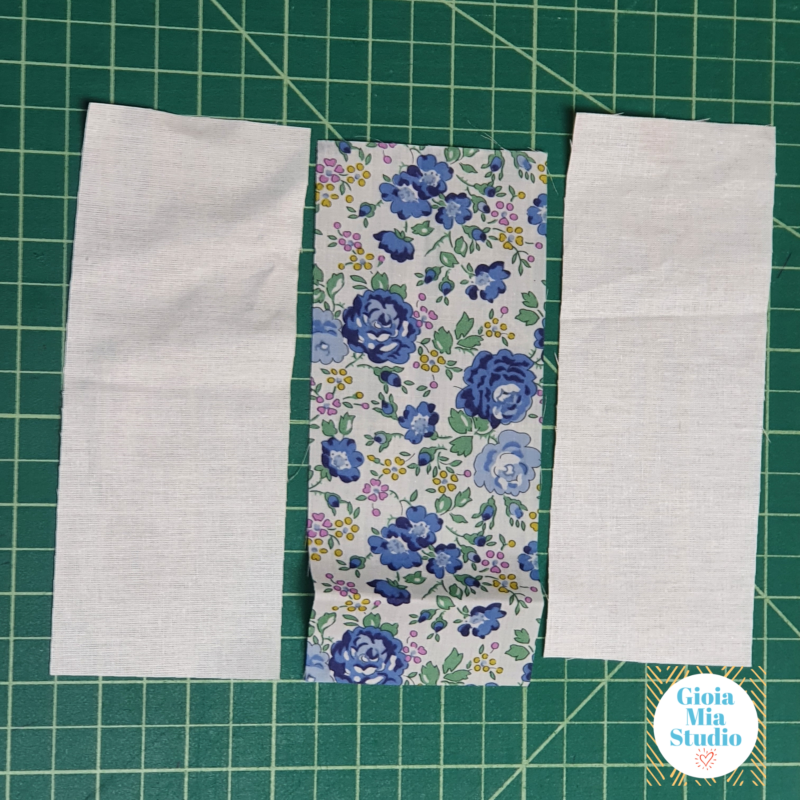
Strip set A:
two- 2.5”x 6.5” strips of background fabric (I used cream)
one – 2.5” x 6.5” strip of contrasting fabric (I used blues, Liberty of London)
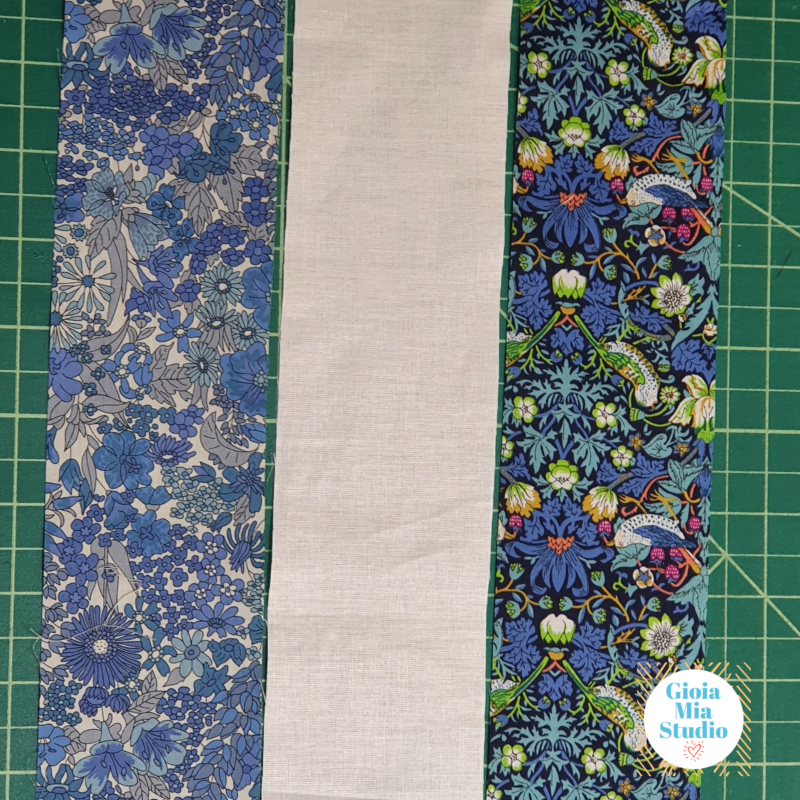
Strip set B:
one – 2.5” x 10.5” strip of background fabric (I used cream)
two – 2.5” x 10.5” strips of contrasting fabric (I used blue, Liberty of London)
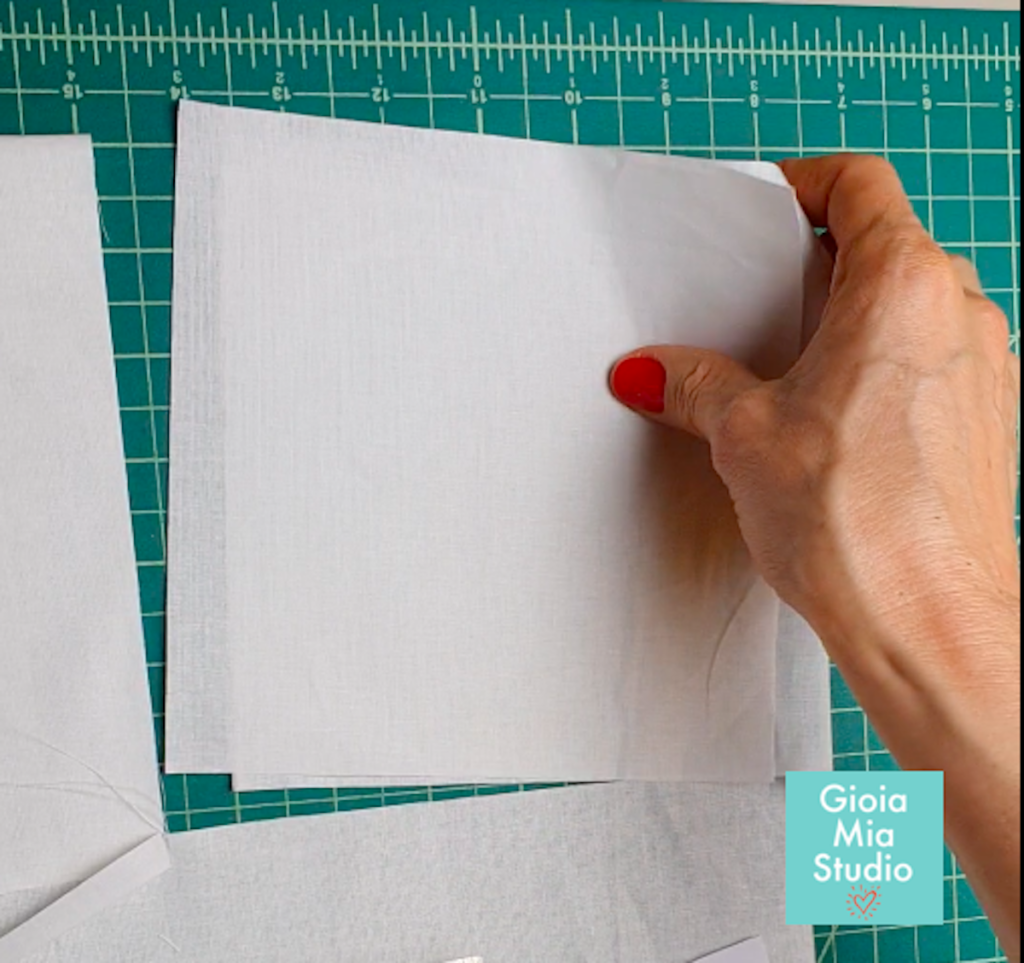
Background squares:
two – 6.5” square of background fabric (I used cream. The same fabric as my strips)
Stitch & Cut
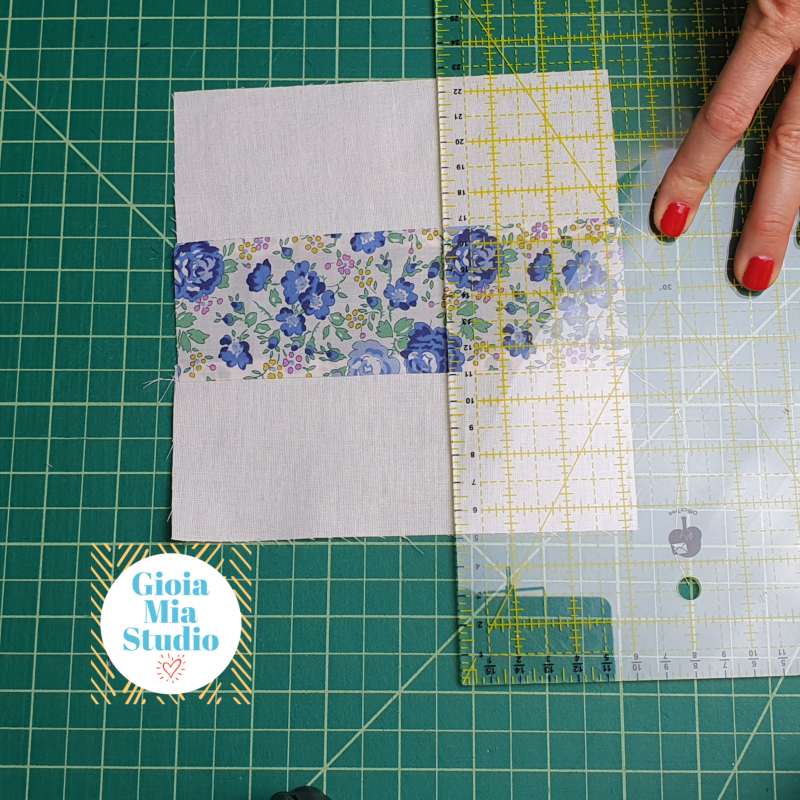
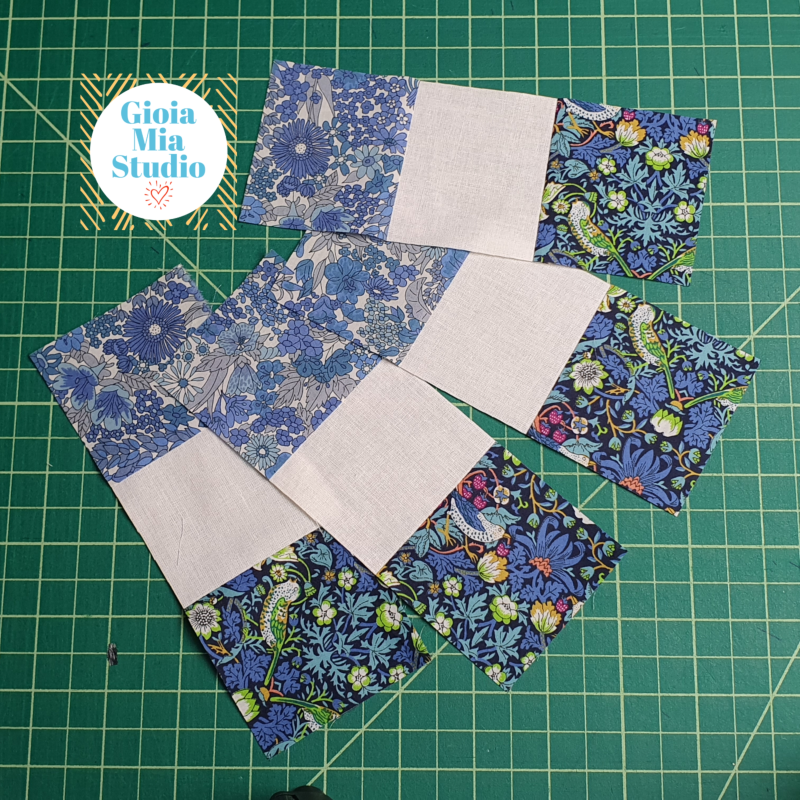
Stitch strip set A together and press the seams. Then, stitch strip set B together and press the seams. Next use the ruler to cut 2.5” off each strip set. Make sure the edge of your fabric is straight. If it isn’t straight, lightly trim it. Then, line the ruler to the edge of the strip set, and cut off 2.5”. Continue to do this until you complete the entire strip set. The photos below this paragraph match these instructions.
Assembly time!
Take two pieces from strip set B and one piece from strip set A. Line them up like in the photo. Then stitch them together. Be careful to align the seams. (If you need help with seams, watch my short video on perfect seams here.)
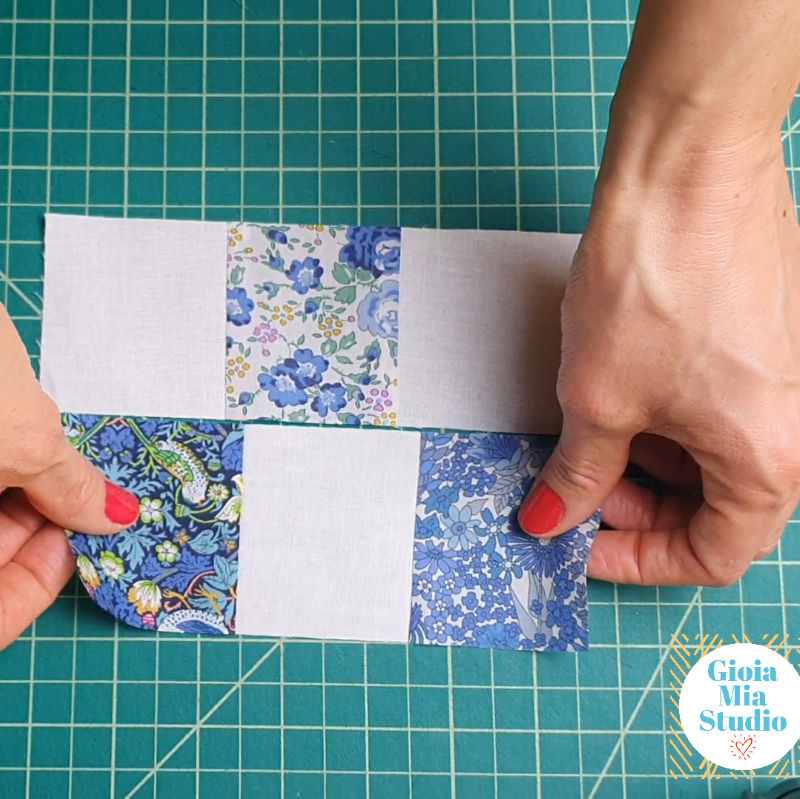
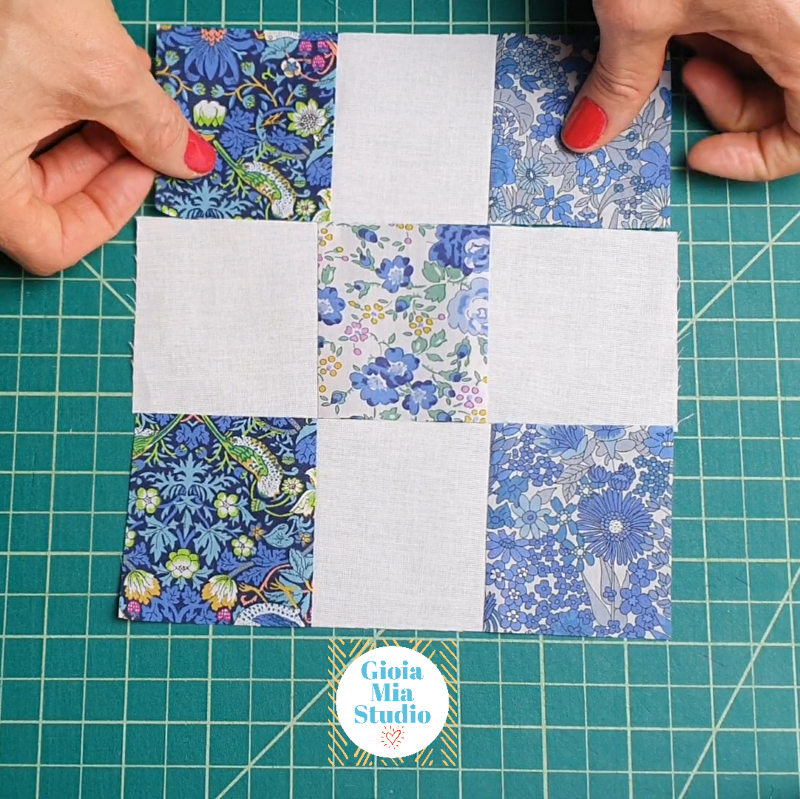
You will have some strip set pieces remaining. There are enough for another checkered square. Repeat these steps to make it.
Last Step!
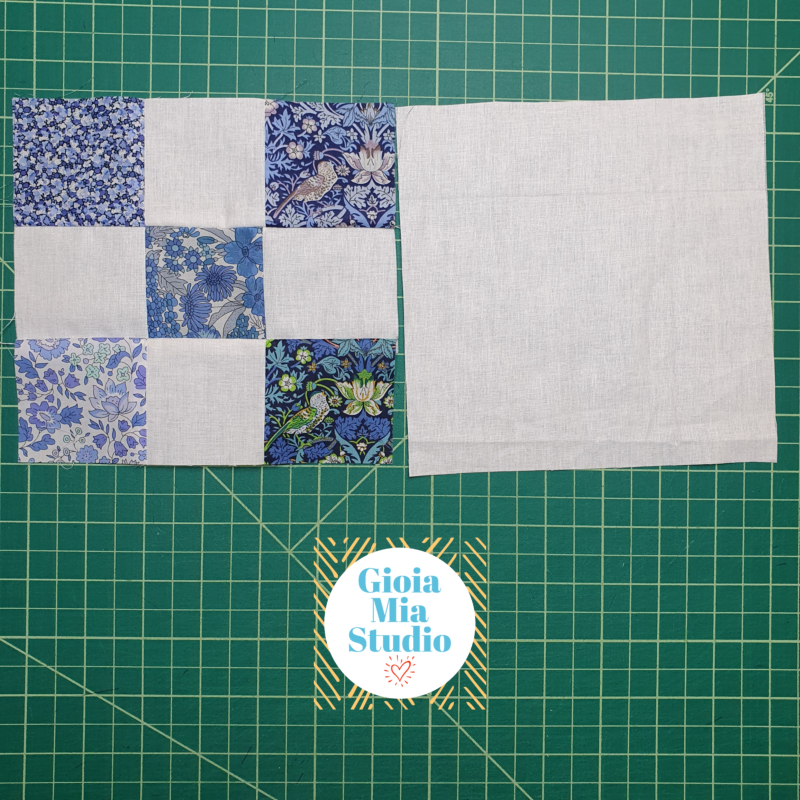
Sew row by row.
Make the block’s first row. To help you visually, place the checkered square on the table. Then place the cream background square to the right of the checkered square. Now that you can see where you are going, stitch them together on one side only.
I love all things visual. To see where you are going, place the second checkered square on the table. Place the white background square to the LEFT of the checkered square. Stitch them together on one side only.
Take a look at the photo below to have an even stronger visual sense of what we are doing.
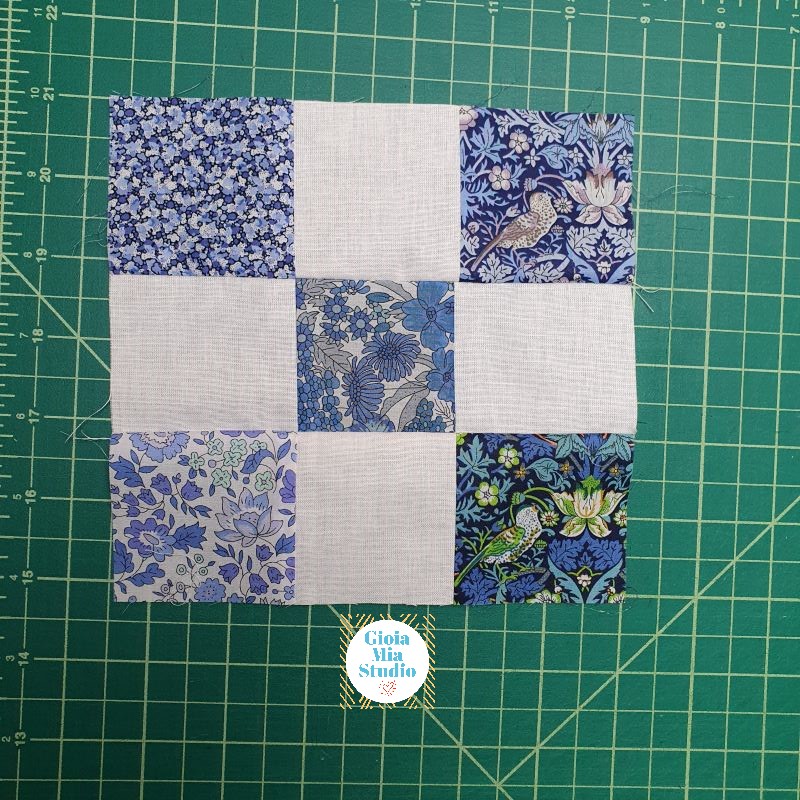
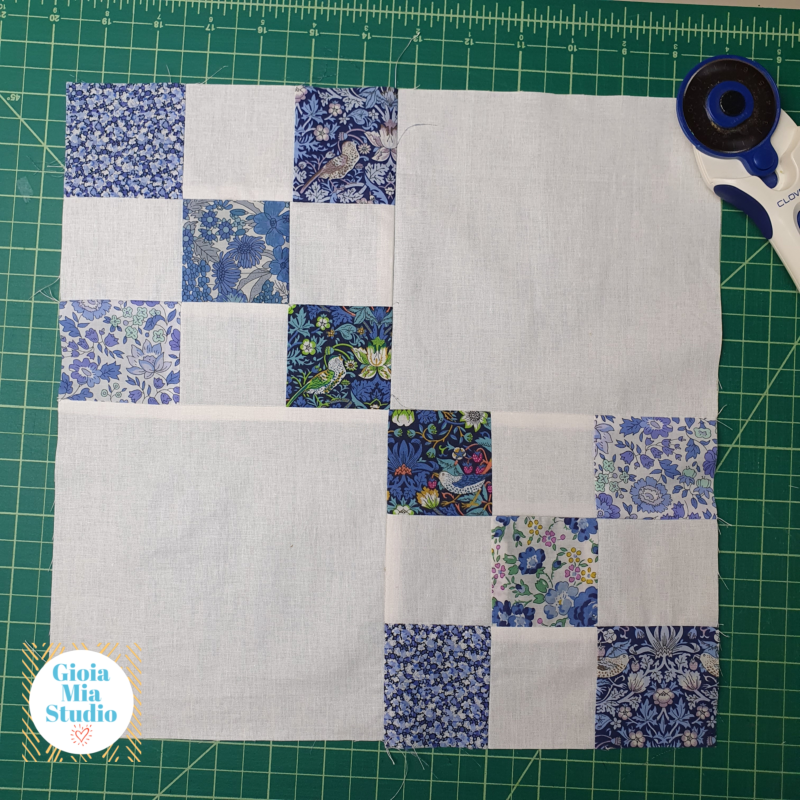
The very last thing to do is stitch the two rows together. Make sure the center seams is aligned! If it helps you, use a pin to secure the seam. After you stitch the rows together, press the seam.
VIOLA!! You have your quilt block!! The finished quilt block measures, 12.5″
Colors, Colors, Colors!
Leave a comment below
What colors will you make your blocks? Will you go for eclectic or complimenting hues?
Do you have scraps but not sure how to make an eclectic look?
Have a joyful week!
From Rome with Love,
Rachel
